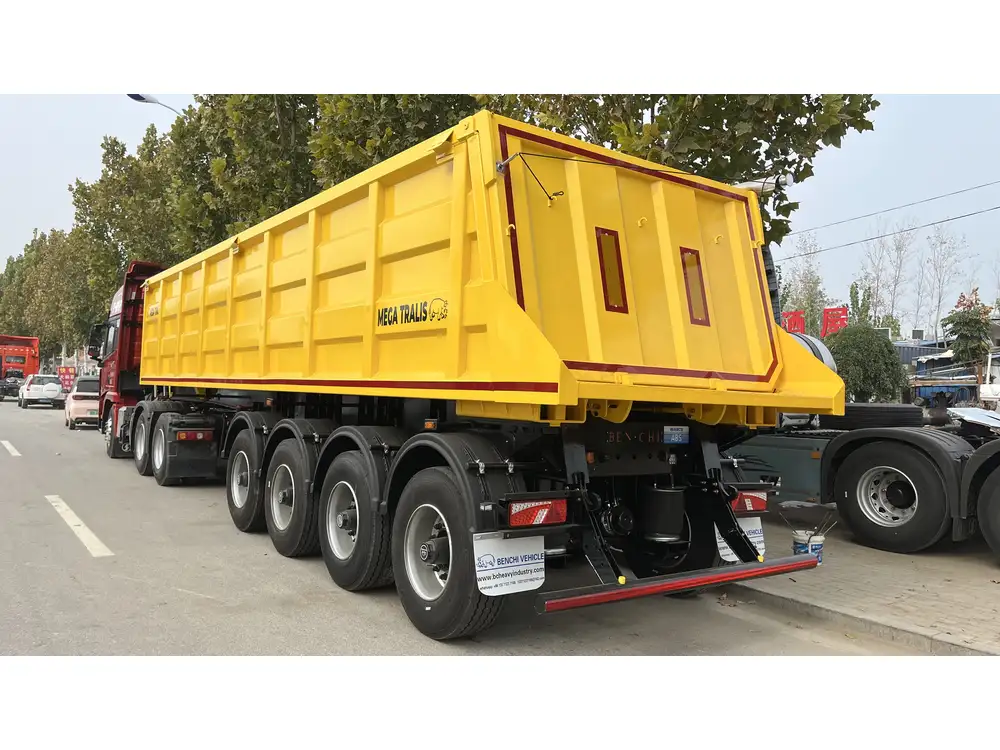
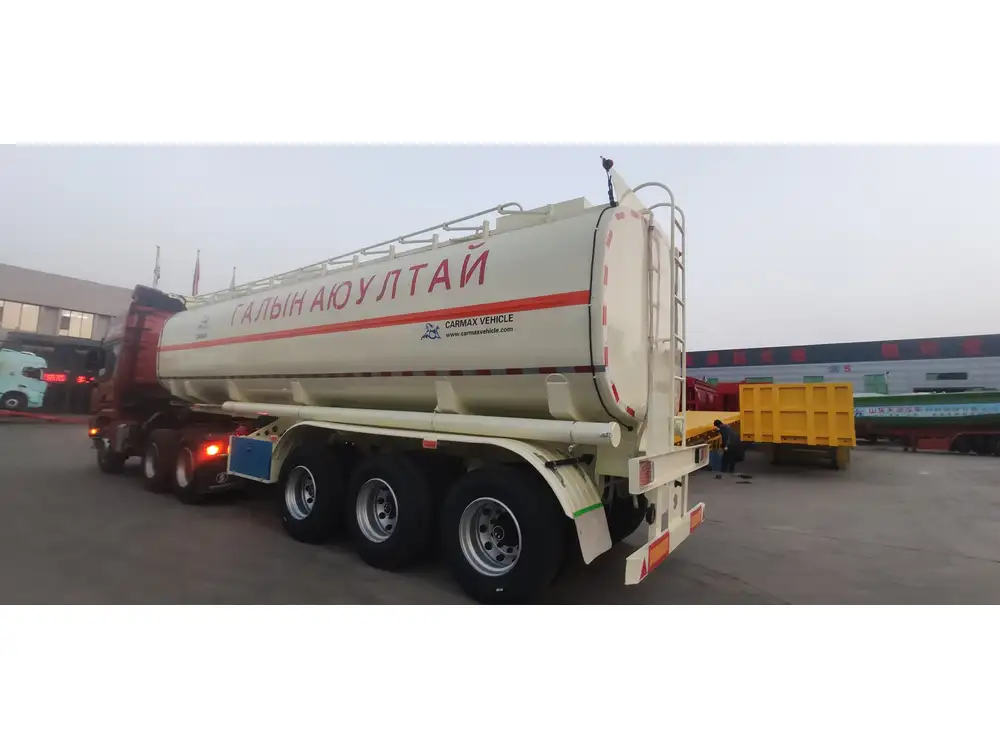
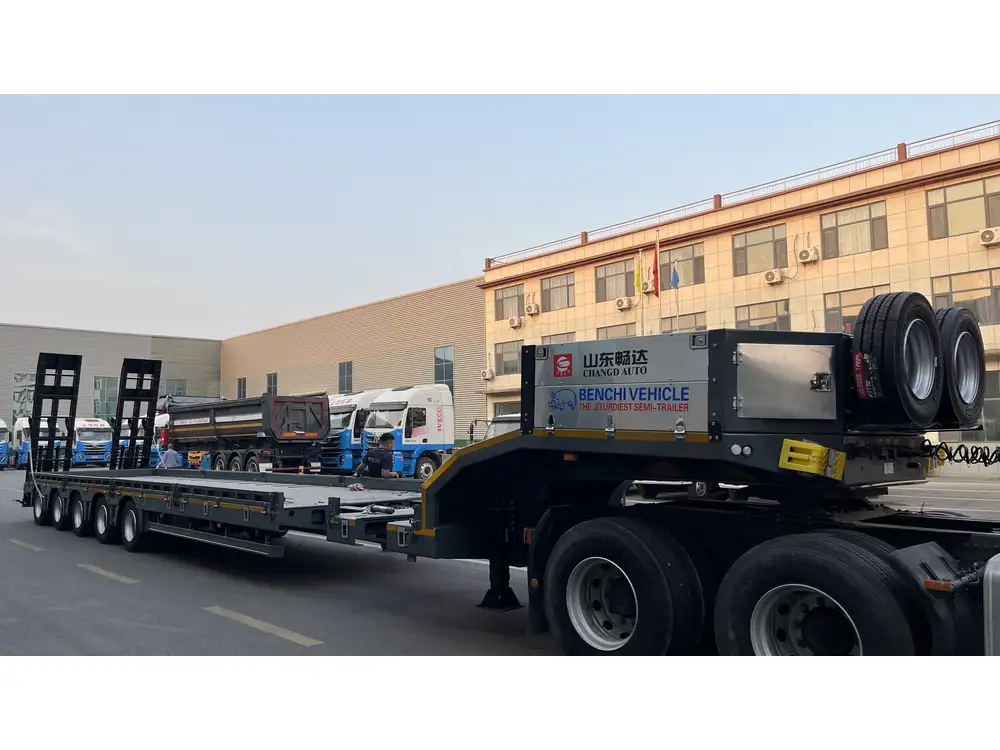
Applying air release vinyl on a semi-trailer is an essential process that can enhance both the aesthetic and functional aspects of your vehicle. This guide provides detailed instructions, insights, and tips for effectively applying air release vinyl, ensuring a professional finish that stands the test of time. Whether you wish to promote your business through fleet graphics or simply give your trailer a fresh look, the following sections will navigate you through the intricacies of this process.
Understanding Air Release Vinyl
Air release vinyl, often referred to as bubble-free vinyl, has specialized adhesive channels that allow air to escape during application. This feature minimizes bubble formation, making for a smoother installation and a more durable finish. Choosing the right type of vinyl is paramount; here are a few key points to consider:
| Feature | Description |
|---|---|
| Adhesive Type | Pressure-sensitive adhesive with air release channels |
| Finish Options | Matte, glossy, translucent, or custom finishes |
| Durability | Weather-resistant and UV-stable for long-lasting use |
| Customizability | Available in various colors and patterns |
Preparation: Laying the Groundwork
Before diving into the application, preparation is critical. A well-prepared surface not only ensures superior adhesion but also extends the lifespan of your vinyl. Here are the steps to prepare both the trailer and the vinyl:

1. Clean the Surface
Tools Needed:
- Isopropyl alcohol or a vinyl cleaner
- Microfiber cloths
- Gloves
Steps:
- Remove dirt, grease, and any residue from the trailer surface using a vinyl cleaner.
- Wipe down the area with isopropyl alcohol to eliminate any last traces of contaminants.
- Allow the surface to dry completely.
2. Measure and Cut Your Vinyl
Accurate measurements are crucial in ensuring that your vinyl fits perfectly on the semi-trailer.
Steps:
- Measure the areas where you plan to apply the vinyl using a measuring tape.
- Add a few extra inches to each measurement to allow for error during the cutting process.
- Cut the vinyl using a sharp utility knife or a vinyl cutter for clean edges.
3. Temperature and Humidity
Before installation, check the environmental conditions. Ideal application conditions are:
| Condition | Ideal Range |
|---|---|
| Temperature | 60°F to 80°F |
| Humidity | 30% to 50% |

4. Gather Your Tools
Essential Tools:
- Squeegee or felt-edge tool
- Heat gun or hair dryer
- Vinyl application solution (wet application method)
- Tape measure and straight edge
Application: Step-By-Step
Now that you have prepared your surface and gathered your tools, it’s time to apply the air release vinyl.
Step 1: Positioning the Vinyl
Carefully position your vinyl over the designated area before making permanent contact.
Tips:
- Use masking tape to hold the vinyl in place temporarily.
- Ensure proper alignment with adjacent panels to maintain a professional look.

Step 2: Smooth Application
There are two primary methods to apply air release vinyl: dry application and wet application.
A. Dry Application
- Peel and Stick:
- Begin peeling the backing off from one side while smoothing down the vinyl with a squeegee.
- Squeegee Method:
- Start from the center of the vinyl and work outwards, using firm but gentle pressure.
- Continue working in sections, peeling the backing gradually.
B. Wet Application (recommended for larger areas)
- Solution Preparation:
- Mix a solution using water and a few drops of dish soap in a spray bottle.
- Spraying the Surface:
- Lightly mist the adhesive side of the vinyl and the trailer surface with the mixture.
- Placement:
- Position the vinyl carefully, ensuring it touches down lightly.
- Final Squeegeeing:
- Use a squeegee to eliminate the water and air bubbles. Start from the center moving outward.

Step 3: Heat Activation
Using a heat gun or hairdryer, activate the adhesive for better conformability:
- Heat Settings:
- Set the heat gun to medium; too much heat can damage the vinyl.
- Gentle Movement:
- Move the heat source in a sweeping motion over the vinyl surface.
- Apply Pressure:
- While heating, press down with the squeegee for optimal adhesion.
Step 4: Trimming Excess Vinyl
Once the vinyl is firmly in place:
- Identify Excess:
- Use your utility knife to trim off excess vinyl along the edges.
- Blending Edges:
- Carefully cut to ensure clean edges and a seamless transition.
Post-Application Care
After applying the air release vinyl, it is crucial to follow certain care practices to ensure longevity:

1. Curing Time
Allow the vinyl to cure adequately, generally 24 to 48 hours without washing. This helps the adhesive attain maximum bond strength.
2. Maintenance
For optimal maintenance:
- Clean the surface with a mild soap solution.
- Avoid aggressive scrubbing and harsh chemicals.
- Inspect for bubbles: if you find any, use a pin to release trapped air carefully, then smooth them out.
3. Regular Check-Ups
Perform regular inspections on wear, especially in high-traffic areas or where the vinyl meets sharp edges. Reapply or touch up as needed to maintain a professional appearance.

Troubleshooting Common Issues
Not all applications go perfectly, and knowing how to troubleshoot issues can save time and effort. Below are common problems and their solutions:
| Problem | Solution |
|---|---|
| Bubbles Forming | Use a pin to puncture and smooth down. |
| Misalignment | Carefully lift and reposition the vinyl. |
| Adhesion Failure in Edges | Reheat and press down edges as necessary. |
| Wrinkles and Creases | Reheat and stretch gently for correction. |
Conclusion
Successfully applying air release vinyl on a semi-trailer is pivotal in achieving that professional touch while increasing your vehicle’s visibility. With proper preparation, application techniques, and post-care, your vinyl graphics can not only beautify your trailer but stand out on the road for years to come. This guide aims to equip you with the knowledge you need to tackle the process with confidence, ensuring a visually striking and durable result. Embrace these strategies, and you will achieve seamless, eye-catching graphics that enhance your semi-trailer and serve your branding needs effectively.


