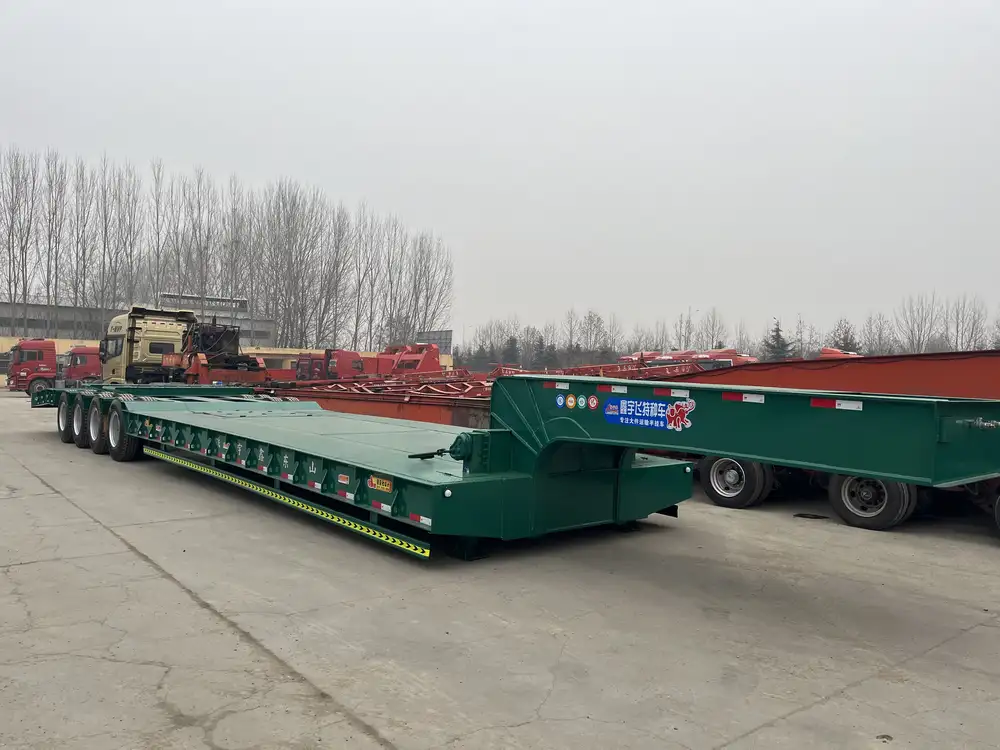
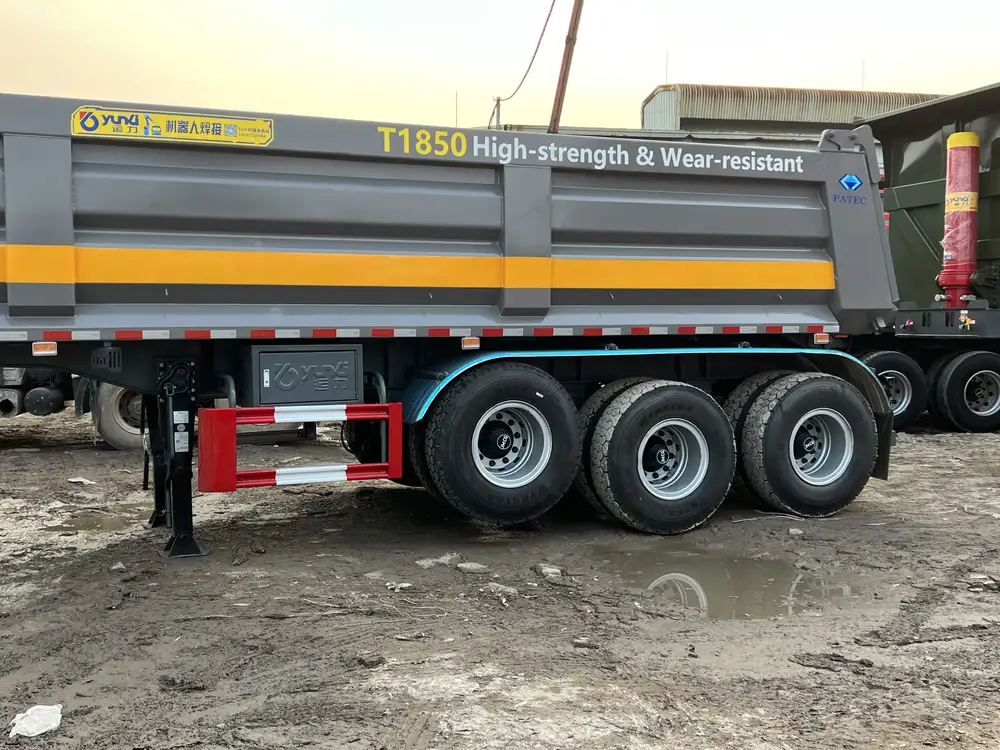
Belly dump trailers are a staple in the transportation and construction industry, known for their unique design that allows for quick unloading of bulk materials. However, ensuring the trailer’s brakes are correctly adjusted is crucial for safety and efficiency. This comprehensive guide delves deeply into the nuances of adjusting trailer brakes on belly dump trailers, ensuring safety, enhancing performance, and prolonging the lifespan of your equipment.
Understanding the Importance of Proper Brake Adjustment
Why You Need Properly Adjusted Brakes
Before embarking on the specifics of adjustment, it’s essential to recognize why proper brake adjustment is critical:
- Safety: Inadequate brake response can lead to catastrophic accidents.
- Performance: Well-adjusted brakes ensure efficient stopping power, especially when carrying heavy loads.
- Longevity: Proper adjustment minimizes wear on brake components, reducing maintenance costs over time.

Signs of Improper Brake Adjustment
Before adjusting your trailer’s brakes, identify signs that indicate they may require attention:
- Uneven braking force: The trailer pulls to one side during braking.
- Increased stopping distance: Difficulty stopping, especially when loaded.
- Unusual noise: Grinding or squeaking sounds when the brakes are engaged.
- Warning lights: Dashboard alerts or brake failure warnings.
Recognizing these signs early can prevent more extensive repairs down the line.
Types of Brake Systems in Belly Dump Trailers
Understanding the type of brake system employed in your belly dump trailer is essential for adjustment accuracy. The two primary systems used are:
| Brake Type | Description | Pros | Cons |
|---|---|---|---|
| Air Brakes | Utilizes compressed air to apply pressure to brake pads. | Stronger stopping power, ideal for heavy loads. | Requires air compressor, potential for leaks. |
| Electric Brakes | Uses electric current to activate the brakes. | Easier to maintain, no air supply needed. | Less effective for very heavy loads. |
Each system requires different adjustment techniques, which we will explore in detail.
Step-by-Step Guide to Adjusting Trailer Brakes

Tools and Materials Needed
Before proceeding, ensure you have the following tools:
- Brake adjustment wrench
- Torque wrench
- Jack stands
- Level
- Lubricant (for the brake components)
- Safety goggles and gloves
Safety Precautions
- Always wear safety gear to protect yourself from moving parts and brake dust.
- Ensure the trailer is parked on a level surface, and engage the parking brake.
Step 1: Inspect and Prepare
Visual Inspection: Begin with a thorough visual inspection of the brake components for wear and damage.
Wheel Removal: Remove the wheels for easier access to brake components. Use a jack to lift the trailer and place it on jack stands.

Step 2: Adjusting Air Brake Systems
Adjusting air brakes involves setting the pushrod stroke correctly.
Locate the Pushrod: Identify the pushrod that connects the brake chamber to the brake mechanism.
Measure Stroke: Use a tape measure to check the pushrod’s stroke while the brakes are applied. The stroke should typically be around 2 to 3 inches for proper operation.
Adjust Pushrod: Use a brake adjustment wrench to turn the clevis or adjusting nut counter-clockwise to extend or clockwise to shorten the pushrod. Ensure the stroke aligns with manufacturer specifications.
Test and Repeat: Reapply the brakes and remeasure. Adjust again if necessary until the correct stroke is achieved.
Step 3: Adjusting Electric Brake Systems
Locate the Manual Adjusting Screw: Find the manual adjusting nut located on the brake backing plate.
Adjust the Drum: Use a brake adjustment wrench to turn the screw. Turning screws clockwise will tighten the brakes, while counterclockwise will loosen them. Ensure the brakes engage properly with the drum.
Check for Drag: After adjustment, you should feel a slight drag when spinning the wheel by hand. If it spins freely, readjust until slight resistance is felt.
Final Test: Reinstall the wheels and perform a test drop (a slow, controlled drop of the trailer) to ensure all brakes engage correctly under load.
Step 4: Lubrication and Maintenance
Proper lubrication of brake components is essential for smooth operation and longevity.
Lubricate Components: Apply lubricant to pivot points, the adjuster mechanism, and any contact points according to the manufacturer’s specifications.
Brake Shoe Adjustment: Check the brake shoes for wear. Ensure they are not worn down beyond manufacturer specs. If needed, replace the shoes.

Step 5: Post-Adjustment Checks
After completing your brake adjustments, conduct the following checks:
- Visual Inspection: Look for any components that may need further attention or lubrication.
- Drag Test: Push the trailer to ensure the brakes are not engaged unnecessarily.
Additional Tips for Maintaining Trailer Brakes
| Maintenance Activity | Frequency | Notes |
|---|---|---|
| Brake Adjustment | Every 5,000 miles | Adjust more frequently if load conditions change. |
| Visual Inspection | Monthly | Look for leaks, wear, and damage. |
| Component Lubrication | Every 10,000 miles | Ensure to use appropriate lubricant. |
| Brake System Replacement | Every 50,000 miles | Replace all worn brake components. |
Consistent maintenance practices not only extend the lifespan of your trailer but also ward off unexpected failures.
Common Questions About Belly Dump Trailer Brake Adjustments

How Often Should I Adjust My Trailer Brakes?
Regular adjustments should coincide with your maintenance schedule. Many professionals recommend adjustments every 5,000 miles, but highly variable load conditions may necessitate a more frequent schedule.
What Tools Do I Need for Brake Adjustment?
The primary tools include a brake adjustment wrench, torque wrench, jack stands, and lubrication materials. A general mechanic’s toolset can come in handy as well.
Why Are My Trailer Brakes Overheating?
Overheating may indicate insufficient adjustment or a warped brake drum. Check if the adjustment is too tight and inspect for other mechanical issues. Heat can lead to brake fade, significantly diminishing braking performance.

Conclusion
Adjusting the brakes on belly dump trailers is not merely a maintenance task; it is a vital safety activity that directly affects performance. By developing a clear understanding of the brake systems and regularly performing adjustments and inspections, you can ensure the highest levels of safety and efficiency in your operations.
Utilizing this guide, not only can you extend the lifecycle of your trailer, but you can also enhance its operational performance, bolstering your reputation in the industry as a savvy operator equipped for any challenge. Remember, a well-maintained trailer is an essential aspect of your transporting success.


