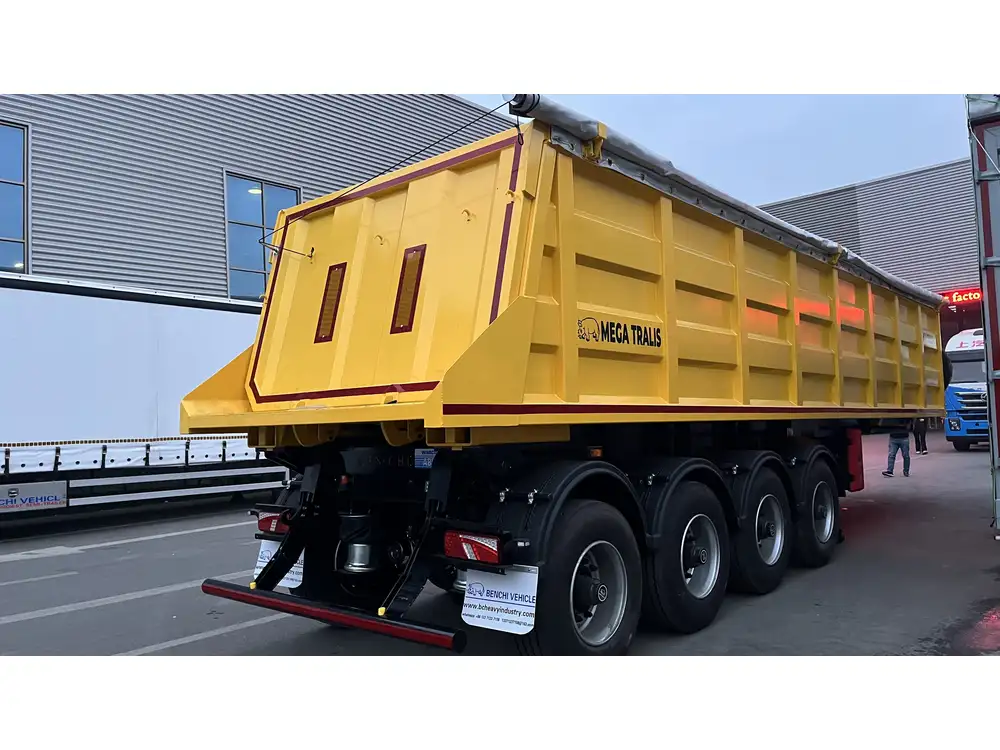
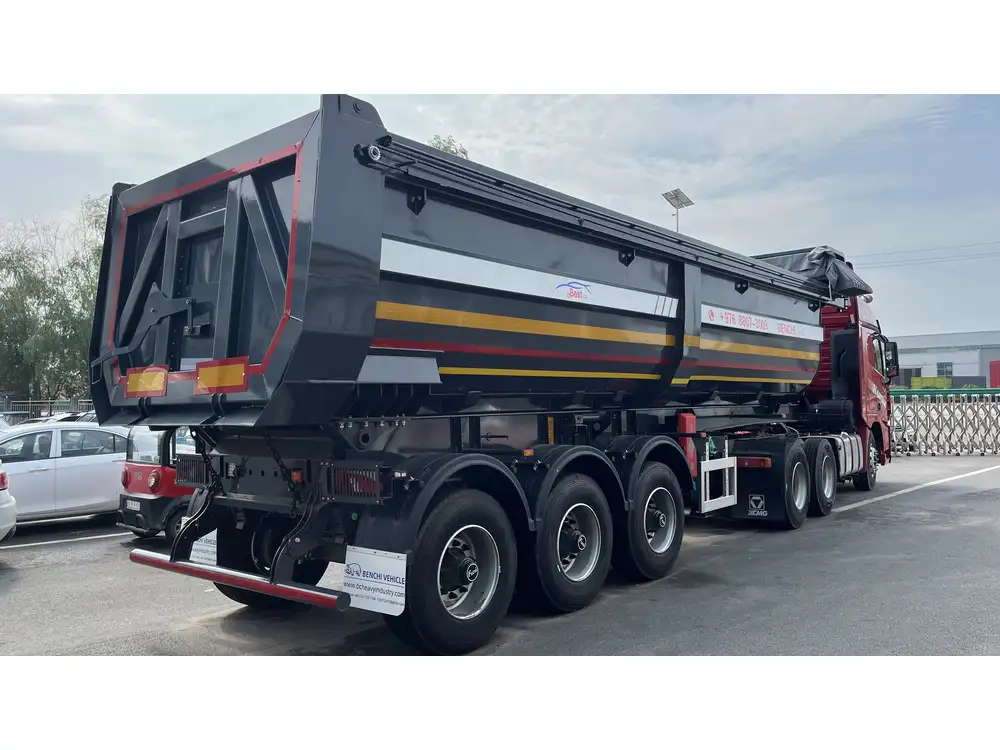
Ensuring optimal performance and safety when operating a dump trailer relies significantly on the correct adjustment of hydraulic pressure. The hydraulic system is integral for the efficient lifting and dumping of loads. In this guide, we will delve into the nuances of hydraulic pressure adjustments, arming you with all the necessary knowledge to maintain and operate your dump trailer effectively.
Understanding Hydraulic Systems in Dump Trailers
What is Hydraulic Pressure?
Hydraulic pressure refers to the force exerted by the hydraulic fluid within the system that provides power for lifting, lowering, and tilting the dump trailer. This pressure must be precisely calibrated to ensure that the trailer operates safely and effectively under various load conditions.

Components of Hydraulic Systems
Before proceeding to adjustments, let us identify the key components involved in the hydraulic system of your dump trailer:
| Component | Description |
|---|---|
| Hydraulic Fluid | The fluid used to transfer force throughout the system |
| Pump | Generates hydraulic pressure from the fluid |
| Cylinders | Actuate the lifting and lowering of the dump bed |
| Valves | Control the flow of hydraulic fluid |
| Pressure Gauge | Measures the pressure within the system |
Understanding these components is vital for troubleshooting and adjustment processes.
Why is Adjusting Hydraulic Pressure Essential?
Improper hydraulic pressure can lead to a range of issues, including:
- Insufficient Lifting Power: If the pressure is too low, the trailer may not be able to lift heavy loads efficiently.
- Unsafe Operating Conditions: Excessively high pressure can lead to mechanical failure, posing significant safety risks.
- Decreased Efficiency: Incorrect pressure levels may hinder the operation speed and effectiveness of dumping loads.
Adjusting the hydraulic pressure is therefore imperative for reliable and safe dump trailer operation.
Steps to Adjust the Hydraulic Pressure on a Dump Trailer

Safety First!
Before you begin, ensuring a safe working environment is paramount. Follow these precautions:
- Wear Protective Gear: Use gloves, goggles, and sturdy clothing to protect against hydraulic fluid and moving parts.
- Check for System Leaks: Inspect the hydraulic system for any leaks or loose connections.
- Follow Manufacturer Guidelines: Always consult your trailer’s manual for specific instructions and recommended pressure settings.
Step-by-Step Adjustment Process
1. Gather Necessary Tools
To adjust the hydraulic pressure, you will need:
- A pressure gauge (if not already installed)
- Wrenches to adjust fittings
- A screwdriver
- A suitable hydraulic fluid for topping up or replacement
- A bucket for fluid collection (if needed)

2. Locate the Pressure Adjustment Valve
Depending on your trailer’s design, the pressure adjustment valve can usually be found near the hydraulic pump. It’s often labeled to indicate its purpose.
3. Connect the Pressure Gauge
If your dump trailer does not have a built-in gauge:
- Locate the Pressure Port: This is where you will connect your external pressure gauge.
- Attach the Gauge: Ensure a tight fit to avoid leaks during measurement.
4. Start the Trailer’s Hydraulic System
With the pressure gauge connected:
- Start the hydraulic pump by engaging the vehicle or using the trailer’s power supply.
- Allow the system to build pressure, observing the gauge for current readings.

5. Make Initial Pressure Readings
Check the pressure reading against the specifications outlined in your owner’s manual to determine if an adjustment is necessary. Typical pressures for dumping operations can range from 1500 to 3000 psi, subject to the trailer type and load capacity.
6. Adjusting the Pressure
- To Reduce Pressure: Locate the adjustment nut on the pressure valve. Turn it counterclockwise to decrease the pressure gradually.
- To Increase Pressure: Conversely, turn the nut clockwise to increase hydraulic pressure. Make small adjustments, typically in 1/4 turn increments.
7. Test the Adjusted Pressure
- After adjustments, recheck the pressure reading while operating the hydraulic system.
- Perform a test lift with an empty or light load to ensure smooth operation.
- Monitor for any unusual sounds or behavior, indicating a potential issue.

8. Finalize and Clean Up
Once satisfied with the adjustments, remove the pressure gauge, replace any covers, and clean up any spills. Ensure that all tools are accounted for and stored properly.
Common Issues and Troubleshooting Tips
Pressure Fluctuations
Symptoms: Uneven lifting, bouncing operation.
Possible Causes:
- Air in the hydraulic system
- Fluid levels too low
Solutions:
- Bleed the hydraulic system to remove air.
- Check and refill hydraulic fluid to the recommended level.

Ineffective Lifting
Symptoms: Slow or inadequate raises, stalling under load.
Possible Causes:
- Low hydraulic pressure
- Faulty pump
Solutions:
- Reassess and readjust hydraulic pressure.
- Consult a professional for pump repairs if issues persist.
Leaks
Symptoms: Visible fluid escaping from hoses or connections.
Possible Causes:
- Worn seals or damaged hoses
Solutions:
- Replace faulty components as needed.
- Regularly inspect all connections for wear and tear.
Maintenance Tips for Hydraulic Systems
Regular maintenance of the hydraulic system enhances efficiency and longevity. Here are essential maintenance strategies:

Routine Inspections
Conduct regular checks for:
- Fluid Levels: Maintaining the right level of hydraulic fluid is critical.
- Condition of Hoses: Look for cracks or signs of wear and replace when necessary.
- Cleanliness of Components: Contamination can lead to system failures. Ensure that parts are clear of debris.
Fluid Changes
- Change hydraulic fluid as recommended by the manufacturer, usually every 1-2 years or after significant usage.
- Ensure to use high-quality hydraulic fluid suitable for your apparatus.
Professional Servicing
Consider scheduling periodic professional inspections to address complex issues beyond basic maintenance tasks. An expert can evaluate system components and replace parts when required to avoid critical breakdowns.

Conclusion
Adjusting the hydraulic pressure on your dump trailer is vital for maximizing efficiency and safety during operations. By following the outlined steps, common problems can be resolved effectively, enhancing overall performance. Regular maintenance, coupled with vigilant inspection, will not only prolong the lifespan of your hydraulic system but also allow for safer and smoother operations.
Understanding the critical nature of hydraulic systems in dump trailers opens avenues for better performance, thereby elevating your operational efficacy. Proper knowledge and consistent application of these practices promote reliability and safety, ensuring that every load is handled with precision. Whether you are a seasoned operator or a novice, the insights provided empower you to maintain optimal hydraulic pressure effectively.


