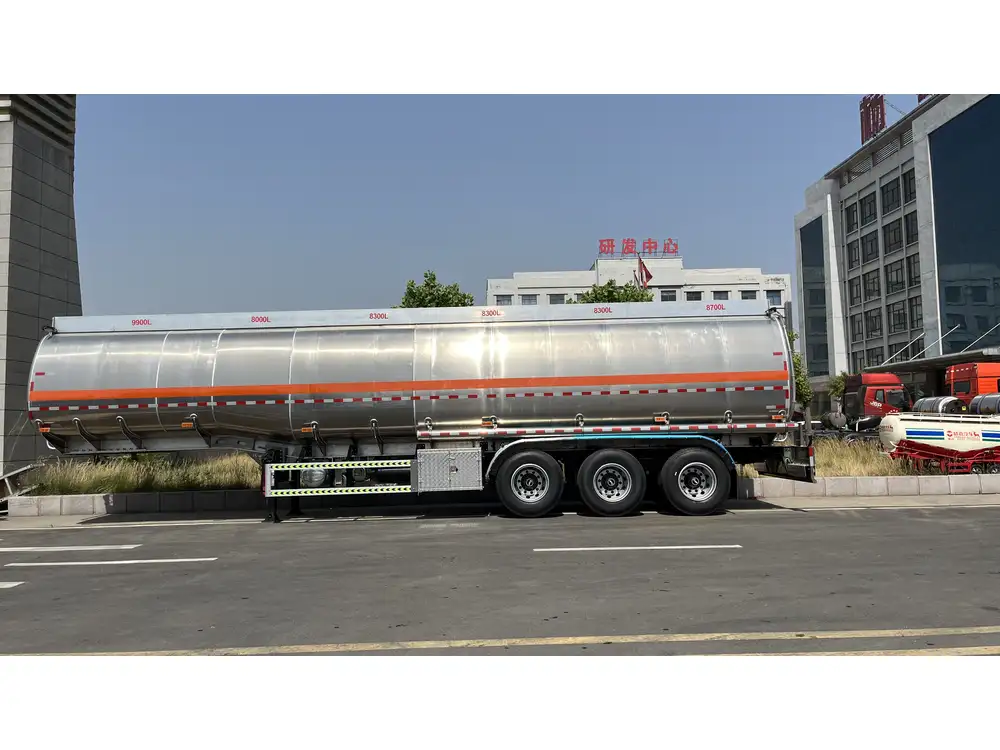
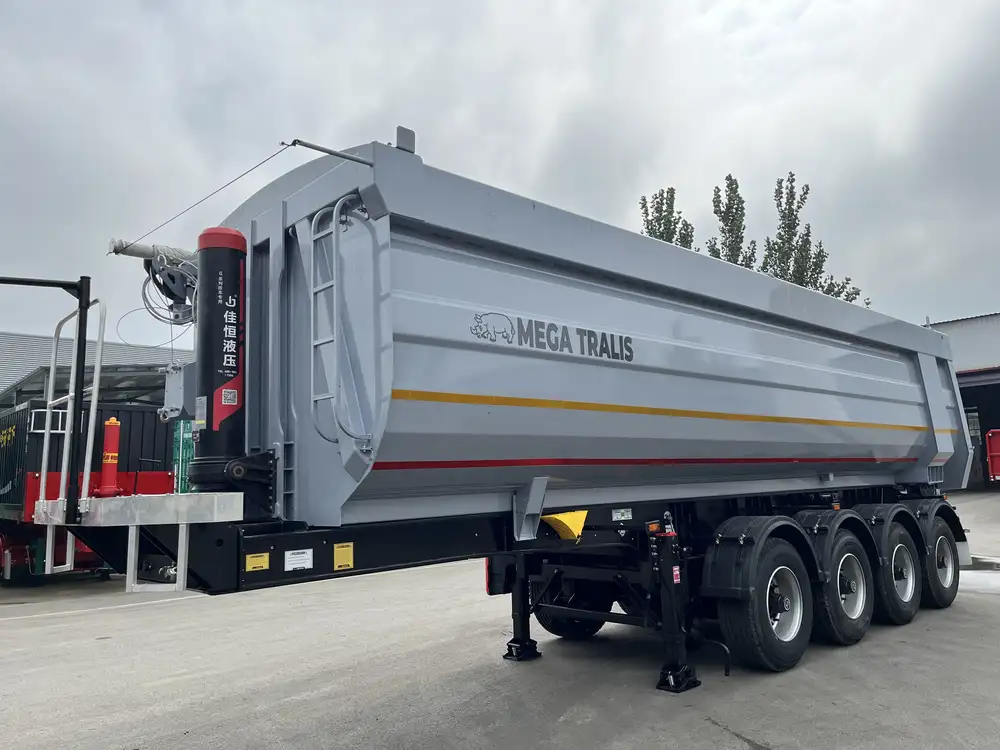
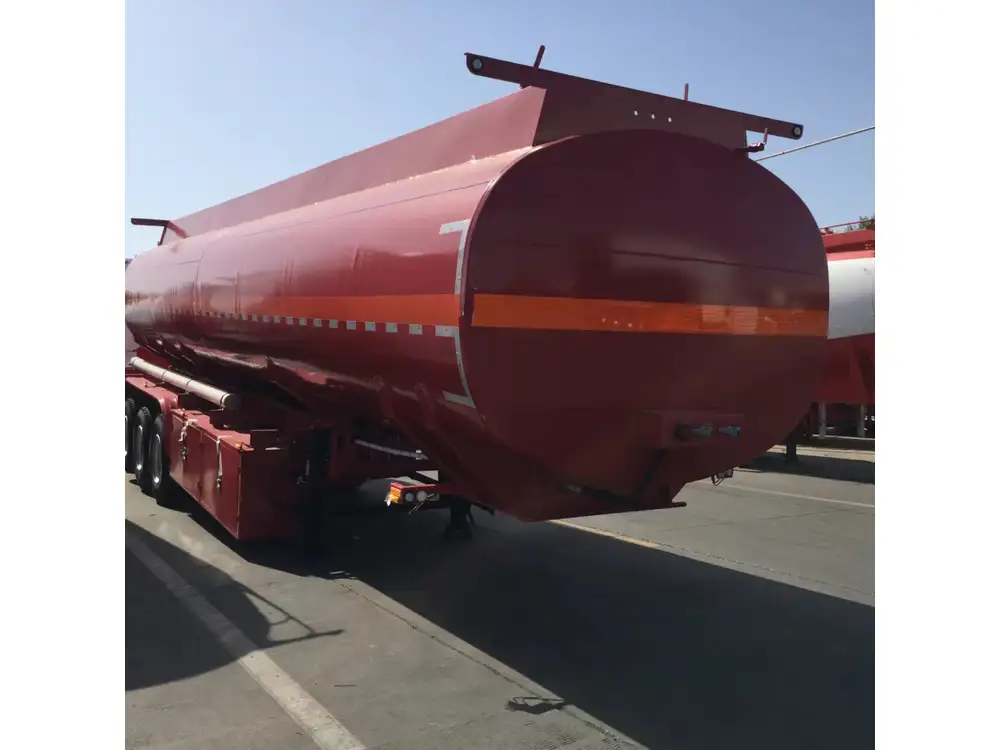
Adding trailer air brakes to a dump truck is a critical process that enhances safety, improves control, and increases the overall efficiency of your vehicle when hauling heavy loads. This guide aims to provide a thorough, step-by-step approach to installing air brakes on your dump truck, ensuring you have a clear understanding of the components involved and the necessary procedures.
Understanding Trailer Air Brake Systems
Before diving into the installation process, it’s essential to comprehend the function and importance of trailer air brakes. These brakes operate using compressed air to activate the brake chamber, releasing a consistent stopping force. Unlike traditional hydraulic brakes, air brakes offer the advantage of reliability and effectiveness, especially under heavy loads.
Key Components of Air Brake Systems
| Component | Function |
|---|---|
| Air Compressor | Produces compressed air for braking operations. |
| Air Tanks | Store compressed air. |
| Brake Chambers | Convert air pressure into mechanical force. |
| Slack Adjusters | Adjust the distance between the brake shoes and drum. |
| Brake Shoes | Engage with the drum to create friction and stop the vehicle. |
| Control Valves | Regulate air flow within the system. |
This well-integrated system ensures smooth operation, thereby reducing wear and tear on both the truck and the trailer.

Preparing for Installation
Tools and Supplies Needed
Gathering the right tools and supplies is crucial for a successful installation. Below is a list that encompasses all necessary items:
Tools:
- Air wrench
- Socket set
- Torque wrench
- Pipe cutter
- Crimping tool
- Screwdrivers (flathead and Phillips)
Supplies:
- Air brake line tubing
- Fittings and couplings (compression type)
- Brake chamber assembly
- Slack adjusters
- Brake shoes
- Air compressor (if not pre-installed)
Safety Precautions
- Ensure the dump truck is parked on a flat surface, avoiding any potential movement during installation.
- Disconnect the battery to prevent accidental electrical shorts.
- Wear appropriate personal protective equipment, including gloves and safety goggles.

Step-by-Step Installation Process
Step 1: Remove Existing Brake Components
Begin by taking out any existing brake components that might interfere with the new installation. Carefully detach the current brake system, ensuring you label all parts for easy reassembly if required.
- Disconnect air lines and brake lines from existing components.
- Remove the current brake shoes and any brackets attaching them to the drum.
Step 2: Install Brake Chambers
Brake chambers convert compressed air into mechanical force. To install the brake chambers correctly:
Locate Mounting Points: Identify the best mounting point on your truck frame for the brake chambers.
Attach the Brake Chamber: Secure the brake chamber with bolts in the predetermined location using appropriate torque specifications. It’s crucial to refer to the manufacturer’s guidelines for specific torque settings.

Step 3: Install Slack Adjusters
Slack adjusters ensure that your vehicle has a proper brake engagement. Follow these steps:
Fit Slack Adjusters: Attach the slack adjusters to the brake chamber’s pushrod.
Adjust for Optimal Performance: Manually adjust the slack adjuster to ensure that there’s minimal play when the brake shoes are engaged. Proper adjustment prevents excessive wear and improves braking efficiency.
Step 4: Connect Air Lines
Connecting the air lines is a critical component that requires precision:
Measure and Cut Air Tubing: Measure the length needed to connect the brake chambers and the air compressor, ensuring there are no bends or kinks. Use a pipe cutter for a clean cut.
Attach Fittings: Use compression fittings to attach the tubing securely to the brake chambers and compressor. Ensure these connections are tight to prevent air leaks.
Step 5: Install Brake Shoes
Proper installation of brake shoes is vital for effective braking:
Position Brake Shoes: Attach the new brake shoes to their respective backing plates.
Align with Drum: Ensure that the shoes are aligned properly with the brake drum. Misalignment can cause uneven wear and decreased effectiveness.

Step 6: Install Control Valves
Control valves regulate the flow of air throughout the braking system:
Select Appropriate Location: Choose a spot that maximizes accessibility while ensuring the lines are not at risk of damage.
Secure the Control Valve: Use bolts or existing brackets to attach the control valve firmly.
Connect Air Tubing: Connect the incoming and outgoing air lines to the control valve ensuring airtight connections.
Step 7: Connect the Air Compressor (if not factory-installed)
If your dump truck doesn’t have a compressor, or if you’re upgrading:
Mount the Air Compressor: Choose a position that allows easy access and facilitates optimal air flow.
Connect to Engine: Connect the compressor to the engine using appropriate hardware and fittings.
Wire Electrical Connections: Connect any electrical connections needed for the compressor to operate.
Step 8: Test the System
After everything is installed, it’s crucial to test the air brake system:
Charge the System: Start the engine to allow the air compressor to fill the air tanks.
Check for Leaks: Use a soap-and-water solution to check all connections. Bubbles indicate leaks that need to be fixed.
Test Braking Performance: Gradually test the brakes in a safe, controlled environment. Understand the feel of the pedal and ensure the braking system engages effectively.

Maintaining Your Air Brake System
Routine maintenance is vital for the longevity and performance of your air brake system:
Regular Inspections: Inspect air lines, connections, and all components regularly. Look for signs of wear or damage.
Check Air Tanks: Drain moisture from air tanks to prevent rust and corrosion.
Adjust Slack Adjusters: Perform periodic adjustments to ensure no excessive slack develops over time.
Replace Brake Shoes: Monitor the thickness of brake shoes regularly and replace them before they become too worn out.
Troubleshooting Common Issues
While air brake systems are reliable, issues can arise. Here are some common problems and their solutions:
Problem: Weak Braking Power
- Solution: Check for air leaks in the lines or connections. Inspect the slack adjusters for proper tension.

Problem: Continuous Air Loss
- Solution: Inspect air tanks and lines for leaks. Tighten connections or replace faulty components.
Problem: Uneven Wear on Brake Shoes
- Solution: Ensure that brake shoes are correctly aligned with drums and that slack adjusters are functioning properly.
Conclusion
Adding trailer air brakes to your dump truck is a technical yet rewarding endeavor that significantly enhances performance and safety. By understanding the components, rigorously preparing and following a detailed installation process, you ensure a durable and effective braking system. Regular maintenance and prompt troubleshooting further guarantee that your air brake system remains in peak condition, providing peace of mind while you handle heavy loads. Equipped with this knowledge, you can tackle this installation with confidence and precision, ensuring your dump truck operates at its best.


