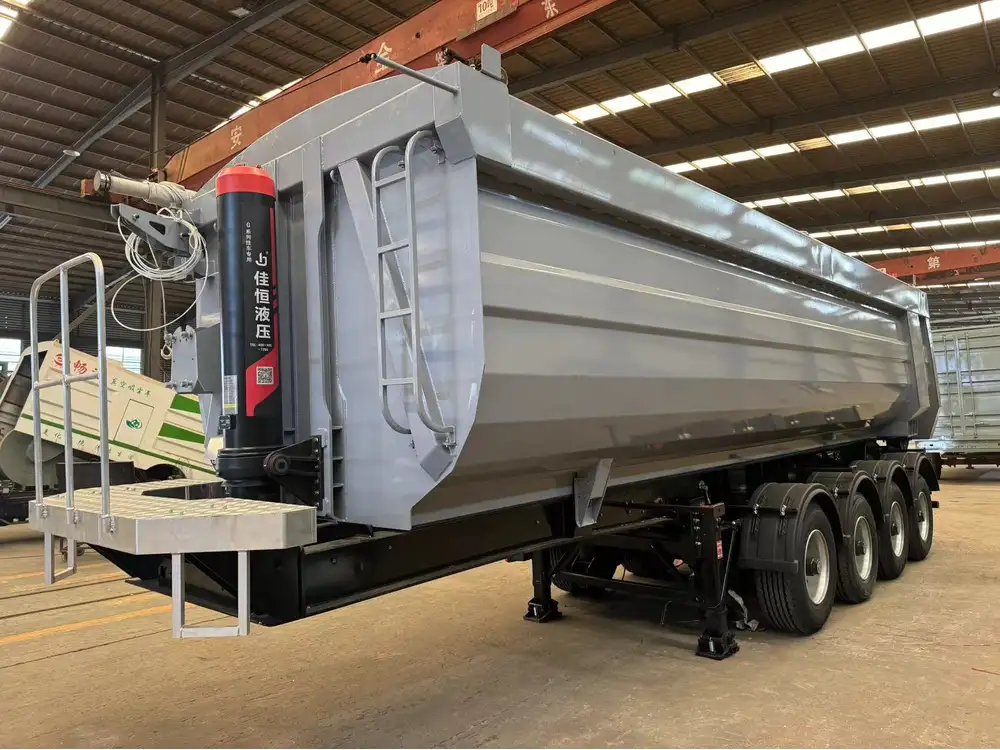
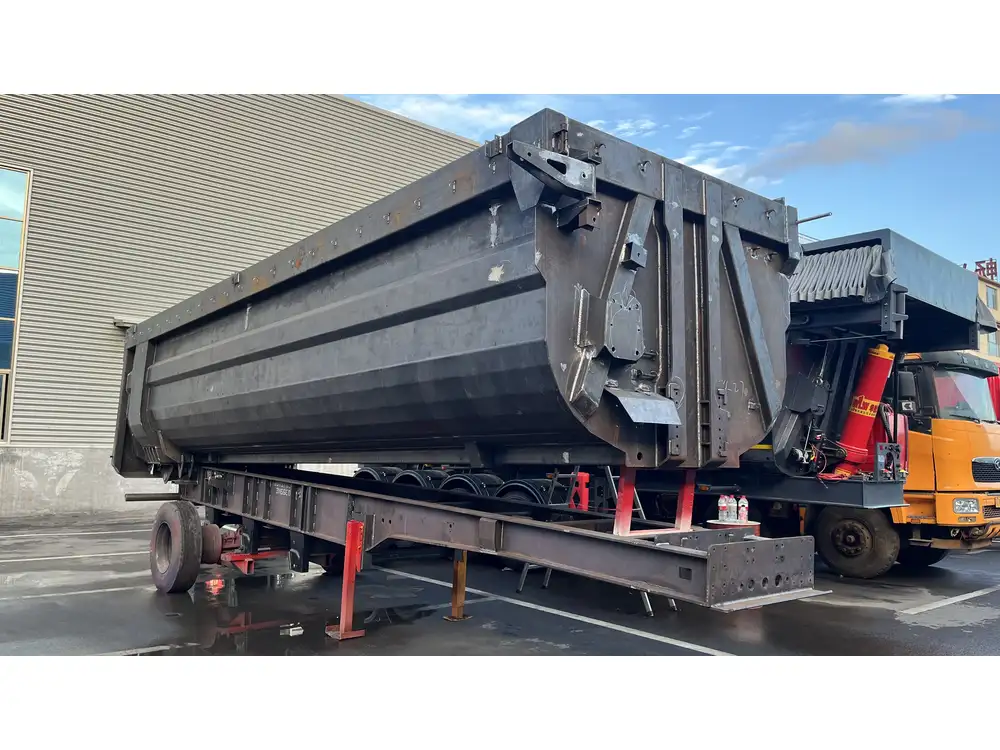
In the realm of semi-trailer maintenance, the significance of properly functioning slack adjusters cannot be overstated. These essential components play a crucial role in the reliability and safety of heavy vehicles. Proper adjustment ensures that the brakes engage effectively, enhancing vehicle safety and promoting optimal performance. In this extensive article, we delve into the intricacies of slack adjusters, providing you with a detailed understanding of their function, types, and the precise steps required to adjust them for optimal performance.
Understanding Slack Adjusters: Function and Purpose
Slack adjusters are mechanical devices used in the brake system of semi-trailers, specifically in air brake systems. Their primary purpose is to maintain the correct distance between the brake shoes and the drum, compensating for wear over time.
How Slack Adjusters Work
When the brake is applied, air pressure forces the brake shoes against the drum, creating friction that slows down the vehicle. As the brake shoes wear down, slack adjusters automatically compensate for this wear to maintain effective braking distance.
Key functions include:
- Automatic Adjustment: Slack adjusters automatically adjust themselves after each braking cycle.
- Manual Override: In manual slack adjusters, an operator can adjust the length of the adjuster to compensate for wear.

Types of Slack Adjusters
Automatic Slack Adjusters: These are designed to adjust themselves automatically as the vehicle is driven. They consist of a ratchet mechanism that engages and adjusts based on the brake application.
Manual Slack Adjusters: In contrast, manual slack adjusters require periodic checks and adjustments performed by personnel. They are typically used in older vehicles or specific applications where automatic systems might not be ideal.
Identifying the Need for Adjustment
Before we proceed with the adjustment process, it is crucial to understand the signs indicating that slack adjusters may need tuning:
- Unresponsive Brakes: If you notice that the brakes are not engaging as effectively or require increased pedal pressure, it may indicate slack adjuster issues.
- Uneven Brake Wear: Inspecting brake pads can reveal uneven wear, often attributed to improper slack adjuster functioning.
- Increased Stopping Distance: A noticeable increase in the distance required to bring the vehicle to a stop can indicate that adjustments are necessary.
Tools and Materials Needed
To effectively adjust slack adjusters, proper tooling is essential. Here’s what you will need:
| Tool | Description |
|---|---|
| Brake Adjustment Tool | Specifically for slack adjuster settings, often includes a socket or wrench. |
| Torque Wrench | To ensure that fittings are tightened to manufacturer specifications. |
| Safety Glasses | For eye protection during the adjustment. |
| Pliers | Useful for securing or loosening components. |
| Brake Cleaner | To clean the assembly before adjustment. |
| Gloves | To protect hands while working with brake components. |

Step-by-Step Guide to Adjusting Slack Adjusters
Next, we outline a detailed, methodical approach to adjust slack adjusters on semi-trailers. Follow these steps to ensure precision and safety:
1. Preparation
- Park on Level Ground: Ensure the semi-trailer is parked on a flat, stable surface.
- Engage Parking Brake: Always engage the parking brake to prevent accidental movement during maintenance.
- Remove Wheels (If Necessary): Depending on access, you may need to remove the wheels for a full view of the slack adjusters.
2. Check Manufacturer Specifications
Refer to your vehicle’s owner manual for specific adjustment measurements and procedures tailored for your semi-trailer model. This data is critical for a precise adjustment.

3. Inspect the Slack Adjusters
Before making adjustments, inspect the slack adjusters for signs of wear or damage. Look for:
- Cracks in the housing
- Rust or corrosion
- Unusual wear patterns
- Proper installation
If any components appear compromised, they may need replacement rather than adjustment.
4. Measuring Brake Shoe Clearance
- Use a Feeler Gauge: Insert a feeler gauge between the brake shoes and the drum. The desired clearance is typically between 0.030 and 0.060 inches. This varies by manufacturer, so crystal-clear specifications are imperative.
- Determine Adjustment Needs: If the measurement exceeds specifications, adjustments are required.
5. Adjusting Automatic Slack Adjusters
- Locate the Adjustment Nut: Find the hex-shaped nut on the adjustment arm.
- Rotate the Nut: Using the brake adjustment tool, turn the nut clockwise to increase shoe clearance or counterclockwise to decrease it.
- Re-check Clearance: After adjusting, use the feeler gauge again to ensure that the clearance is within required limits.
- Engage and Release Brakes: Manually engage and release the brakes several times to allow the automatic mechanism to take effect.

6. Adjusting Manual Slack Adjusters
- Loosen the Locknut: Use a wrench to loosen the locknut while ensuring not to remove it completely.
- Turn the Adjustment Bolt: Depending on the required adjustment, turn the bolt clockwise to shorten the slack adjuster or counterclockwise to lengthen it.
- Check Brake Shoe Clearance Again: Always verify that the clearance is correct following any adjustments.
- Secure the Locknut: Once satisfied with the adjustments, retighten the locknut to the manufacturer’s torque specifications.
7. Final Steps
- Reattach Wheels (If Removed): If you have removed the wheels, reattach them securely before lowering the vehicle.
- Function Test: Conduct a function test by driving the semi-trailer in a safe area. Apply the brakes gently to ensure uniform response across all wheels.
- Recheck Slack Adjusters: After initial road testing, recheck the slack adjusters to confirm they remain within specifications.
Preventative Maintenance for Slack Adjusters
To maintain optimal function, regular inspection and preventive maintenance are crucial. Follow these guidelines:
- Routine Inspections: Schedule inspections every 5,000 to 10,000 miles depending on the usage of the vehicle.
- Clean Components: Utilize brake cleaner to remove debris and contaminants from the slack adjusters and surrounding areas during inspections.
- Watch for Wear: Stay vigilant for signs of wear or load imbalances in brakes, which may indicate slack adjuster problems.

Key Considerations
Safety First
Adjusting slack adjusters is a critical task that impacts the safety of the semi-trailer. Always prioritize safety by wearing appropriate gear and adhering to best practices.
Documentation
Keep detailed records of adjustments made, including dates and measurements. This documentation can assist in identifying patterns or recurrent issues, enhancing maintenance strategies.

Conclusion
Adjusting slack adjusters on a semi-trailer is not only vital for ensuring safe operation but also enhances the longevity of your braking system. By following this comprehensive guide, you arm yourself with the knowledge and techniques necessary for effective slack adjuster maintenance. Regular upkeep can prevent serious issues down the road and ensure your semi-trailer is always operating at its best.
By embracing a proactive maintenance routine, you’ll not only prolong the lifespan of your vehicle but also safeguard the safety of those who share the road with you. Stay informed, stay safe, and let precision maintenance lead to superior performance.


