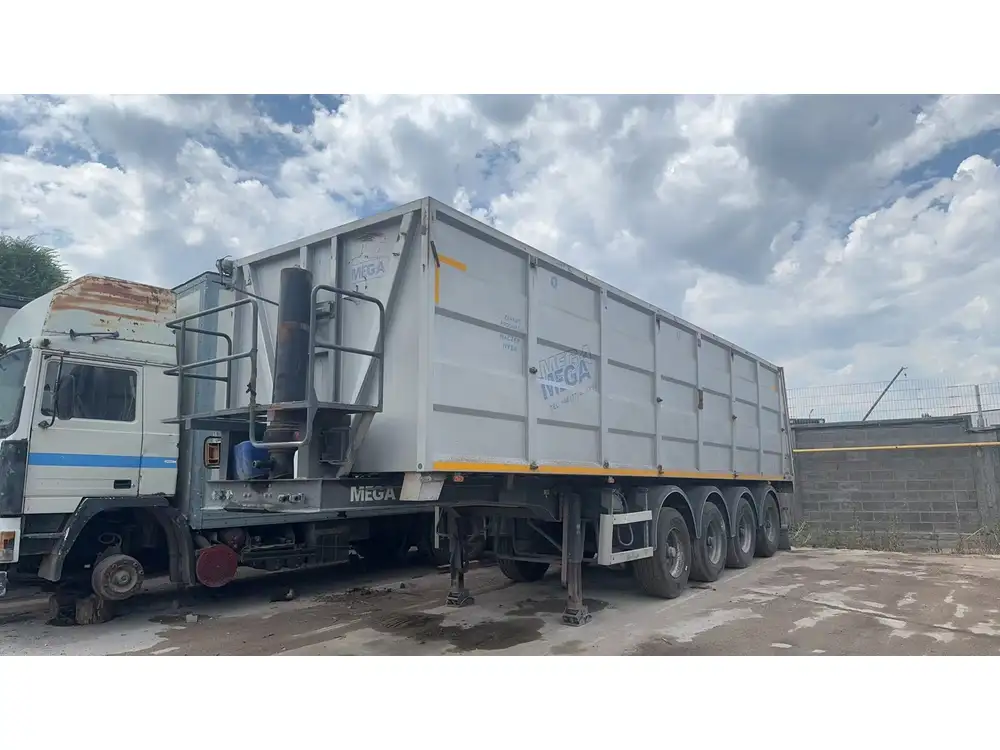
Wiring a 4-pin semi truck trailer receptacle may appear to be a daunting task for many, yet with the right guidance and understanding of the connection specifics, it transforms into a manageable project. This detailed guide dissects the step-by-step process to ensure robust electrical connectivity for your trailer.
Understanding the 4-Pin Receptacle: The Basics
What is a 4-Pin Trailer Receptacle?
A 4-pin trailer receptacle is a common connector found in semi-truck trailers, referred to for its four primary functions: running lights, turn signals, brake lights, and ground connection. Each pin plays a pivotal role in maintaining functional safety and operational efficiency.

Visual Overview of the 4-Pin Connector
| Pin Number | Function | Wire Color |
|---|---|---|
| 1 | Ground | White |
| 2 | Tail Lights | Brown |
| 3 | Left Turn Signal | Yellow |
| 4 | Right Turn Signal | Green |
Importance of Proper Wiring
Incorrect wiring not only leads to malfunctioning lights but can also create safety hazards on the road. Ensuring you get the wiring right is paramount for both compliance with regulations and safety standards.
Preparation: Tools and Materials Needed
Prior to embarking on this project, it’s crucial to gather the necessary tools and materials:
Tools Needed:
- Wire strippers
- Crimping tool
- Screwdriver
- Electrical tape
- Voltmeter (to test connections)
Materials Required:
- 4-pin trailer receptacle
- Corresponding wiring (12-gauge recommended)
- Wire connectors
- Heat shrink tubing (optional for moisture protection)

Step-by-Step Wiring Process
Step 1: Safety First
Before commencing any electrical work, safety should be your top priority. Ensure that the truck and trailer are disconnected from any power sources, and wear safety glasses to protect your eyes from metal shards and wire insulators.
Step 2: Preparing the Wires
Stripping the Wires:
- Use your wire strippers to remove about 1/2 inch of insulation from the end of each wire you will be connecting to the 4-pin receptacle.
- Avoid cutting the wiring strands while stripping to ensure optimal conductivity.

Step 3: Connecting to the Receptacle
Follow the Pin Configuration:
- Ground (White Wire): Connect this wire to the pin designated for ground, ensuring a solid connection to prevent electrical shorts.
- Tail Lights (Brown Wire): Attach this wire to the corresponding pin for tail lights.
- Left Turn Signal (Yellow Wire): Secure this wire to the left signal pin, confirming the connection is tight to avoid any interruptions.
- Right Turn Signal (Green Wire): Lastly, fasten the green wire to the right turn signal pin.
Using Connectors:
- Insert the stripped end of each wire into the appropriate connector, and use your crimping tool to create a secure connection that will withstand vibrations during travel.
Step 4: Securing the Connection
To promote longevity and prevent moisture intrusion:
- Wrap each connection in electrical tape, ensuring no exposed wires are left uncovered.
- If using heat shrink tubing, slide it over the connection before crimping, then use a heat source to shrink it down for an airtight seal.
Step 5: Testing the Connections
Once the wiring is complete:
- Reconnect any power source you have previously disconnected.
- Utilize a voltmeter to test each pin individually. Ensure that:
- The ground pin shows continuity when tested with a multimeter.
- The tail, left turn, and right turn functionality operates as intended by turning on the corresponding lights.

Step 6: Finalizing and Securing the Receptacle
Having confirmed the integrity of your connections, secure the 4-pin receptacle back into its mounting housing. Be sure all connections are tucked away from harm, as packages and cargo can shift during transit.
Troubleshooting Common Issues
As with any electrical system, issues may arise post-installation. Here are some common problems, diagnostic strategies, and quick solutions:
Issue 1: Lights Not Functioning
Diagnostic Approach:
- Check for power using a voltmeter at the receptacle. If voltage is present at the pins but lights do not work, investigate the trailer bulbs for functionality.
Quick Solution:
- Replace any non-functioning bulbs and ensure that connections between the trailer and the truck are secure.

Issue 2: Flickering Lights
Diagnostic Approach:
- Inspect all wire connections for corrosion or damage.
Quick Solution:
- Recrimp or reconnect any loose wires, and clean corroded connections with an appropriate cleaner.
Frequently Asked Questions
What gauge wire should I use for my 4-pin trailer?
A 12-gauge wire is generally recommended as it strikes a balance between managing current load and flexibility.

Can I use a 4-pin receptacle on a 7-pin trailer?
While a 4-pin connection can function on a vehicular system with a 7-pin adapter, be aware that you will be limited to the functions provided by the 4-pin setup.
How do I maintain my semi truck trailer connection?
Regular inspections of your trailer connections, including cleaning and checking for corrosion, will help ensure consistent functioning over time.
Conclusion
In conclusion, wiring a 4-pin semi truck trailer receptacle is an essential skill for maintaining safe and operable trailer systems. By following this detailed guide, troubleshooting common issues, and understanding the importance of each connection, we equip ourselves to enhance our trailer’s performance and efficiency. Proper installation not only protects the investment in the trailer but also safeguards the lives traveling on the roads, creating a more efficient and secure transport system. Don’t forget—the key to optimal performance is not just in smart wiring but also in regular maintenance and attentive checks.


