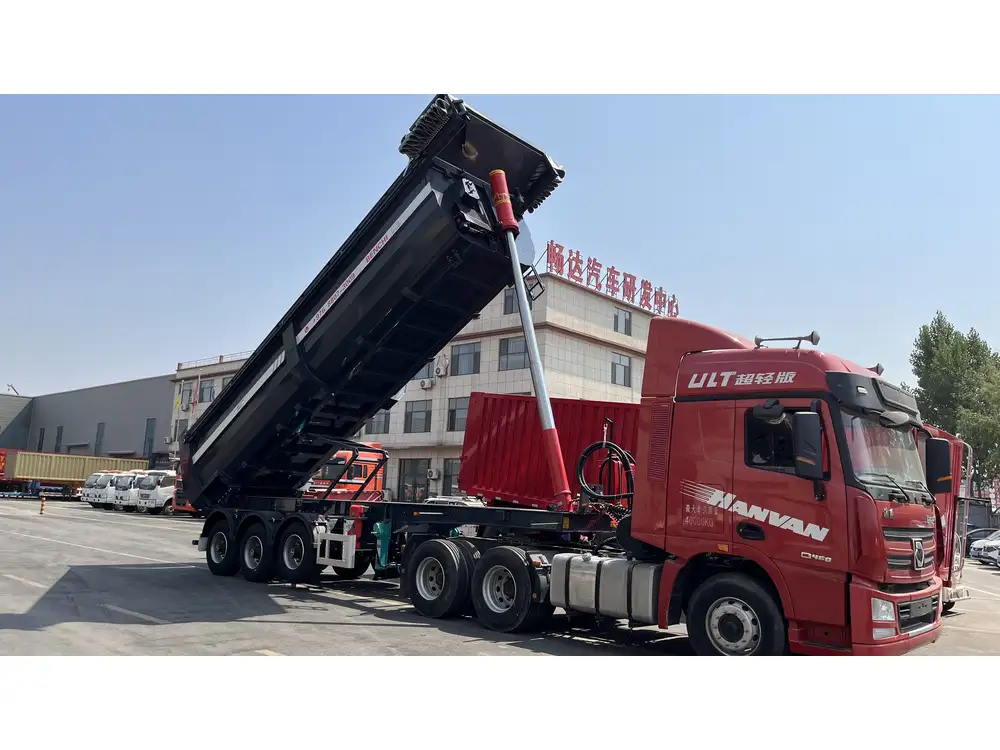
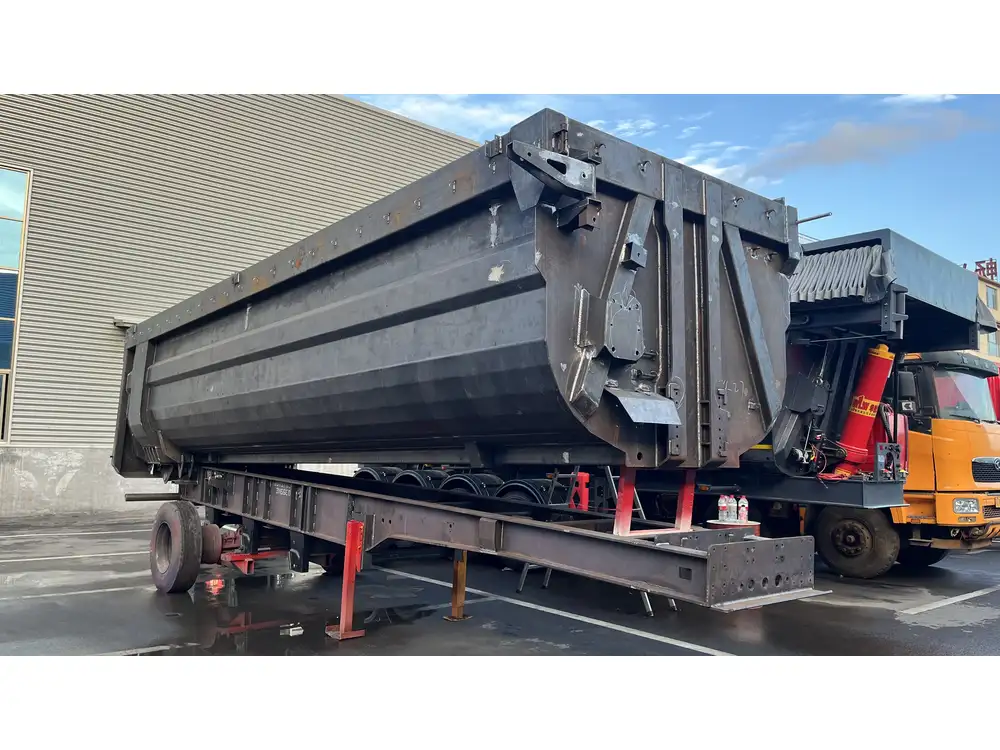
Introduction: Understanding Dump Trailer Lighting Issues
Dump trailers are invaluable in various industries, primarily for transporting materials. However, lighting issues can hamper their functionality and compromise safety, especially when operating in low-light conditions. Understanding how to repair the lights on your dump trailer can save time, ensure compliance with safety regulations, and enhance usability. This guide will dissect common lighting problems, provide step-by-step diagnostic and repair procedures, and equip you with the knowledge to keep your dump trailer operational.
Common Dump Trailer Light Problems

1. Complete Light Failure
This issue occurs when none of the lights on the dump trailer function. Symptoms include the total absence of illumination from turn signals, brake lights, and taillights.
2. Flickering or Dim Lights
Flickering or dim lights can signal loose connections, corroded terminals, or voltage drops due to wiring problems.
3. One or More Lights Not Working
Often, a single light failure is attributable to a burnt-out bulb or a damaged wiring segment that only affects that specific light.

4. Indicator Issues
Faulty indicators can lead to misleading signals for those around you, posing safety risks.
5. Corrosion and Weather Damage
Excessive exposure to moisture and debris can corrode connections and fixtures, leading to malfunction.
Diagnosing Lighting Issues

Step 1: Visual Inspection
Conduct a thorough inspection of the trailer lighting system, focusing on:
- Wiring: Check for frayed or damaged wires; look for signs of wear such as exposed copper.
- Connections: Ensure all connectors are secure. Loose connections can lead to interruptions in power.
- Bulbs: Inspect each bulb for signs of filament breakage or damage.
Step 2: Testing the Circuit
Utilize a multimeter to check the existing voltage at each point in the lighting circuit. Follow these steps for effective testing:
- Set the multimeter to the DC voltage setting.
- Place the red lead on the positive terminal and the black lead on the ground.
- Activate the lights and note the voltage reading.
- Normal voltage: 12-14 volts indicates proper function.
- Low voltage: Below 12 volts suggests power issues.
- No voltage: Indicates a complete circuit failure.
Step 3: Using a Test Light
If you prefer a simpler method, consider using a test light:
- Ground the test light and connect it to the terminal of the light you’re testing.
- Activate the corresponding circuit (e.g., turn on the lights).
- If the test light illuminates, the circuit is receiving power; if not, further diagnosis is necessary.

Step 4: Circuit Continuity Test
In cases where you suspect broken wires or corroded connections:
- Place one multimeter lead on one end of the wire and the other lead at the opposite end.
- A reading of zero ohms indicates good continuity; higher readings suggest a break.
Common Repair Procedures
Replacing a Burnt-Out Bulb
Materials Needed:
- Replacement bulb (check manufacturer specifications)
- Gloves (to prevent oils from your skin damaging the bulb)
- Screwdriver
Steps:
- Remove the damaged lamp assembly using a screwdriver.
- Gently pull out the old bulb, being careful not to damage the socket.
- Insert the new bulb securely into the socket.
- Reassemble the lamp assembly and test.

Repairing Corroded Connections
Materials Needed:
- Wire brush or sandpaper
- Electrical connector cleaner
- Dielectric grease
Steps:
- Use a wire brush or sandpaper to scrub away corrosion on terminals.
- Clean each connector with electrical cleaner.
- Apply dielectric grease to prevent future corrosion before reconnecting.
Fixing Loose Connections
Materials Needed:
- Pliers
- Electrical tape or heat shrink tubing
- Replacement connectors (if necessary)
Steps:
- Identify and tighten loose connectors with pliers.
- If a connector is damaged, disconnect it carefully and splice in a new one.
- Secure any exposed wires with electrical tape or heat shrink tubing to prevent moisture infiltration.
Rewiring a Section of the Trailer
If you uncover damaged wiring during your inspection, it may be necessary to replace specific sections:
Materials Needed:
- Replacement wire (gauge as per specifications)
- Wire stripper
- Soldering iron or crimping tool
- Electrical tape
Steps:
- Use wire strippers to remove the damaged section.
- Cut a new piece of wire to length, strip ends for connecting.
- Either solder or crimp the new wire to the existing wiring, ensuring a snug fit.
- Insulate all connections with electrical tape.

Preventative Maintenance Tips
Regular Inspections
Schedule routine checks on your lighting system, looking for components that show signs of wear.
Cleanliness is Key
Regularly clean your lighting fixtures and connections to prevent dirt build-up that may lead to issues.

Seasonal Maintenance
Before winter and wet seasons, inspect your electrical system to ensure your trailer remains operational in adverse conditions.
Upgrade to LED
Consider upgrading to LED lights, which offer increased durability, reduced energy consumption, and a longer lifespan compared to traditional incandescent bulbs.
Frequently Asked Questions (FAQs)

How often should I check my dump trailer lights?
A general rule of thumb is to inspect the lights before each use. However, seasonal thorough inspections are recommended.
What tools are essential for light repair on a dump trailer?
Basic tools such as screwdrivers, wire strippers, pliers, a multimeter, and electrical tape should be part of your toolkit.
Can I use regular automotive bulbs in my dump trailer?
While some bulbs are interchangeable, always refer to your trailer’s specification manual for correct replacements to ensure compatibility.

What should I do if I cannot locate the problem?
If troubleshooting fails, consult the manufacturer or a professional repair service to resolve complex issues.
Conclusion
Mastering the repair of lights on your dump trailer is not just about fixing a functional issue; it’s about ensuring safety, compliance, and efficiency in your operations. By understanding common problems and employing a systematic approach to diagnosis and repair, you can maintain your trailer effectively, reduce downtime, and enhance the longevity of your equipment. Regular inspections, prompt repairs, and preventive measures will lead to a seamless and safer experience on the road.


