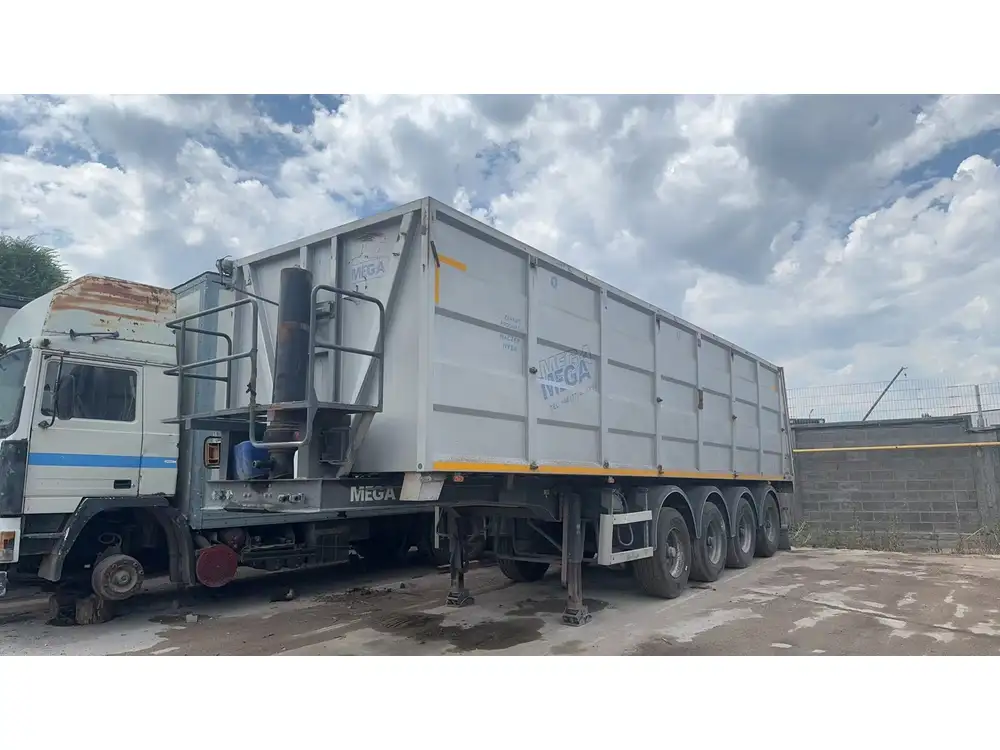
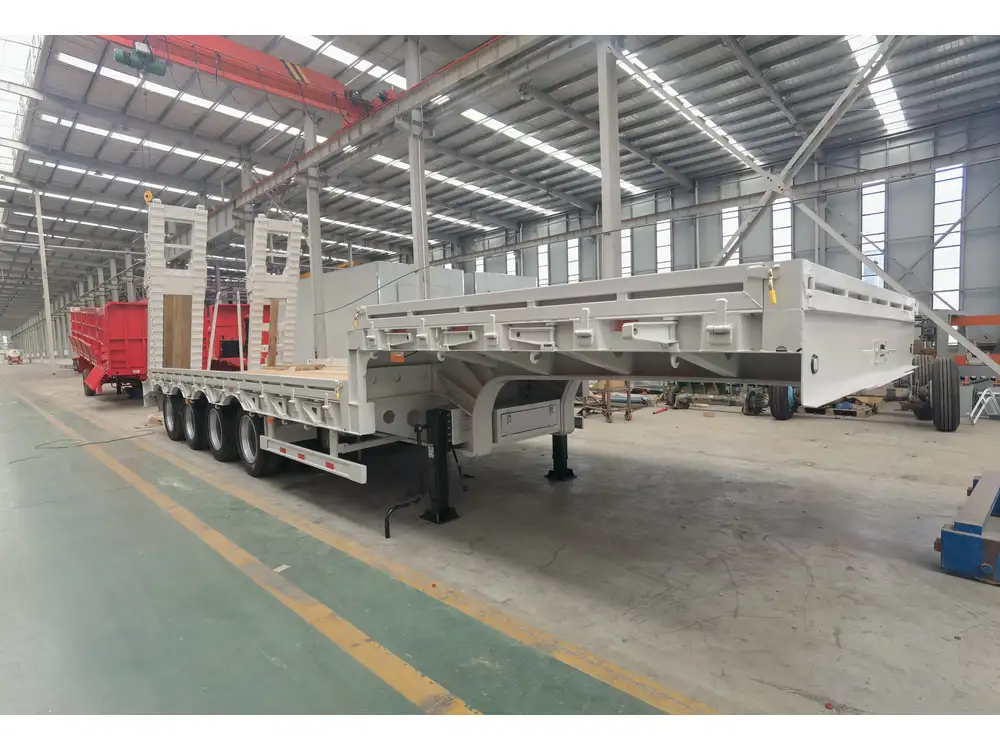
Adjusting the brakes on a semi-trailer is crucial for maintaining safety, efficiency, and performance on the road. The complexities of brake systems mean that improper adjustments can lead to catastrophic failures or accidents. In this detailed guide, we delve into the nuances of semi-trailer brake adjustment, providing you with essential techniques, step-by-step procedures, and critical information designed to optimize the performance and longevity of your trailer’s braking system.
Understanding Semi-Trailer Brake Systems
Brake Types
Semi-trailers utilize two main types of brake systems: air brakes and hydraulic brakes.
Air Brakes: Predominantly used in heavy-duty trucks and trailers, air brakes operate using compressed air. The air pressure is released to engage the brakes, allowing for effective stopping power under heavy loads.
Hydraulic Brakes: Although less common in semi-trailers, hydraulic brakes use brake fluid to transmit power. These brakes are typically seen in lighter applications.

Key Components of a Brake System
A semi-trailer braking system consists of several critical components:
| Component | Function |
|---|---|
| Brake Shoes | Press against the drum to create friction and stop the vehicle. |
| Brake Drums | Encase the brake shoes and are where the friction occurs. |
| Slack Adjusters | Automatically or manually adjust the brake shoes’ distance from the drum. |
| Air Compressor | Generates compressed air for the air brake system. |
| Brake Valve | Controls the application of brakes based on the driver’s command. |
Importance of Proper Brake Adjustment
Neglecting regular brake adjustments can escalate into multiple issues, including diminished stopping power, increased stopping distances, uneven tire wear, and, eventually, brake failure. Consistent maintenance can not only enhance safety but also extend the life of your brake components.
How to Check Brake Adjustment
Before diving into the adjustment process, it’s vital to conduct a comprehensive inspection of the braking system. Here’s how to check the current brake adjustment:
Visual Inspection: Check for signs of wear or damage on brake components, including shoes and drums. If any visible damage is noticed, replacement is necessary.
Drum Measurements: Measure the brake drum’s inside diameter. Any increase over the standardized measurements indicates that the drum may be worn and should be evaluated for reconditioning or replacement.
Slack Adjuster Check: Ensure that the slack adjusters are functioning correctly. The adjusters should engage fully without excessive movement beyond the recommended inch.

Measuring Adjustment
For air brakes, the recommended brake adjustment can be measured through the following guidelines:
Check the Push Rod Stroke: With the brakes released, measure the push rod’s stroke. This should not exceed the recommended distance specified by the manufacturer (commonly 1 to 2 inches).
Checking for Proper Engagement: Ensure the brake shoes engage the drum properly when pressure is applied. An experienced technician should look for the correct squeezing action and absence of any grinding noises.
Step-by-Step Guide to Adjusting Semi-Trailer Brakes
Required Tools
To execute a proper brake adjustment, gather the following tools:
- Wrench set
- Torque wrench
- Brake adjustment gauge
- Brake cleaner
- Safety goggles
- Gloves

Air Brake Adjustment Procedure
Safety First: Park the semi-trailer on a level surface. Engage the parking brake and chock the wheels.
Remove the Wheel: Use a wrench to remove the lug nuts and take off the wheel to expose the brake assembly.
Inspect Brake Components: Examine the condition of the drum, shoes, and all associated hardware. Replace any worn or damaged parts.
Adjust the Slack Adjuster:
- Locate the slack adjuster.
- For manual adjustment, turn the adjuster clockwise until the brake shoes contact the drum, applying slight pressure.
- Turn the adjuster counterclockwise until the shoes back off slightly, ensuring they don’t drag against the drum.
Check the Push Rod Stroke: After adjustment, measure the push rod stroke again to verify it’s within factory specifications.
Reinstall the Wheel: Replace the wheel and securely fasten the lug nuts following a star pattern to ensure even distribution of pressure.
Test the Brakes: Once everything is securely reassembled, start the vehicle, release the parking brake, and test the brake engagement by applying pressure.
Hydraulic Brake Adjustment Procedure
Ensure Safety: Confirm that the vehicle is stationary on a flat surface and secure the wheels.
Remove Wheel and Brake Drum: Detach the wheel utilizing the wrench, and proceed to remove the brake drum for better access.
Inspect Brake Shoes and Linings: Look for wear in the brake shoes and linings, ensuring they are free from contaminants like oil or grease.
Adjust the Brake Shoes:
- Use a brake adjustment tool to turn the star wheel until the shoes come into light contact with the drum.
- Ensure there is enough space (approximately 1/16 inch) between the shoe and the drum when you replace it.
Reassemble the Brake Components: Reattach the brake drum and wheel.
Perform a Brake Test: After reassembly, perform a brake test by applying pressure gently to confirm engagement without dragging.
Common Issues and Troubleshooting
Navigating the complexities of semi-trailer brake systems often uncovers specific issues. Here are some common problems and potential troubleshooting techniques:
| Issue | Potential Cause | Solutions |
|---|---|---|
| Uneven tire wear | Misalignment or improper adjustment | Re-evaluate adjustment and alignment |
| Increased stopping distance | Worn brake shoes or drums | Inspect and replace components |
| Brake fade | Overheating from excessive use | Allow cooling time and inspect airflow |
| Air leaks in air brake system | Damaged hoses or fittings | Inspect connections, replace when necessary |
| Slack adjuster failure | Faulty or worn slack adjuster | Replace slack adjuster |

Maintenance Tips for Semi-Trailer Brake Systems
Regular Inspections
Performing regular inspections (every 10,000 miles or monthly, depending on use) ensures that any wear and tear is caught early.
Clean Components
Utilize brake cleaner to wipe down all surfaces, removing contaminants that could impact brake performance.

Keep It Lubricated
Use the appropriate lubricant for components where specified, but avoid grease on brake shoes and drums to prevent slippage.
Document Your Work
Keep detailed records of all maintenance and adjustments performed on the brakes. Such documentation aids future troubleshooting and helps adhere to compliance standards.
Conclusion
Brake adjustment on a semi-trailer is not merely an act of routine maintenance; it’s a meticulous process that ensures safety and reliability on the road. With this comprehensive guide at your disposal, you are now equipped with the knowledge necessary to navigate the intricate world of semi-trailer brakes. By adhering to the procedures outlined, potential problems can be mitigated, operations can run smoothly, and most importantly, safety is prioritized.
Make sure to share this comprehensive brake adjustment guide with your team and fellow operators so that everyone can stay informed about best practices in semi-trailer safety and maintenance. The road is a vast place, and together we can ensure that it is safer for everyone.


