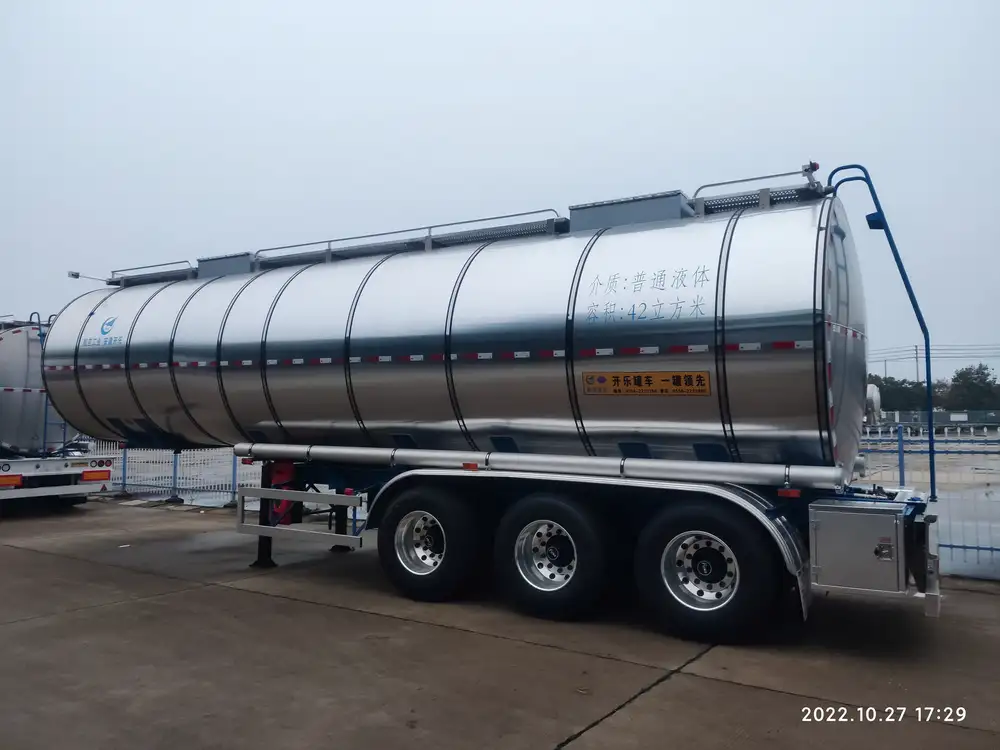
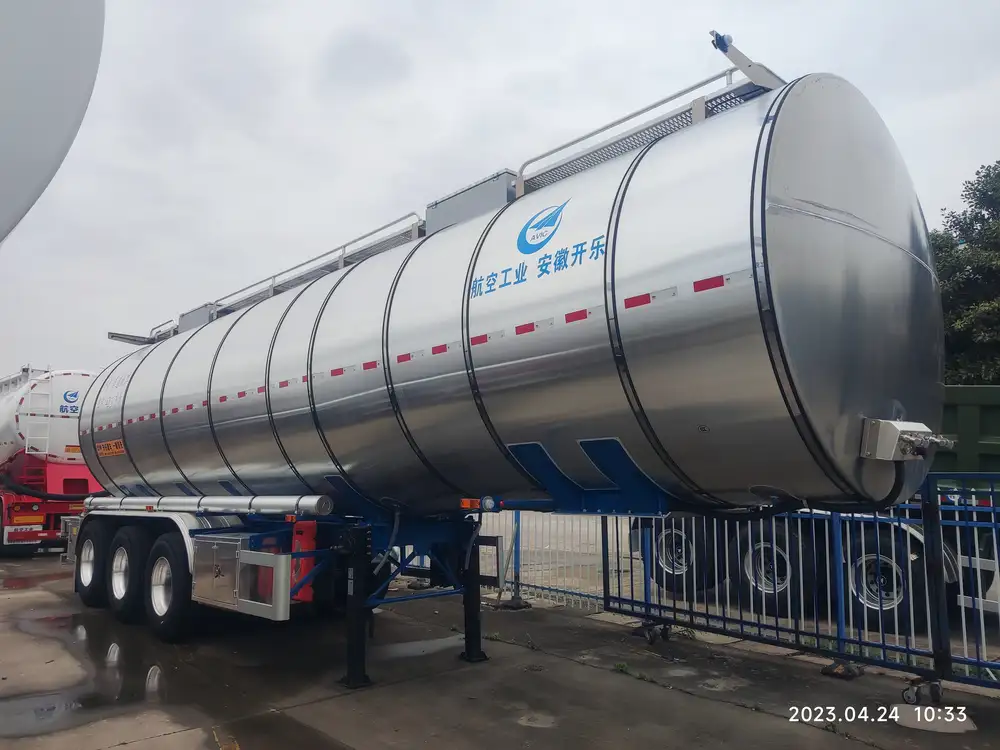
Maintaining a clean water tank in your trailer is crucial for ensuring safe and potable water for consumption. Whether you are using your trailer for recreational travels, transporting goods, or living off-grid, neglecting water tank sanitation can lead to a host of contamination issues that may compromise health and equipment performance. In this guide, we will outline a detailed and structured approach to effectively clean your trailer water tank, offering insights into best practices, necessary tools, and maintenance tips.
Understanding the Importance of Cleaning Your Water Tank
Health Risks Associated with Contaminated Water
Contaminated water can cause a range of health issues, which may include:
- Bacterial infections (e.g., E. coli, Salmonella)
- Viruses (e.g., Norovirus)
- Fungal infections (e.g., Aspergillus)

Equipment Longevity
A dirty water tank can also lead to:
- Clogged pipes and fixtures
- Inefficient water flow
- Decreased lifespan of pumps and filtration systems
Cleaning your trailer water tank not only ensures safe drinking water but also enhances the overall efficiency and lifespan of your water systems.
Tools and Materials Needed for Cleaning
Before diving into the cleaning process, gather the following tools and materials:
| Tools/Materials | Purpose |
|---|---|
| Bleach (unscented) | Disinfectant for sanitizing |
| Baking soda | Natural abrasive cleaner |
| Vinegar | Descaler and deodorizer |
| Water hose | Rinsing and flushing out tank |
| Soft-bristle scrub brush | For scrubbing tank surfaces |
| Bucket | Mixing cleaning solutions |
| Funnel | Pouring liquids into the water tank |
| Protective gloves | Safety while handling cleaning agents |
| Water filtration system | For subsequent water testing after cleaning |
Step-by-Step Instructions on How to Clean a Trailer Water Tank

Step 1: Empty the Tank
Start by completely draining the water tank. Locate the drain valve, usually situated at the lowest point of the tank, and allow all water to flow out.
- Tip: If possible, use a pump to expedite the draining process.
Step 2: Clean the Exterior
Before addressing the interior, clean the outside of the tank:
- Use a soft-bristle brush to scrub off any dirt, grime, or algae.
- Clean with a mild soap solution and rinse thoroughly.
Step 3: Prepare Cleaning Solution

For Disinfection:
To disinfect the tank, you can use a bleach solution. The proportion typically recommended is:
1 gallon of potable water + 1 cup of unscented bleach
Safety Note: Always wear protective gloves and ensure good ventilation.
For Deodorizing and Descaling:
Mix a solution with:
- 1 cup of baking soda + 1 cup of vinegar
- Dilute with water if necessary
Step 4: Scrub the Interior
Using a soft-bristle scrub brush:
- Insert the brush into the tank and scrub the walls, bottom, and any fittings.
- Focus on areas showing signs of mold, sediment, or buildup.

Step 5: Rinse Thoroughly
Using the water hose, rinse the tank multiple times:
- Start by rinsing out the cleaning solution.
- Ensure that all residues, including any remaining bleach or other cleaners, are completely flushed away.
Step 6: Sanitize the Tank
Pour the prepared bleach solution into the tank through a funnel. Fill the tank to approximately ¼ full and then agitate it by shaking or sloshing the tank to ensure all interior surfaces are in contact with the solution.
- Contact Time: Let the bleach solution sit for at least 2 hours. This allows proper disinfection.
Step 7: Final Rinse
- Empty the tank again, this time thoroughly rinsing with clean water.
- Repeat the rinsing process several times to ensure no chemical residues remain.

Step 8: Fill and Test
Once rinsed, fill the tank with clean, potable water. Run the system to flush out the water lines and check for any leftover bleach or odors.
- Water Testing: After cleaning, test your water for contaminants to ensure it is safe for use.
Maintenance Tips for Your Trailer Water Tank
Regular Cleaning: Schedule a deep clean every 3 to 6 months, especially if your tank is in frequent use.
Monitor Water Quality: Regularly check water clarity, smell, and taste for any abnormalities.
Install Filters: Consider installing a water filtration system to catch impurities and prolong cleaning intervals.
Check for Leaks: Regularly inspect tank joints and connections for any signs of leaks or damage that may allow contaminants.
Use Compatible Cleaners: Always ensure that the cleaning agents you use are compatible with your tank material to avoid damage.
Troubleshooting Common Issues

Cloudy Water
Possible Causes: Sediment buildup or bacterial growth.
Solution: Increase frequency of flushing and cleaning.
Bad Odor
Possible Causes: Stagnant water or mold.
Solution: Regularly empty the tank and expose it to sunlight to reduce moisture buildup. Deodorize with vinegar or baking soda.
Discolored Water
Possible Causes: Rust or mineral buildup.
Solution: Inspect the tank for corrosion. A thorough scrubbing may be needed, followed by disinfection.

Conclusion
Maintaining a clean and effective water tank is not merely a best practice; it is a necessity for the health and functionality of your trailer’s water system. By following this comprehensive guide, you can ensure that your water tank remains clean, safe, and efficient.
Preparing the right tools, sticking to a regular cleaning schedule, and knowing how to troubleshoot common issues will not only enhance your experience on the road but will also keep your system running smoothly. Remember, preventative maintenance is key to longevity—your trailer water tank deserves just as much attention as the rest of your equipment. Stay proactive and enjoy your adventures with confidence in the quality of your water supply.


