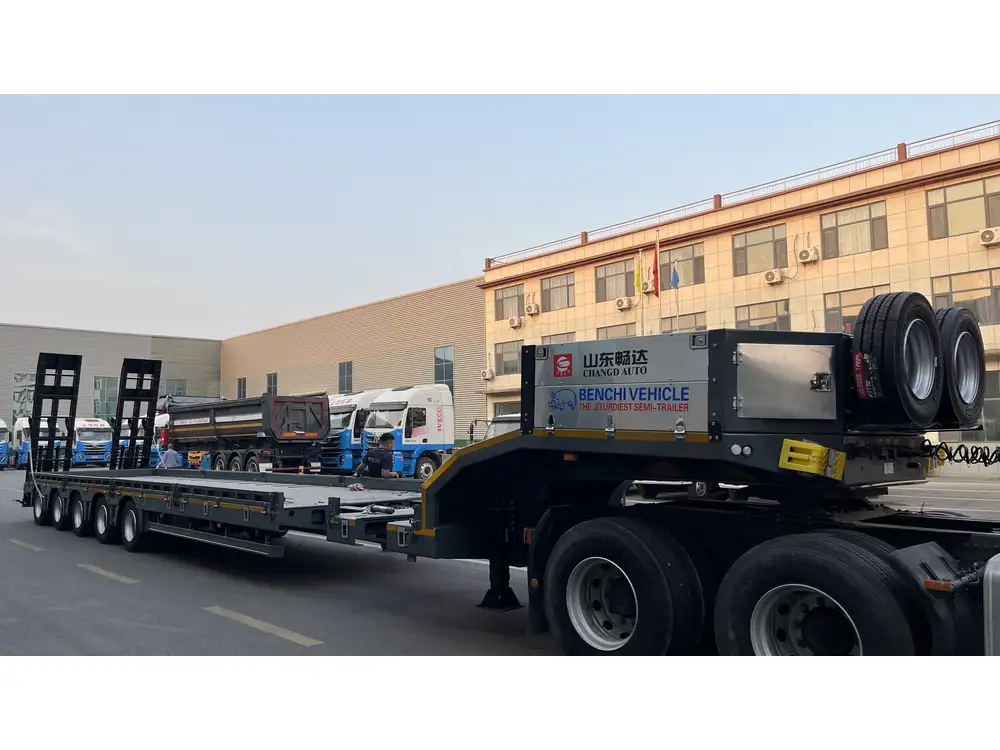
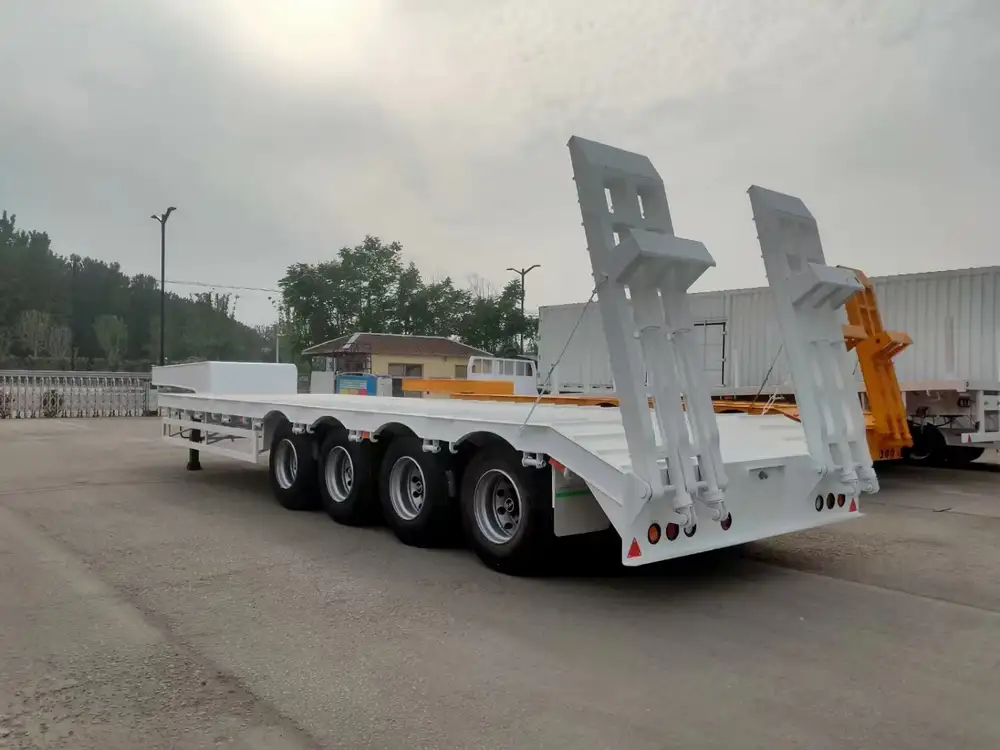
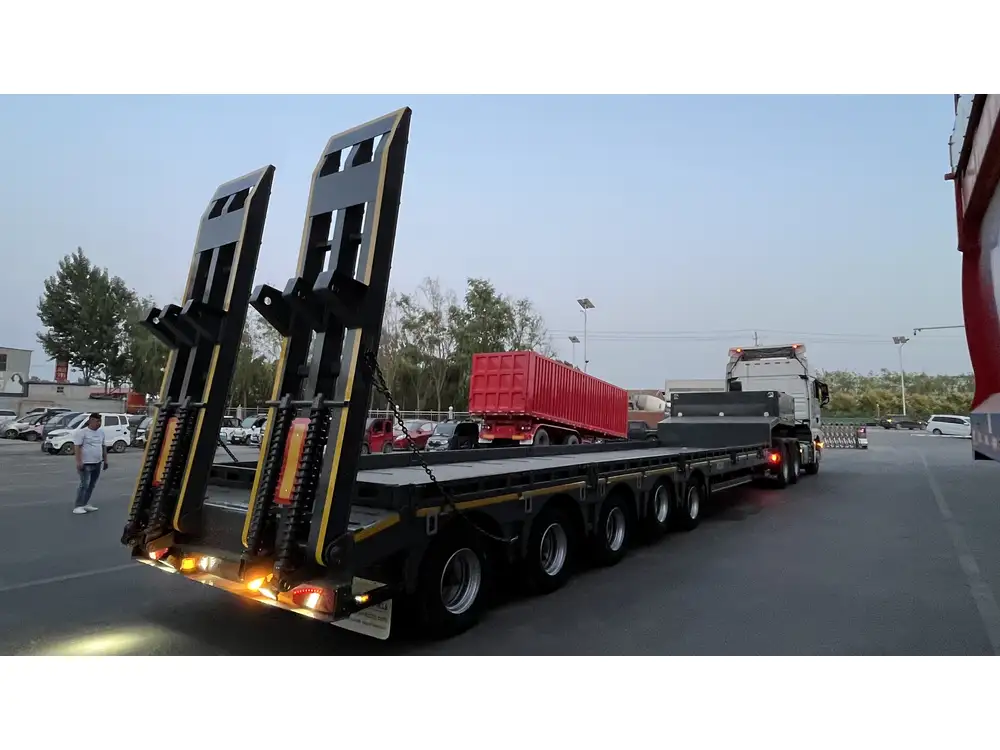
Changing a wheel seal on a semi-trailer is a critical task in maintaining the vehicle’s operational integrity. A well-executed wheel seal replacement not only extends the lifespan of the axle but also enhances the overall safety of your haul.
Table of Contents
- Understanding Wheel Seals
- Necessary Tools and Equipment
- Step-by-Step Process to Change a Wheel Seal
- 3.1 Preparation
- 3.2 Removing the Wheel
- 3.3 Extracting the Old Seal
- 3.4 Installing the New Seal
- 3.5 Reassembling the Wheel
- Common Troubleshooting Tips
- Conclusion
1. Understanding Wheel Seals
Wheel seals are essential components that surround the wheel bearings of semi-trailers. They function as protective barriers, keeping contaminants like dirt and moisture out while retaining lubrication inside the bearings. Signs of a failing wheel seal may include grease leakage, noise, or unusual heat emanating from the wheel hub area. Timely replacement is vital to prevent costly damage and maintain functionality.

Types of Wheel Seals
- Single Lip Seals: These are the most common and offer basic protection against dirt and moisture.
- Double Lip Seals: These provide enhanced protection, making them ideal for heavy-duty applications.
Understanding the type of seal required for your specific axle and bearing configuration is crucial before commencing the replacement.
2. Necessary Tools and Equipment
To ensure a smooth change of the wheel seal, gather the following tools and equipment:
| Tool/Equipment | Purpose |
|---|---|
| Socket Wrench Set | To remove wheel bolts |
| Seal Puller | To extract the old wheel seal |
| Hammer | For driving in the new seal |
| New Wheel Seal | Replacement seal compatible with your trailer |
| Torque Wrench | To ensure wheel bolts are appropriately tightened |
| Cleaning Rags | For cleaning the hub and surrounding areas |
| Lubricant | Necessary for the bearing grease |
| Safety Gear | Gloves, goggles, and steel-toed boots |
Preparing the workspace is equally essential. Ensure that the area is well-lit and the trailer is on a stable surface, with wheel chocks secured in place.
3. Step-by-Step Process to Change a Wheel Seal

3.1 Preparation
- Safety First: Before starting, engage safety measures by wearing gloves, goggles, and steel-toed footwear.
- Secure the Trailer: Chock the wheels to prevent any movement. This ensures stability during the procedure.
- Gather Required Tools: Have all tools and the new seal within reach to streamline the process.
3.2 Removing the Wheel
Loosen the Wheel Bolts:
- Use the socket wrench to loosen the wheel bolts while the wheel is still on the ground. Turn counter-clockwise for loosening.
Elevate the Semi-Trailer:
- Utilize a jack to lift the semi-trailer, ensuring it is stable on jack stands.
Remove the Wheel:
- Fully unscrew the wheel bolts and carefully remove the wheel from the hub.
3.3 Extracting the Old Seal
Inspect the Hub:
- Check the hub for any signs of damage or wear; clean any grease or debris present.
Remove the Dust Cap (if applicable):
- If your trailer’s hub features a dust cap, gently pry it off using a screwdriver.
Utilize a Seal Puller:
- Insert the seal puller between the old seal and the hub. Carefully extract the old seal by applying even pressure to avoid damaging the hub.

3.4 Installing the New Seal
Clean the Seal Area:
- Thoroughly clean the seal groove and hub surface to ensure a good fit.
Apply Lubricant:
- Lightly coat the new seal’s outer edge with lubricant to facilitate easy installation.
Position the New Seal:
- Align the new seal into the seal groove, making sure it sits flat without any gaps.
Drive the Seal In:
- Carefully tap around the edge using a hammer to press the seal evenly into place. Be cautious to strike evenly to avoid any bending or misalignment.
3.5 Reassembling the Wheel
Replace the Dust Cap (if applicable):
- If your assembly includes a dust cap, ensure it’s replaced securely.
Reattach the Wheel:
- Position the wheel onto the hub and hand-tighten the bolts to hold it in place.
Tighten Bolts:
- Use a torque wrench to tighten the wheel bolts to the manufacturer’s specifications. This step is crucial to prevent loosening during movement.
Lower the Trailer:
- Carefully lower the trailer back to the ground, removing the jack stands and jack.
Final Check:
- Perform a final inspection of the wheel and seal installation to ensure everything is secure and aligned.
4. Common Troubleshooting Tips
While changing a wheel seal is generally straightforward, several issues may arise during the process. Here are some common troubleshooting tips:
| Issue | Potential Cause | Solution |
|---|---|---|
| Seal leaks after replacement | Improper sealing or damaged surface | Re-inspect the installation; replace seal if necessary |
| Noise from the wheel area | Incorrect fit or bearing damage | Check bearing condition; recheck the seal installation |
| Overheating of the wheel | Insufficient lubrication or poor seal integrity | Ensure proper greasing and re-evaluate the seal |

What to Do If Issues Persist
- Consult a Professional: If you’re unable to resolve the issues, it may be wise to consult a professional mechanic. The nuances of wheel seal installation can be tricky, and an expert might catch issues you might miss.
5. Conclusion
Changing a wheel seal on a semi-trailer is not only a crucial maintenance task but also a straightforward one when approached methodically. Proper tools, preparation, and adherence to the steps outlined above will lead to a successful seal replacement, ensuring the continued efficiency and safety of your semi-trailer.
Taking the time to carry out this maintenance task also extends the life of the components, ultimately saving on future repair costs. By regularly checking wheel seals for wear and replacing them as needed, you ensure smooth operations on the road, minimizing downtime and enhancing your trailer’s performance.
Through understanding the components and procedure involved, as detailed in this guide, we empower fleet operators and truck owners to take charge of their vehicle maintenance and keep their operations running smoothly.


