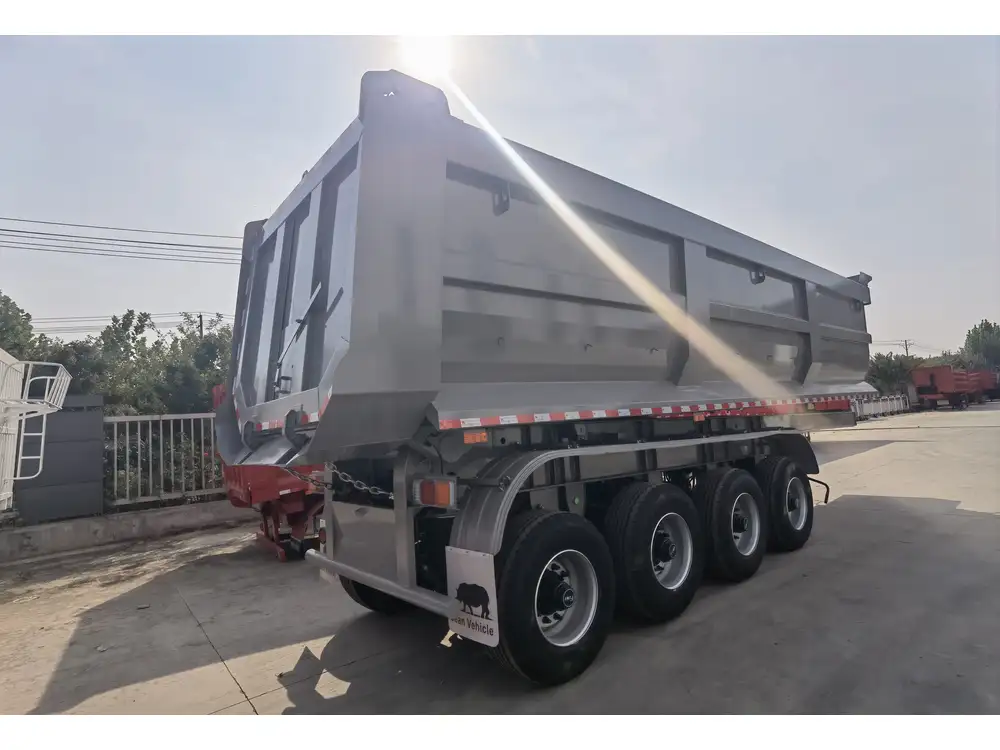
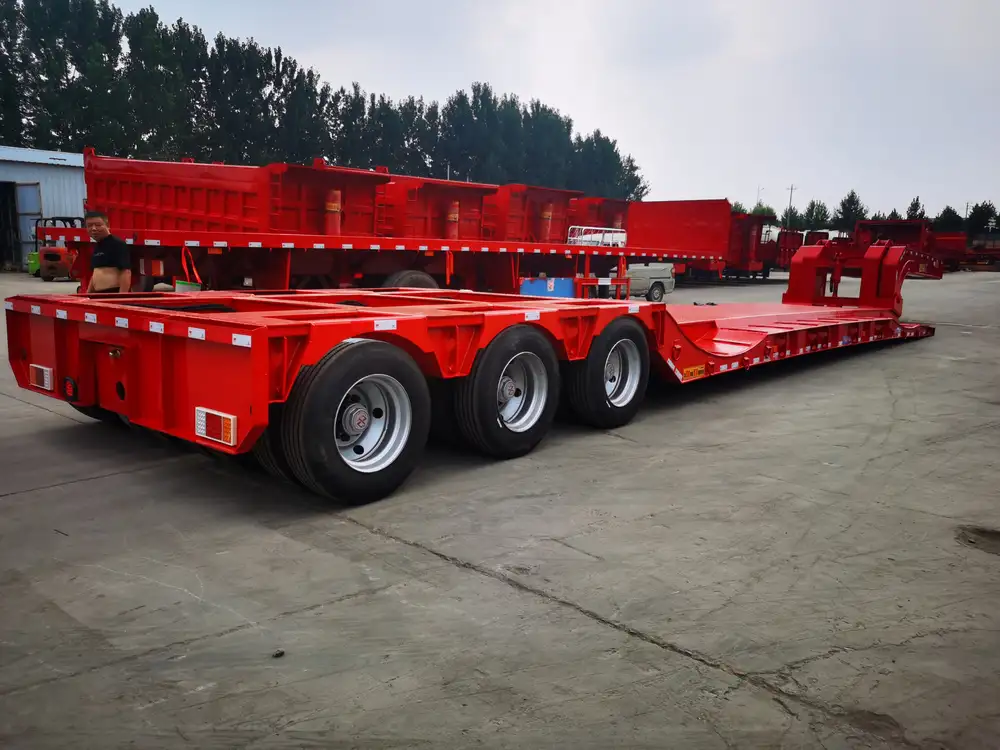
In the semi-trailer industry, ensuring your equipment operates smoothly is crucial for safety, efficiency, and prolonged asset life. A vital component of this is the wheel sensor, responsible for monitoring wheel speed, aiding in anti-lock braking systems (ABS), and providing crucial data for vehicle stability. Over time, sensors may fail or become inaccurate due to wear or environmental conditions. Hence, knowing how to change a semi-trailer wheel sensor will not only enhance your operational efficiency but also contribute to safety on the road.
Table of Contents
- Understanding Wheel Sensors
- 1.1 Purpose and Importance
- 1.2 Symptoms of a Faulty Sensor
- Preparation for Changing a Wheel Sensor
- 2.1 Tools Required
- 2.2 Safety Precautions
- Step-by-Step Guide to Changing a Semi-Trailer Wheel Sensor
- 3.1 Removing the Wheel
- 3.2 Locating the Wheel Sensor
- 3.3 Disconnecting the Old Sensor
- 3.4 Installing the New Sensor
- 3.5 Reassembling Everything
- Post-Installation Checks
- 4.1 Testing the New Sensor
- 4.2 Calibration and Maintenance Tips
- FAQs About Semi-Trailer Wheel Sensors
- Conclusion
- References
1. Understanding Wheel Sensors

1.1 Purpose and Importance
Wheel sensors, typically part of the ABS and electronic stability control systems, monitor the rotational speed of each wheel. This data helps in preventing wheel lockup during braking, enhancing traction control, and ensuring overall vehicle stability. Given their critical role, it’s essential to recognize when they’re failing and take immediate action to replace them.
1.2 Symptoms of a Faulty Sensor
Identifying a malfunctioning wheel sensor can save a driver from potential hazards. Key symptoms to monitor include:
- ABS warning light activation
- Inaccurate speedometer readings
- Erratic braking behavior
- Increased stopping distance
2. Preparation for Changing a Wheel Sensor

2.1 Tools Required
Before diving into the replacement process, assemble the necessary tools to avoid interruptions:
| Tool | Purpose |
|---|---|
| Socket Set | Remove wheel and sensor |
| Torque Wrench | Reattach components safely |
| Jack and Jack Stands | Lift the trailer |
| Wire Cutters | Disconnect sensor wiring |
| New Wheel Sensor | Replacement part |
2.2 Safety Precautions
Safety should be your utmost priority. Always wear safety gloves and goggles. Ensure the trailer is parked on a flat surface and secured. Utilize wheel chocks to prevent accidental rolling.
3. Step-by-Step Guide to Changing a Semi-Trailer Wheel Sensor

3.1 Removing the Wheel
- Secure the Trailer: Engage the parking brake.
- Lift the Trailer: Using a jack, raise the trailer, ensuring it is stable with jack stands.
- Remove the Wheel: Unscrew the lug nuts with a socket wrench and carefully take off the wheel.
3.2 Locating the Wheel Sensor
Each semi-trailer may differ in design, but wheel sensors are typically mounted on the axle assembly or behind the brake rotor. Inspect both sides of the axle to locate the sensor.
3.3 Disconnecting the Old Sensor
- Identify the Wiring: Follow the wire from the sensor to its connection point.
- Unplug the Sensor: Gently pull apart the connection, ensuring not to damage adjacent wiring.
- Remove the Sensor: Unscrew or unbolt the sensor from its mounting location.

3.4 Installing the New Sensor
- Position the New Sensor: Align it with the mounting location.
- Secure the Sensor: Fasten it using screws or bolts.
- Reconnect Wiring: Plug the wiring harness back into the new sensor.
3.5 Reassembling Everything
- Reattach the Wheel: Place the wheel back onto the axle.
- Screw on the Lug Nuts: Hand-tighten them initially, followed by using a torque wrench to ensure each nut is securely tightened to the manufacturer’s specifications.
- Lower the Trailer: Carefully remove the jack stands and lower the trailer.
4. Post-Installation Checks

4.1 Testing the New Sensor
Start the semi-trailer and check the dashboard for warning lights. Take the vehicle for a short drive to observe if the ABS light remains off and the speedometer functions correctly.
4.2 Calibration and Maintenance Tips
- Regular Inspections: Schedule periodic checks on wheel sensors and other critical components.
- Keep the Area Clean: Ensure the sensor area is free from debris or moisture accumulation.
- Monitor Performance: Be vigilant for any signs indicating potential sensor failure post-installation.
5. FAQs About Semi-Trailer Wheel Sensors

What is the lifespan of a wheel sensor?
A wheel sensor typically lasts between 50,000 to 100,000 miles, depending on the operating conditions and maintenance level.
Can I drive with a faulty wheel sensor?
It’s inadvisable, as this can compromise safety features like ABS, increasing the risk of accidents.
Is it necessary to replace all sensors at once?
While not mandatory, replacing all sensors when one fails may save costs and ensure uniform performance.

How do I know if I need to recalibrate after replacing a sensor?
Recalibration is often needed if the warning lights remain illuminated or if the ABS is behaving erratically post-installation.
6. Conclusion
Changing a semi-trailer wheel sensor may seem daunting, yet with the proper tools, knowledge, and preparation, it can be accomplished efficiently. Regular maintenance and timely sensor replacements are essential for ensuring operational efficacy and safety on the road. By following the detailed steps outlined above, we can equip ourselves with not only the ability to perform repairs but also the awareness to maintain our vehicles in optimal condition.
7. References
- Manufacturer’s Service Manuals
- Industry Repair Guides
- Online Mechanic Forums
- Safety Compliance Regulations
This comprehensive guide helps semi-trailer users tackle a critical maintenance task with confidence and clarity, thereby promoting ongoing operational excellence.


