Creating an ATV dump trailer is a practical project that serves both utility and accessibility for various outdoor tasks. This guide provides a step-by-step approach to constructing your own ATV dump trailer, complete with essential materials, tools required, and key considerations throughout the process.
Understanding the Benefits of an ATV Dump Trailer
Versatility and Utility
ATV dump trailers are invaluable for transporting landscape materials, firewood, or even debris from various yard and construction projects. Their versatility allows users to make quick work of hauling tasks.
Cost-Effectiveness
Building your own dump trailer can save considerable money compared to purchasing pre-built alternatives. Additionally, constructing it to your specific requirements ensures you get exactly what you need.
Enhanced Performance
Custom trailers often yield better performance tailored to the needs of the ATV, ensuring optimal functioning when it comes to weight distribution, hitch compatibility, and dimensions.
Key Components of an ATV Dump Trailer
- Frame Structure: The backbone of the trailer, typically constructed from steel or heavy-duty aluminum.
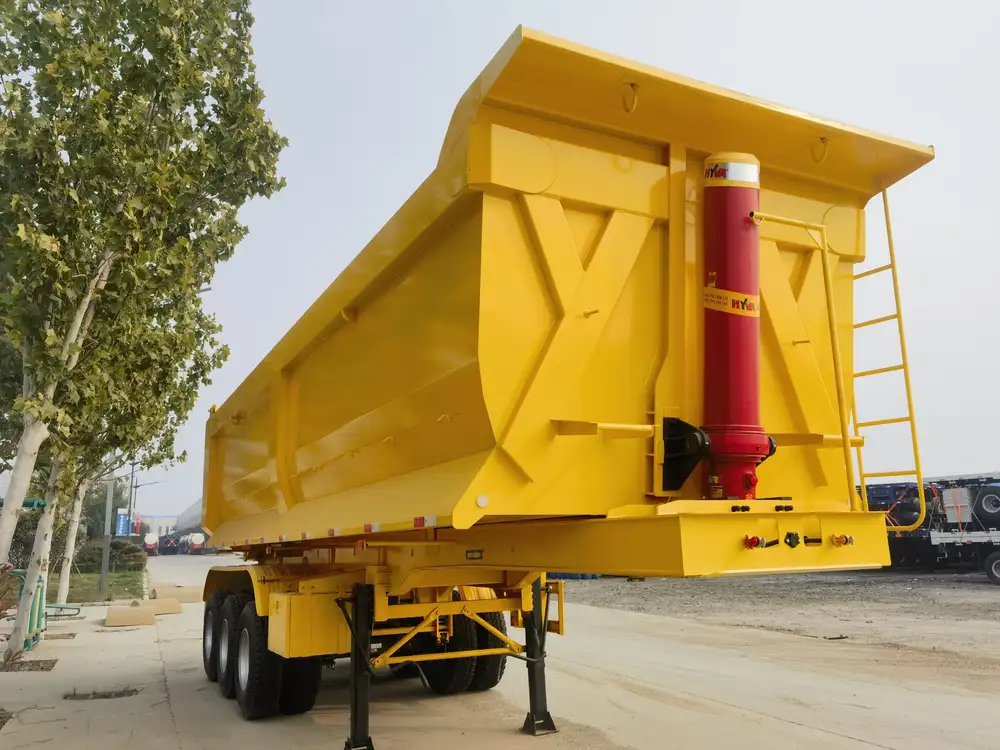
- Dump Mechanism: The hinge and lever system that enables the trailer bed to tilt and dump its contents.
- Axles and Wheels: Essential for mobility, ensuring the trailer can traverse various terrains with ease.
- Bed: The body of the trailer where contents are carried, designed to hold weight without compromising structural integrity.
Step-by-Step Construction Guide
Step 1: Gather Materials and Tools
Materials Required:
| Component | Specifications |
|---|---|
| Steel Tubing | 2×2 inches for the frame, 1.5×1.5 inches for the support |
| Axles | Rated for the weight capacity of your trailer |
| Wheels | 13-inch or larger, suitable for off-road |
| Dump Mechanism | Lever system (commercially bought or homemade) |
| Decking Material | Plywood or steel plate |
| Bolts/Nuts | Heavy-duty, weather-resistant |
| Paint | Rust-resistant coating |
Tools Required:
- Welding machine
- Angle grinder
- Drill with various bits
- Measuring tape
- Level
- Socket set
- Safety gear (gloves, goggles)
Step 2: Design Your Trailer
Create a schematic drawing of your trailer design. Incorporate dimensions that fit your ATV specifications ensuring balance and stability. Common dimensions include:
- Overall Length: 6 to 8 feet
- Width: 4 to 5 feet
- Height: 2 feet (including bed)
Step 3: Construct the Frame
- Cut Steel Tubes: Using the angle grinder, cut steel tubing to match the lengths defined in your design.
- Weld the Frame: Join the tubes to form a rectangular frame, ensuring square corners using the level.
- Reinforce Framework: Add cross members for stability, welding them at the center of the frame.
Step 4: Prepare the Dump Mechanism
- Install Hinge: Choose a suitable hinge design that allows the trailer bed to swivel back. A heavy-duty hinge is essential for strength.
- Attach Pivot Bars: Weld support bars perpendicular to the trailer frame structure, allowing an effective tipping action.
- Secure Lever System: If building a manual dump, position it appropriately to allow easy access for the user, generally on the side of the trailer.
Step 5: Fix Axles and Wheels
- Determine Axle Position: Typically, placing the axle towards the rear of the trailer helps maintain balance during dumping.
- Weld Axle Brackets: Weld brackets to accommodate the axle, securing them firmly to the frame.
- Attach Wheels: Slide the wheels onto the axle, securing them with appropriate nuts and bolts.
Step 6: Construct the Trailer Bed
- Cut Decking Material: Depending on the type of bed you choose (plywood or steel), cut pieces to form the bed base.
- Attach to Frame: Secure the decking with bolts, ensuring it is firmly attached and can withstand heavy loads.
- Add Side Rails: For increased capacity and safety, consider adding side rails. These can be welded on or attached with bolts.
Step 7: Finish and Paint
- Sand Surfaces: Ensure all surfaces are smooth and free from sharp edges or burrs.
- Apply Rust-Resistant Paint: Paint the trailer to protect it from the elements, focusing on high-wear areas.
Step 8: Test the Trailer
Before putting the trailer to full use, conduct thorough testing for weight capacity and functionality. Load the trailer with various materials and perform several dump cycles to ensure stability.
Maintenance Tips for Long-lasting Use
Regular maintenance will enhance the lifespan and performance of your homemade ATV dump trailer.
Routine Checks:
- Inspect Wheel Bearings: Regularly check for wear and ensure they are well-lubricated.
- Examine Structural Integrity: Periodic inspection of welds and joints for signs of stress or fatigue.
- Check Axle Alignment: Misalignment can lead to uneven tire wear and operational inefficiencies.
Maintenance Tasks:
| Task | Frequency |
|———————–|——————–| | Lubricate moving parts| Every 6 months | | Paint touch-ups | As needed | | Inspect tires | Monthly |
Common Problems and Solutions
Problem: Trailer is Off-Balance
- Solution: Reassess load distribution. Ensure heavy loads are secured in a way that maintains equilibrium during transport.
Problem: Wheels Locking or Not Rolling Smoothly
- Solution: Check wheel bearings and axle alignment. Replace or lubricate as necessary.
Problem: Dump Mechanism Malfunctioning
- Solution: Inspect lever and hinge mechanisms for wear. Adjust or replace components if necessary.
Conclusion
Building an ATV dump trailer is not only an ideal project for those seeking utility but also a compelling opportunity to learn about fabrication and engineering. With proper materials, a solid understanding of the construction steps, and regular maintenance, your self-made ATV dump trailer can serve you reliably for years to come. By following this comprehensive guide, we ensure that your DIY project is a success, yielding a valuable addition to your outdoor toolkit.
Next Steps
Now that you have the blueprint for building an ATV dump trailer, consider expanding your capabilities. You might explore projects such as:
- Customizing the trailer for specific tasks (e.g., landscaping, hauling).
- Upgrading the dumping mechanism for added ease of use.
- Creating additional accessories like ramps for ATV loading or toolboxes for equipment storage.
Embrace the adventure of building, maintaining, and utilizing your ATV dump trailer, and it will undoubtedly become an indispensable part of your outdoor endeavors.


