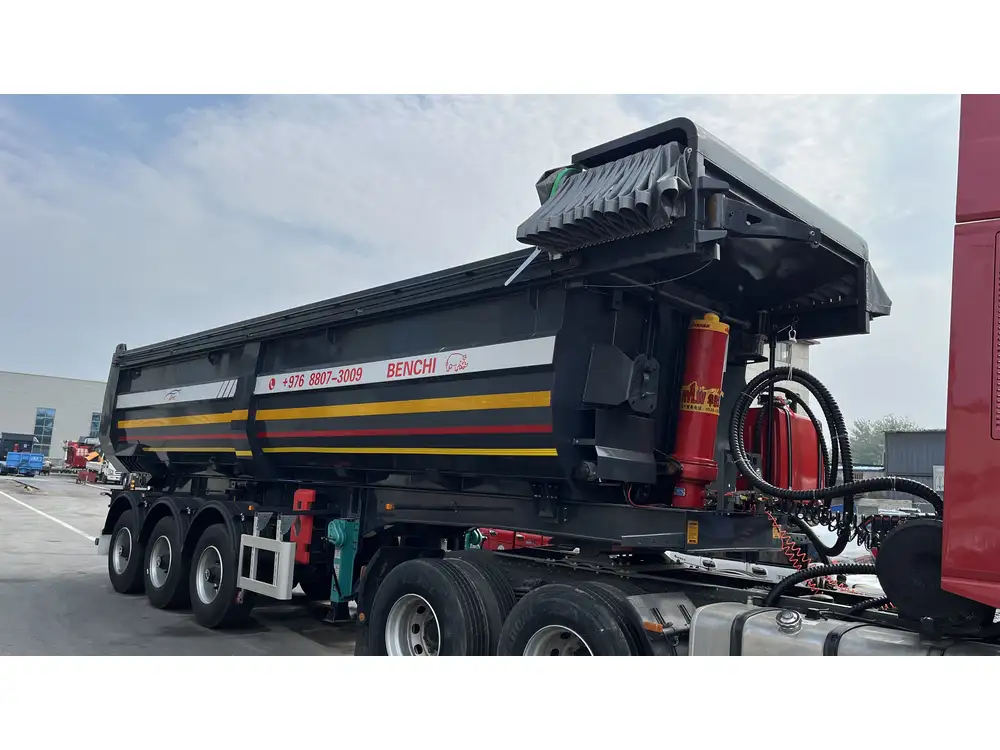
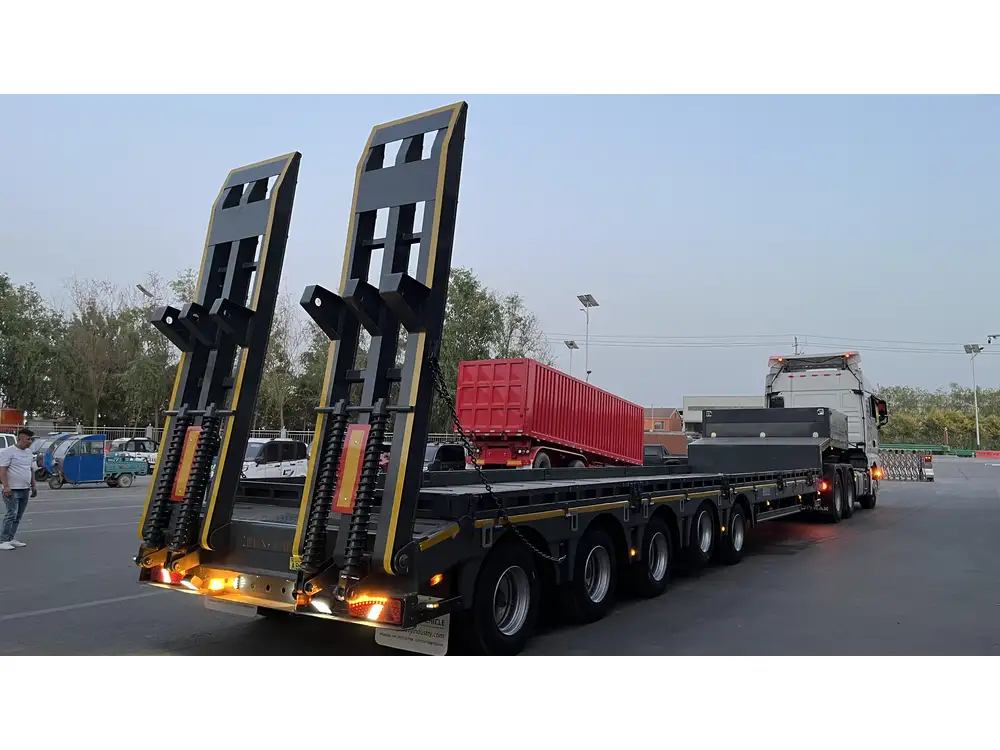
Wiring the lights on a dump trailer is a necessary task that many users encounter. Properly functioning lights not only ensure compliance with legal standards but also enhance safety during transport. This guide provides you with an in-depth look at how to wire your dump trailer lights correctly, ensuring that you have all the information needed for a smooth and successful installation.
Understanding Dump Trailer Lighting
Importance of Proper Wiring
When towing a dump trailer, it is imperative to have fully operational lights. Without them, you risk accidents, citations, and increased liability. The light system generally includes:
- Tail lights
- Brake lights
- Turn signals
- Marker lights
These lights serve various purposes, signaling your intentions to other drivers and making your trailer visible in low-light conditions.

Types of Lights Used
LED vs. Incandescent
- LED lights offer faster illumination and greater longevity compared to incandescent lights. They consume less power and are more visible, especially in adverse weather.
- Incandescent lights, while less efficient, are more affordable and easier to replace.
Sealed vs. Unsealed
- Sealed lights are typically better for dump trailers because they resist moisture and dirt, prolonging the life of your lighting system.
Preparing for the Wiring Process
Tools and Materials Needed
Before diving into the installation process, ensure you have the following tools and materials at hand:
| Tools & Materials | Purpose |
|---|---|
| Wire Strippers | To strip insulation from wires |
| Crimping Tool | To secure connectors |
| Electrical Tape | To insulate connections |
| Heat Shrink Tubing | To waterproof connections |
| 14 Gauge Wire (or as needed) | For connecting lights |
| Multi-Meter | To test electrical connections |
| Soldering Iron (optional) | For permanent connections |
| Light Fixture Kit | Contains necessary lights and brackets |

Safety Precautions
- Always disconnect the vehicle battery when working on electrical systems.
- Wear safety glasses to protect your eyes from flying wire strands or solder.
- Ensure that your work area is dry to prevent electrical hazards.
Step-by-Step Wiring Process
Step 1: Understand the Wiring Diagram
Before starting, consult the wiring diagram specific to your dump trailer model. This diagram shows the correct configuration for connecting the lights. A typical trailer light wiring consists of:
- Ground Wire (usually white)
- Tail/Running Light Wire (usually yellow or brown)
- Left Turn Signal Wire (usually green)
- Right Turn Signal Wire (usually red)
The wiring color can vary between models, so always refer to the specific diagram.

Step 2: Prepare the Wires
- Strip the Wires: Use wire strippers to remove about 1 inch of insulation from the ends of each wire. This will ensure solid connections.
- Cut Wires to Length: Measure and cut wires to connect between the trailer and the lights.
- Twist and Crimp: Twist the ends of the wires together as needed and secure them with crimp connectors using the crimping tool.
Step 3: Grounding the Trailer
Grounding is crucial for preventing electrical problems. To create a proper ground connection:
- Locate the Ground Point: This is usually a lug on the trailer frame.
- Connect the Ground Wire: Attach the white ground wire to this point using a bolt and nut, ensuring contact with bare metal.
- Test Ground Connection: Use a multi-meter to verify the ground connection by measuring from the ground point to the trailer connector. A reading near zero indicates a good ground.
Step 4: Connecting Tail and Running Lights
- Identify Wires: Locate the tail light wires as per the wiring diagram.
- Connect Wires:
- Connect the tail light wire to the corresponding trailer connector.
- Use heat shrink tubing to secure and protect the connection against moisture.

Step 5: Wiring Brake Lights and Turn Signals
- Brake Lights: Connect the brake light wires (usually red) to the appropriate connector. Ensure these wires are separate from those used for tail lights.
- Turn Signals:
- Connect the left turn signal (green) to the left side connector.
- Connect the right turn signal (yellow) to the right side connector.
Step 6: Finalizing Connections
Secure All Connections:
- Use electrical tape or heat shrink tubing to wrap each joint securely.
- This protects against vibrational wear and moisture ingress.
Install Light Fixtures: According to the manufacturer’s instructions, securely fasten the light fixtures to their mounts on the trailer.
Testing the System
After completing the wiring, it’s critical to test the system to ensure everything functions correctly.

Step 1: Reconnect the Battery
Reconnect the trailer battery and ensure all tools are removed from the workspace.
Step 2: Conduct Light Tests
- Turn on Tail Lights: Check if both tail lights illuminate.
- Test Brake Lights: Engage the brake pedal to see if the brake lights are functioning.
- Check Turn Signals: Activate each turn signal and ensure that the corresponding light flashes correctly.
Step 3: Troubleshooting
If the lights do not work as expected, go back through your connections and wiring. Check:
- Ground Connections: Ensure proper grounding.
- Wire Integrity: Look for frayed or broken wires.
- Fuse Box: Verify that the fuses are intact and functioning.

Maintenance Tips for Trailer Lights
Regular Inspections
Conduct periodic inspections of the trailer lights, especially before long trips. Look for signs of wear such as cracked lenses, loose wiring, and rust on connections.
Cleaning
Keep the light lenses clean to ensure maximum visibility and functionality. Use glass cleaner and a soft cloth for the best results.

Upgrade Options
Consider upgrading to LED lights if your trailer is still using incandescent bulbs. The benefits of LED lighting extend beyond their longer lifespan; they also offer better visibility, which enhances safety.
Conclusion
Wiring your dump trailer lights is a fundamental skill for any owner. Following this comprehensive guide ensures you not only have a well-lit trailer but also enhances your overall safety on the road. Through careful preparation, execution, and regular maintenance, your dump trailer will remain a reliable asset for all your hauling needs.
Feel free to delve into troubleshooting and maintenance tips to further enhance your trailer’s lighting system operation and longevity. Remember, a well-maintained lighting system is a critical factor for safe trailer operation.


