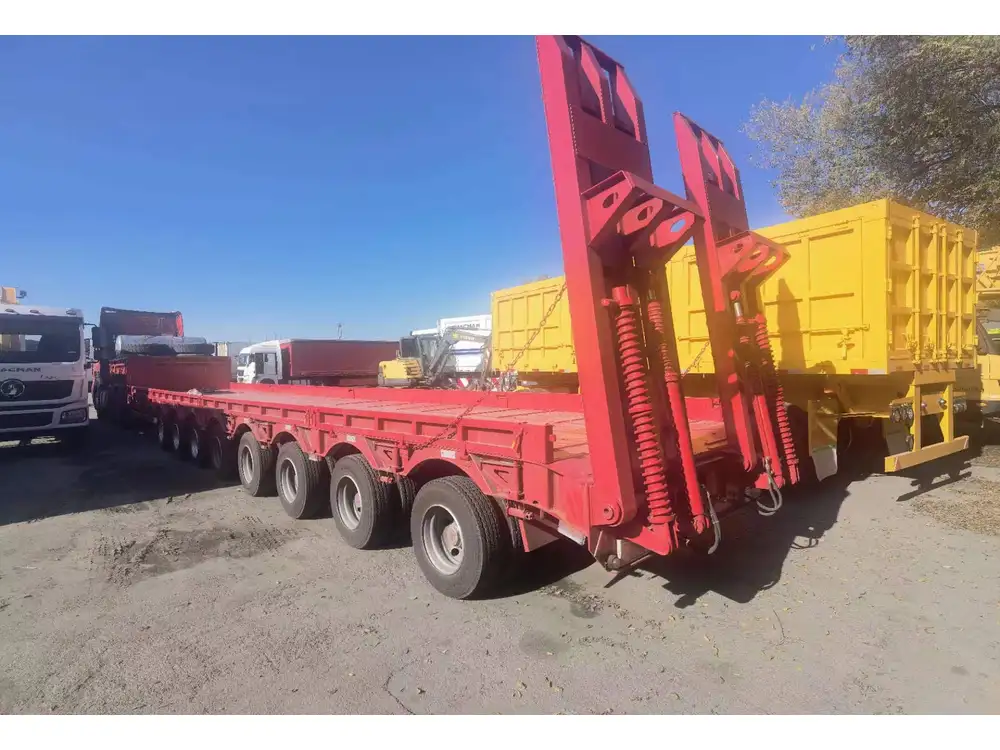
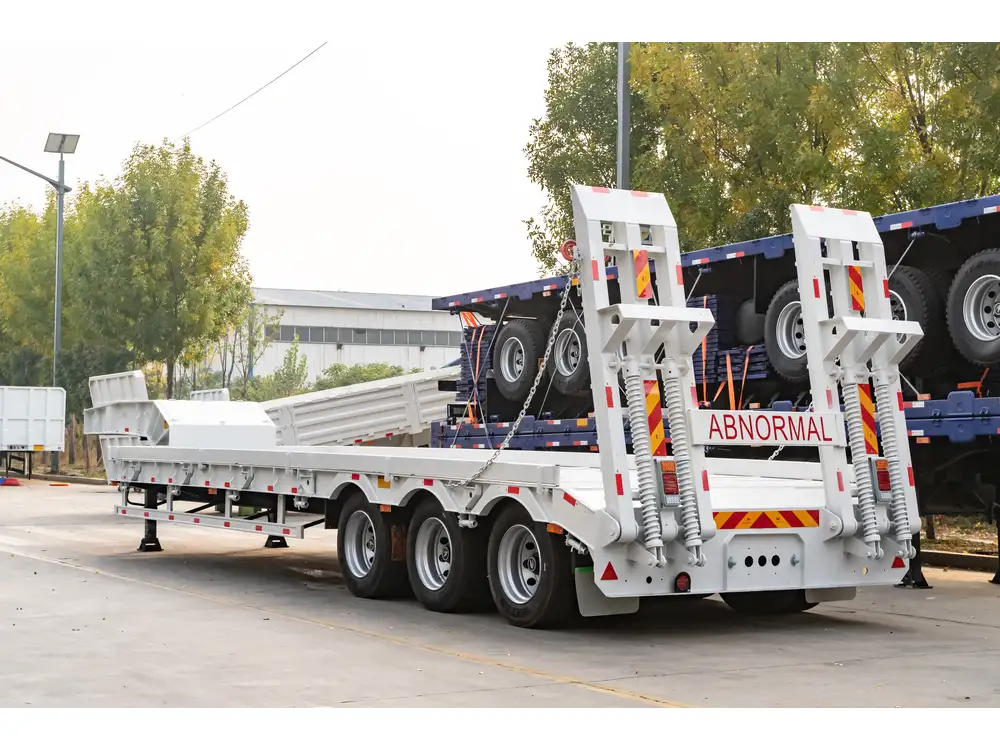
Wiring a flatbed trailer can seem like a daunting task, especially for those new to the world of trailers and towing. However, understanding the wiring process is crucial for proper trailer functionality and safety. This article serves as an exhaustive guide to wiring a flatbed trailer, laying out step-by-step procedures, common issues, and helpful tips to ensure a smooth and successful installation.
Understanding the Basics of Trailer Wiring
Before diving into the wiring process, it is essential to grasp some basic concepts regarding trailer wiring. The wiring system in trailers is designed to connect the trailer’s lights, brake system, and additional electronic features to the tow vehicle.
Wiring System Components
Wiring Harness
- A set of wires connecting your trailer’s lights, brake lights, and turn signals to your vehicle’s electrical system.
Connector
- A plug that connects the wiring harness from your trailer to the vehicle.
Light Fixtures
- These include tail lights, brake lights, and turn signals.
Ground Wire
- A critical component that ensures the electrical system functions optimally by preventing erratic behavior and shorts.

Common Wiring Standards
The common standards for trailer wiring in North America generally follow either the 4-pin or 7-pin configuration.
- 4-Pin Connectors: Typically used for basic lighting functions (tail lights, brake lights, turn signals).
- 7-Pin Connectors: Offer additional capabilities, including powering auxiliary lights, electric brakes, or battery chargers.
Below is a simplified overview of wiring color codes for these configurations.
| Wire Color | Function (4-pin) | Function (7-pin) |
|---|---|---|
| Brown | Taillights | Taillights |
| Yellow | Left Turn Signal | Left Turn & Stop Light |
| Green | Right Turn Signal | Right Turn & Stop Light |
| White | Ground | Ground |
| Blue | – | Electric Brakes |
| Black | – | Battery Charge |
| Red | – | Auxiliary Power |
Tools and Materials Required
Essential Tools
- Wire stripper/crimper
- Screwdriver set (flat and Phillips)
- Electrical tape
- Heat-shrink tubing
- Multimeter
- Pliers

Recommended Materials
- Trailer wiring harness
- Connectors (4-pin or 7-pin)
- Replacement light fixtures (if necessary)
- Ground wires
Step-by-Step Guide to Wiring a Flatbed Trailer
Step 1: Gather Your Materials and Tools
Before starting the wiring process, collect all necessary tools and materials. Assess the current condition of your wiring system and make any necessary replacements to components that show wear or damage.

Step 2: Disconnect Power from the Vehicle
For safety, ensure that the tow vehicle is turned off and the battery is disconnected to avoid any accidental electrical shocks or shorts.
Step 3: Inspect the Trailer and Existing Wiring
Carefully inspect the trailer’s existing wiring and light fixtures. Look for any signs of wear, corrosion, or breaks in the wiring. Replace any components that appear damaged.
Step 4: Remove Old Wiring (if applicable)
If updating an old wiring system, remove the existing wiring harness carefully. Take note of how the wiring was connected, possibly using a camera or taking notes.

Step 5: Install Ground Wire
Grounding is a pivotal step in trailer wiring. It connects the trailer frame to the electrical system of the vehicle. Connect the ground wire to a clean, unpainted part of the trailer frame ideally close to the connector. Use a self-tapping screw or washer to secure it.
Step 6: Connect the Wiring Harness
Following the manufacturer’s wiring diagram for the specific harness being installed, make the connections for the lights:
- Taillights: Connect the brown wire to the trailer’s taillight/pig tail.
- Left Turn Signal: Attach the yellow wire to the left turn signal light.
- Right Turn Signal: Connect the green wire to the right turn signal light.
Step 7: Integrate the Connector
Once the light connections are made, connect the wiring harness to the trailer plug. Ensure that the colors match the configurations mentioned earlier. Secure all connections tightly.

Step 8: Sealing Connections
Utilize heat-shrink tubing over all wire connections. Applying heat will seal the tubing, protecting the connections from moisture and corrosion. Use electrical tape to wrap additional layers of security around the connections.
Step 9: Test the Connections
Reconnect the vehicle battery and test the trailer lights. Have an assistant help you by activating the left and right turn signals, brake lights, and taillights while you observe the functionality.
Step 10: Finalize the Installation
Once all features are confirmed operational, go through a thorough inspection to ensure all wiring is secure. Tuck away any excessive wiring to prevent tangling or damage during transit.

Troubleshooting Common Wiring Issues
Even with the best intentions, issues may arise after wiring a flatbed trailer. Below are common problems encountered, alongside their probable solutions.
| Problem | Potential Cause | Solution |
|---|---|---|
| Lights don’t work at all | Poor ground connection | Check and tighten ground connections; ensure it’s clean. |
| One light works but another does not | Faulty bulb or wiring error | Replace the faulty bulb or verify connections are correct. |
| Lights flicker or dim | Insufficient power or loose wires | Check for tight connections and use a multimeter to test voltage. |
| Brake lights are not functioning | Faulty brake light switch | Inspect and replace brake light switch if necessary. |
Safety Considerations
Safety should be paramount when wiring a flatbed trailer. Always conduct work in a well-lit area and wear protective gear to minimize injury risks. Additionally, check all electrical connections regularly to maintain an optimal wiring system.
Maintenance Tips for Trailer Wiring
To prolong the life of your flatbed trailer wiring system, adhere to these maintenance tips:
Regular Inspections: Schedule periodic inspections of wiring, connectors, and light fixtures to catch issues early.
Keep Connections Clean: Maintain clean ground connections for optimum performance and minimal corrosion.
Protect Against Moisture: Use dielectric grease on connectors to prevent moisture intrusion that can lead to corrosion.
Secure Loose Wires: Utilize zip ties or clips to secure loose wiring, preventing snags or damages during transport.

Conclusion
Successfully wiring a flatbed trailer is a combination of accurate knowledge, the right tools, and careful execution. By following the comprehensive steps and guidelines provided, you can ensure that your trailer lights and systems operate efficiently, contributing not just to your safety but to the safety of others on the road as well. By taking the time to understand your trailer’s wiring system and maintaining it, you can avoid costly repairs or malfunctions in the future.
Through the lens of practicality and safety, this detailed guide represents the culmination of both beginner and proficient insights into trailer wiring, ensuring you can hit the road with confidence in your flatbed trailer’s electrical system.


