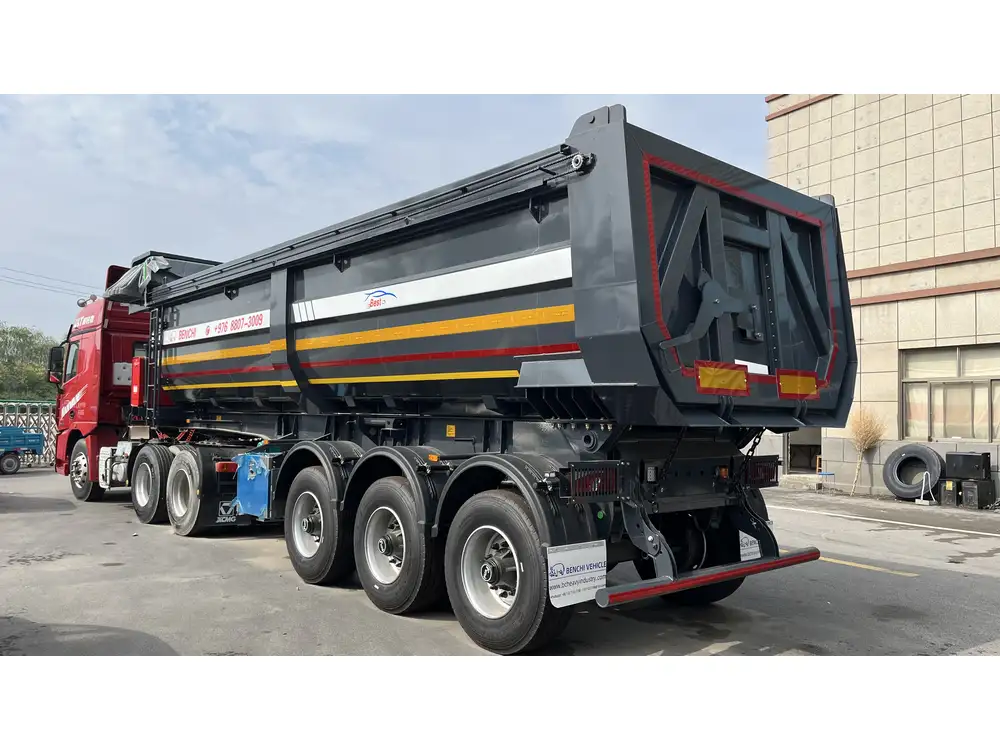
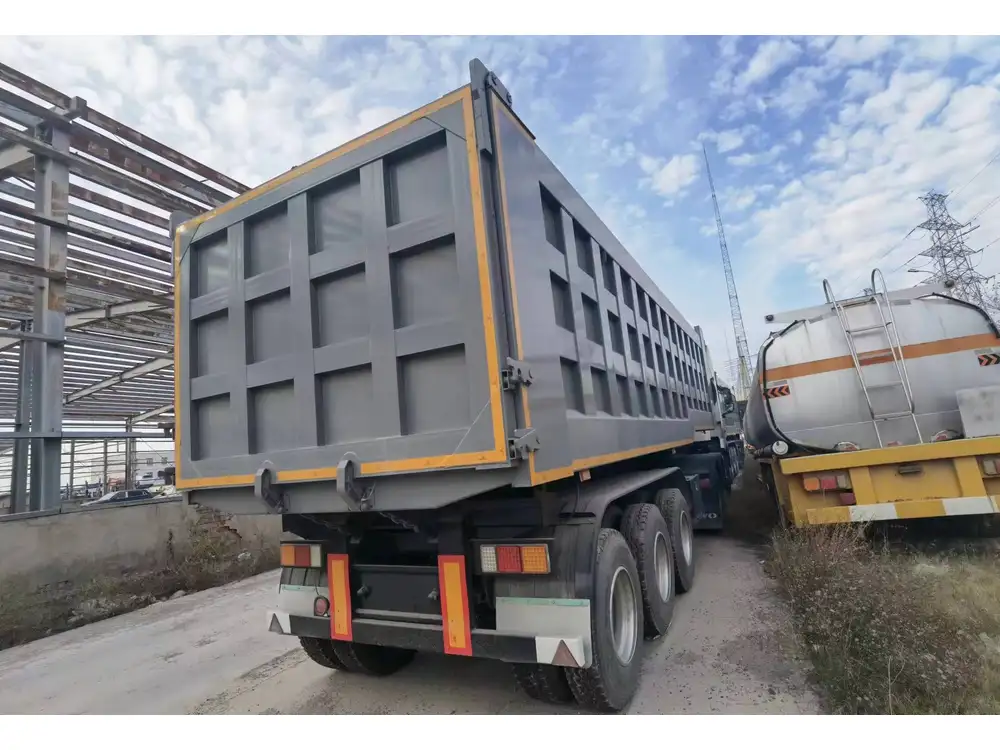
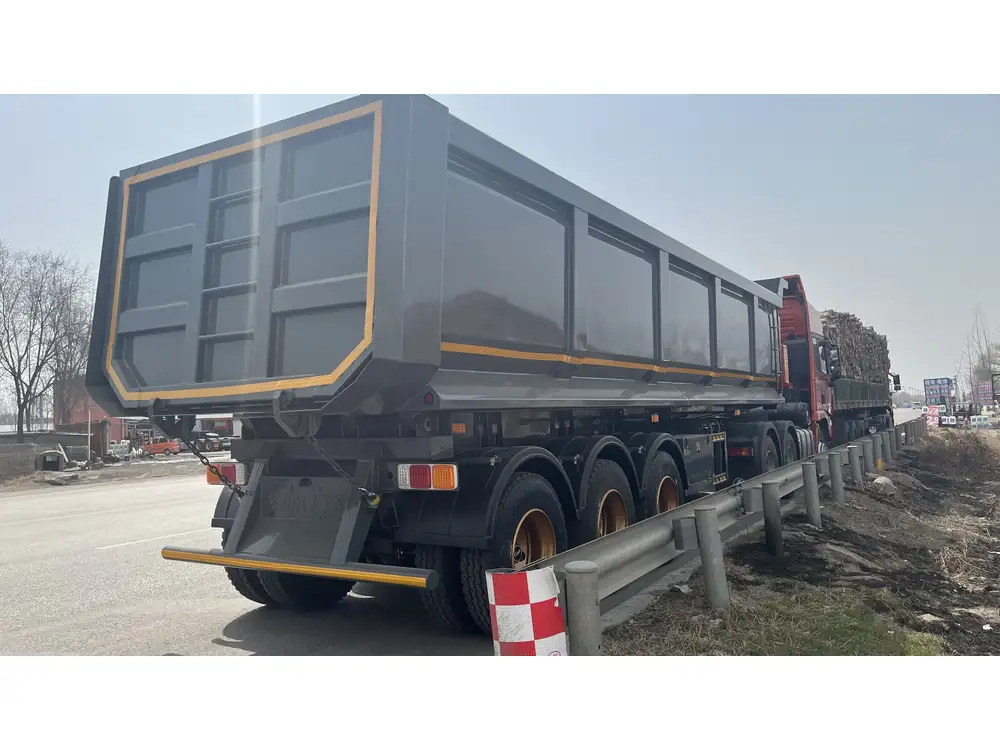
When it comes to maximizing the efficiency and performance of your hydraulic dump trailer, ensuring that your jack operates flawlessly is of utmost importance. A leaky hydraulic dump trailer jack can lead to significant operational challenges, affecting not only performance but also safety on the job site. In this article, we delve into the intricate steps necessary for identifying, diagnosing, and rectifying leaks in hydraulic dump trailer jacks.
Understanding Hydraulic Dump Trailer Jacks
Hydraulic dump trailer jacks facilitate the lifting and tilting of trailers, transforming them into multifunctional vehicles capable of managing heavy loads effortlessly. The hydraulic system comprises a cylinder, piston, and hydraulic fluid, which work in concert to provide the required lifting force.
Components of a Hydraulic Dump Trailer Jack
| Component | Function |
|---|---|
| Cylinder | Houses the hydraulic fluid and piston. |
| Piston | Moves within the cylinder to create pressure. |
| Hydraulic Fluid | Transmits force and lubricates the system. |
| Seals | Prevents fluid leakage and maintains pressure. |
| Control Valve | Regulates the flow of hydraulic fluid during operation. |

Common Reasons for Hydraulic Dump Trailer Jack Leaks
Identifying the source of a leak is the first critical step in the repair process. Below is a breakdown of the most frequent causes that lead to hydraulic system leaks:
Worn Seals: Over time, the seals can deteriorate due to constant pressure and exposure to environmental factors, leading to leaks.
Cracks in the Cylinder: Damage from external impacts or corrosion can compromise the integrity of the cylinder, resulting in hydraulic fluid leakage.
Loose Fittings: Vibration and usage can loosen hydraulic fittings, causing fluid to escape.
Overfilled Reservoir: Excess hydraulic fluid may create excessive pressure, forcing fluid out through weak points.
Contaminated Fluid: Debris or moisture in the hydraulic fluid can accelerate wear and damage to internal components, leading to leakage.
Step-by-Step Guide to Repairing a Leaking Hydraulic Dump Trailer Jack
Step 1: Safety First
Before proceeding with any repairs, ensure safety protocols are followed:
- Disconnect Power Supply: Cut off any power connection related to the hydraulic system.
- Relieve Pressure: Lower the jack until there is no tension in the system.
- Wear Protective Gear: Use gloves and safety goggles to protect yourself from hydraulic fluid.

Step 2: Identify the Leak Source
Visual Inspection
Perform a comprehensive visual inspection of the jack:
- Check for signs of fluid around the seals, fittings, and cylinder.
- Utilize a clean cloth to wipe areas that appear wet, marking any leaks you identify.
Pressure Test
Using a pressure gauge, conduct the following:
- Attach the Gauge: Connect the gauge to the hydraulic system.
- Pump the Jack: Operate the jack to circulate fluid.
- Observe Readings: A drop in pressure indicates a potential leak.

Step 3: Disassemble the Jack
Once you’ve identified the leak, it’s time to disassemble the jack for repairs:
- Remove the Jack from the Trailer: Unscrew any screws or bolts securing the jack.
- Detach Hoses: Carefully disconnect hydraulic hoses using a wrench.
- Disassemble the Cylinder: Remove the cylinder from the base. Refer to the manufacturer’s manual for specific instructions to avoid damaging components.
Step 4: Inspect and Replace Worn Components
Seals
- Remove old seals using a seal puller or flathead screwdriver.
- Clean the grooves thoroughly to prepare for new seals.
- Install new seals, ensuring they fit snugly without distortion.

Cylinder
- Examine the inner walls of the cylinder for scratches or cracks.
- If you find imperfections, you may need to hone the cylinder or replace it entirely.
Step 5: Reassemble the Jack
Having replaced the necessary components, it’s time to put everything back together:
- Reattach the Cylinder: Secure the cylinder to the base.
- Reconnect Hoses: Ensure all hoses are tightened properly to prevent leaks.
- Secure the Jack to the Trailer: Reinstall the jack and tighten all screws and bolts.
Step 6: Refill and Burp the Hydraulic Fluid
Refill the hydraulic fluid using the recommended type specified by the manufacturer:
- Fill the Reservoir: Add fluid until it reaches the specified level.
- Remove Air Bubbles: Operate the jack several times to expel trapped air. Monitor for any signs of leaks during this process.

Step 7: Final Testing
Conduct a final examination to ensure everything is in working order:
- Pressurize the System: Operate the jack under load conditions.
- Monitor Performance: Listen for unusual sounds and watch for signs of fluid leakage.
Preventive Maintenance Tips for Hydraulic Dump Trailer Jacks
To prolong the lifespan and functionality of hydraulic dump trailer jacks, adhere to these preventive maintenance tips:
- Regular Inspections: Conduct routine inspections for signs of wear or leaks.
- Fluid Changes: Replace hydraulic fluid as per the manufacturer’s guidelines to prevent contamination.
- Seal Checks: Frequently check seals for wear and replace as necessary.
- Vibration Control: Ensure that jacks are properly anchored to minimize vibrations that may loosen fittings.
Conclusion
Repairing a leaking hydraulic dump trailer jack may seem daunting, but with the right tools and procedures, it is entirely achievable. By following these detailed steps, you can restore functionality to your hydraulic system and ensure your trailer performs optimally. Investing time in regular maintenance and inspections will help extend the life of your hydraulic system and contribute to safer, more efficient operations. Don’t let a tiny leak turn into a significant operational issue; take action today and keep your hydraulic dump trailer running smoothly.


