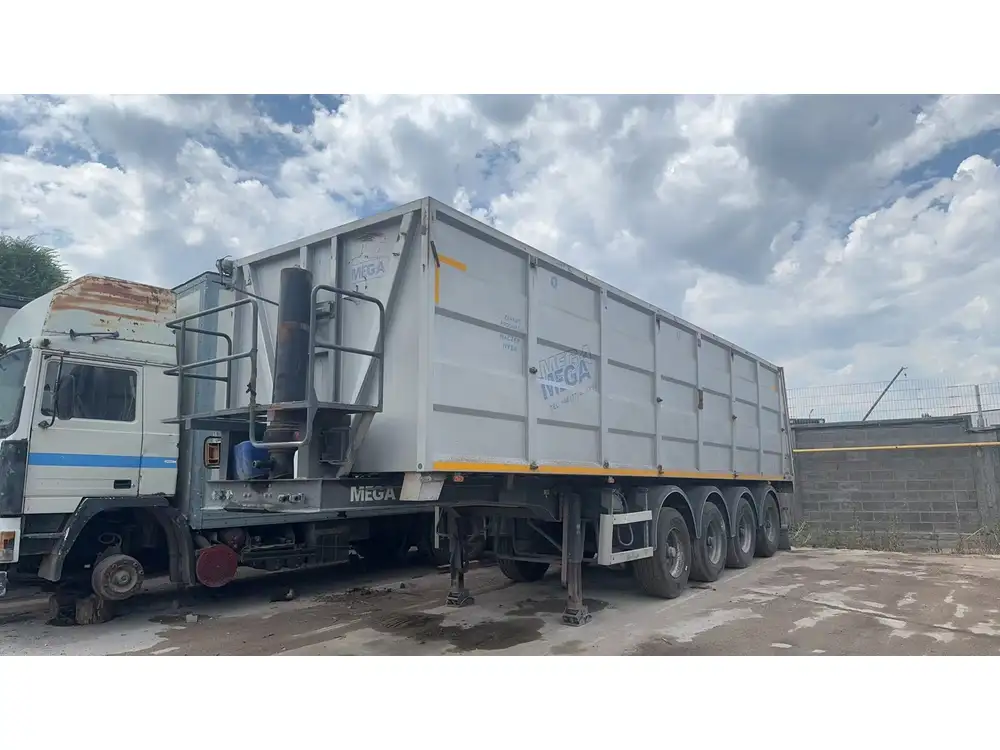
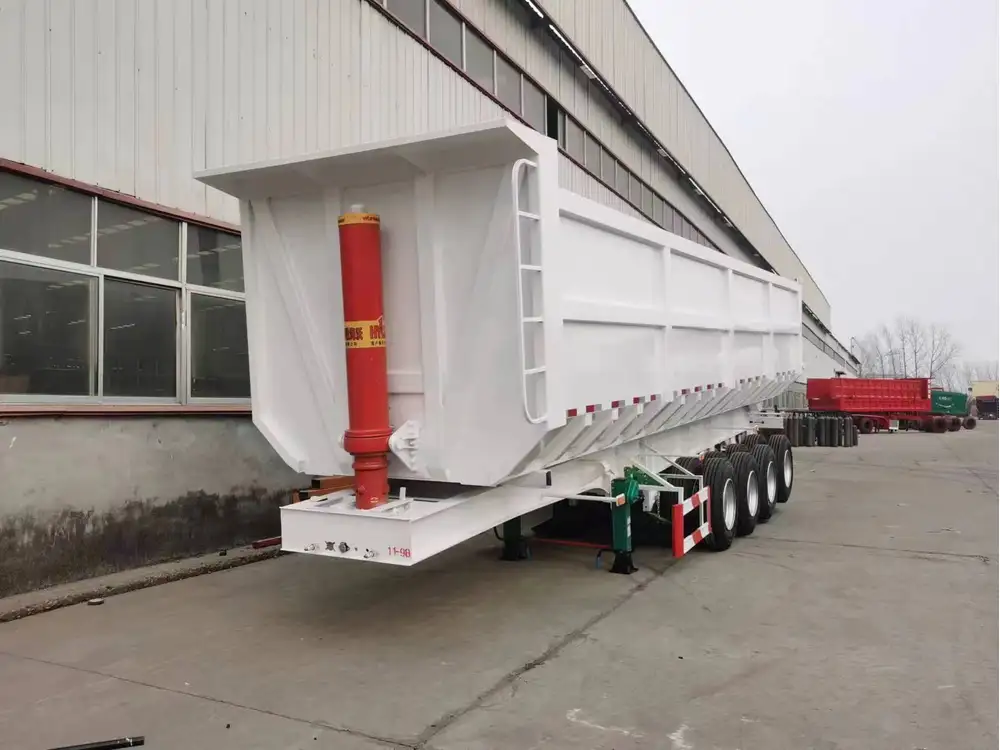
Dismantling a semi-trailer is a meticulous and intricate task that requires a systematic approach and a clear understanding of the trailer’s components. Whether it’s for repair, conversion, or simply to salvage parts, knowing how to effectively dismantle a semi-trailer can save time and resources. This guide provides a step-by-step methodology, along with safety precautions, tools needed, and best practices to ensure the process is efficient and effective.
Understanding the Semi-Trailer Structure
Key Components of a Semi-Trailer
Before embarking on the dismantling process, it’s crucial to understand the primary components of a semi-trailer:
| Component | Description |
|---|---|
| Chassis | The main framework that supports the entire trailer. |
| Axles | Rotating shafts that support the load and allow wheel movement. |
| Suspension System | System that connects the trailer body to the axles, providing shock absorption. |
| Brakes | Mechanisms that slow or stop the wheels and ensure safety. |
| Load Floor | The flat surface where cargo is placed; can vary in material and height. |
| Side Walls | Vertical panels that provide structure and support for the load. |
| Roof | The upper surface that protects the load from external elements. |

Safety Precautions
Dismantling a semi-trailer can be dangerous. Adhere to these essential safety measures:
- Personal Protective Equipment (PPE): Always wear gloves, safety goggles, and steel-toed boots.
- Create a Safe Work Zone: Ensure the area is well-lit and free from hazards.
- Use Proper Tools: Make sure all tools are in good working condition and appropriate for the job.
- Disconnect Power Sources: If the trailer has any electrical connections, disconnect these before starting.
- Follow Manufacturer Guidelines: Refer to the owner’s manual for any specific instructions related to your trailer type.
Step-by-Step Guide to Dismantling a Semi-Trailer
Step 1: Preparation
Gather Necessary Tools:
| Tool | Purpose |
|---|---|
| Wrenches & Sockets | To remove bolts and nuts. |
| Screwdrivers | For screws and fasteners. |
| Jack and Stands | To lift the trailer safely. |
| Saw (if needed) | To cut through materials. |
| Hammer | To remove stubborn parts. |
| Crowbar | For leverage in tight spaces. |
Document the Current Setup: Before starting, take photographs of the trailer from various angles and specifically document components to preserve reference points for reassembly or replacement.

Step 2: Removing the Load
- Clear the Trailer: Securely remove all cargo and accessories from the load floor.
- Inspect for Damage: Check the condition of the load floor and surrounding areas for any structural damage.
Step 3: Detaching the Axles
- Lift the Trailer: Use jacks to lift the semi-trailer. Ensure secure placement on jack stands.
- Remove Brake Components: Detach air brake lines and shock absorbers if applicable.
- Unscrew the Axles: Use the appropriate socket to remove all bolts fastening the axles to the chassis.
- Lower the Axles: Carefully lower and remove the axles from their mounts, utilizing assistance if necessary.
Step 4: Disassembling the Suspension System
- Identify Suspension Components: Locate the springs and any other suspension elements.
- Remove Attachments: Detach all connection points carefully, again noting their configuration for reference.
- Extract Suspension Parts: Pull out suspension components methodically.

Step 5: Disengaging the Chassis
- Disconnect Electrical Systems: Carefully detach any wiring or electrical systems connected to the chassis.
- Remove Tie-Downs & Underbody Components: Eliminate any underbody components like air tanks or spare tire mounts.
- Detach the Coupling: If applicable, remove the coupling mechanism connecting the trailer to the tractor.
Step 6: Breaking Down the Walls and Roof
- Inspect Structure: Check the side walls and roof for any fasteners or attachments.
- Unscrew Walls: Use screwdrivers and wrenches to remove side walls, starting from the bottom and working upwards.
- Remove the Roof: Depending on the construction, the roof may require more effort to detach. Use proper tools to carefully cut or unscrew.
Step 7: Final Dismantling of Remaining Elements
- Remove Remaining Fixtures: Any remaining fixtures or fittings should now be removed, including interior components if they exist.
- Clean Up the Area: As components are dismantled, ensure that the workspace remains clear and organized.

Troubleshooting Common Issues
During dismantling, several common issues may arise. Here’s how to handle them:
| Issue | Solution |
|---|---|
| Stubborn bolts/nuts | Use penetrating oil to loosen before trying again. |
| Difficult-to-remove suspension parts | Consider using additional leverage or cutting if necessary. |
| Electrical connection problems | Always refer to wiring diagrams or the manual for assistance. |
Best Practices for Dismantling Semi-Trailers
- Document Everything: As you dismantle, take notes about the order of disassembly and any difficulties encountered.
- Label Parts: If planning to reuse or reinstall parts later, label them during the dismantling process.
- Stay Organized: Keep a separate container for small nuts, bolts, and screws to avoid loss.
- Seek Professional Guidance: If unsure about any step, don’t hesitate to contact an experienced technician or the manufacturer.
Conclusion
Dismantling a semi-trailer is a detailed process that requires careful execution and thorough understanding of the trailer’s components. By following the steps outlined in this guide, alongside adhering to safety protocols and utilizing the correct tools, you can achieve a successful disassembly.
For those considering a semi-trailer dismantling project—whether for repairs, modifications, or part salvaging—this guide serves as a comprehensive resource. Remember, meticulous planning and attention to detail are paramount in ensuring a smooth and safe dismantling experience.


