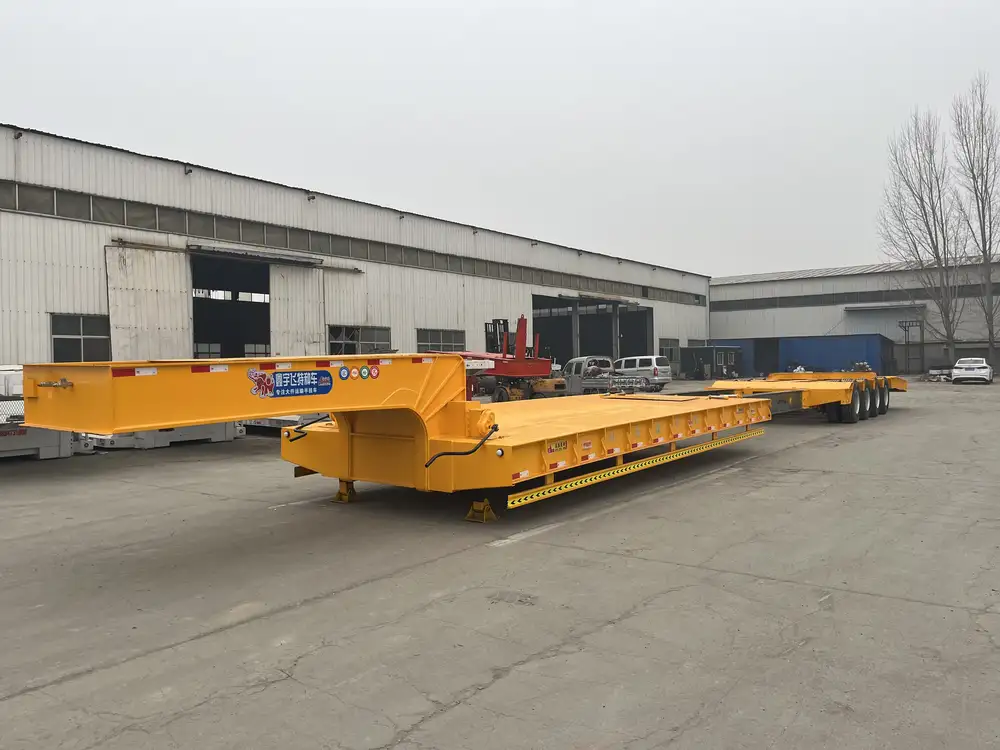
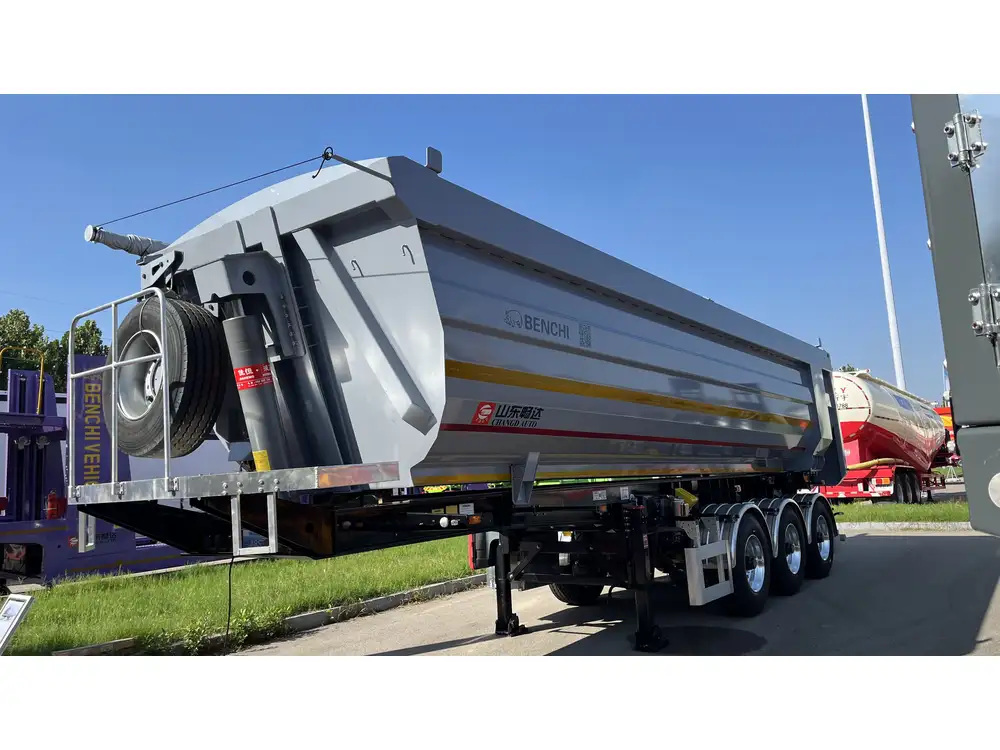
In the ever-evolving landscape of the trucking and construction industries, owning a dump trailer equipped with customizable features can significantly enhance functionality and efficiency. One such enhancement is the addition of 2-foot side rails to your dump trailer. This modification not only boosts the trailer’s capability to carry more materials but also facilitates safer transportation. This guide will take a deep dive into how to effectively add 2-foot side rails on your dump trailer, ensuring your modification process is seamless and efficient.
Understanding the Benefits of 2-Foot Side Rails
Before diving into the specifics of installation, it’s essential to explore why adding 2-foot side rails can be a game-changer for your dump trailer:
| Benefit | Description |
|---|---|
| Increased Capacity | Higher side rails allow for transporting greater loads without spillage. |
| Improved Safety | Additional rails help secure loads, reducing the risk of shifting during transit. |
| Versatility | Enhanced ability to carry a variety of materials, from loose aggregate to larger debris. |
| Custom Appearance | Aesthetic improvement to your trailer, boosting its visual appeal. |
Required Materials and Tools

Materials
- Steel or Aluminum Rails: Ensure they are 2 feet high and compatible with your trailer’s material and load capacity.
- Mounting Brackets: Use durable brackets suited for the weight class of your trailer.
- Welding Rods: If the rails will be welded onto the trailer, ensure you have the appropriate rods for the material being used.
- Paint or Finish: Corrosion-resistant paint or finish to protect the rails from weathering.
Tools
- Upright Welder or MIG Welder: Essential for attaching the rails securely.
- Drill: Needed for creating holes for mounting brackets.
- Tape Measure: For accurate measurements during installation.
- Level: To ensure the rails are straight and properly aligned.
- Safety Gear: Safety glasses and gloves to protect against hazards during the installation.
Step-by-Step Installation Process

Step 1: Measurement and Planning
To begin, accurate measurements are critical. You want to ensure the rails integrate seamlessly with your dump trailer.
- Measure the Height: Using a tape measure, determine the current height of your trailer’s sides. This ensures proper alignment with the new 2-foot rails.
- Decide on Rail Positioning: Determine if your configuration will include full-length side rails or segmented ones, depending on the specific design of your trailer.
Step 2: Preparing Trailer Surface
Before affixing the new rails, preparation is key.
- Clean the Surface: Remove any debris, rust, or previous coatings from the surface where the rails will be attached.
- Mark Drill Points: Using a marker, indicate where the mounting brackets will be placed, ensuring they align with pre-drilled holes on the trailer.
Step 3: Attach Mounting Brackets
This step can vary depending on whether you’re opting for welding or bolting.
Bolting Method:
- Drill holes into the trailer, ensuring they are properly spaced for the brackets.
- Insert bolts and secure them tightly to avoid any movement during transport.
Welding Method:
- Position the mounting brackets on the trailer.
- Weld the brackets to the trailer securely, ensuring thickness and strength are maintained.

Step 4: Installing the Side Rails
With the brackets securely fastened, it’s time to attach the 2-foot side rails.
- Position the Side Rails: Align the side rails with the mounting brackets ensuring they are level.
- Attach the Rails: Depending on your trailer design, either bolt the rails directly into the brackets or weld them in place.
Step 5: Finishing Touches
Once the rails are installed, final adjustments and protective measures can be executed.
- Check Alignment: Use a level to ensure that the rails are straight. Make any necessary adjustments before final tightening.
- Protect the Structure: Apply a suitable corrosion-resistant paint or finish to prevent rust and enhance durability.
Step 6: Safety Checks
Post-installation, ensuring safety is paramount.
- Check Stability: Verify that all bolts or welds are secure and that the rails stand firm.
- Load Testing: Before full-scale use, conduct a test with the light load to ensure stability and security during transportation.

Addressing Common Concerns
Weight and Load Capacity
A frequent concern with additions like side rails is whether they compromise the trailer’s weight capacity. It’s vital to consult your trailer’s specifications and consider the additional weight of the rails. Using lightweight materials like aluminum could alleviate some of the weight concerns while maintaining strength.
Legal Regulations
Check local transportation regulations concerning trailer modifications. Some regions may have specific legal standards regarding trailer height and load capacities, which may influence your decision to add side rails.
| Regulation Aspect | Information |
|---|---|
| Height Restrictions | Most jurisdictions have specific height limits for trailers, verify compliance post-installation. |
| Load Securing Laws | Ensure that your added side rails comply with safe load securing laws to mitigate spill risks. |

Troubleshooting Potential Issues
Misalignment
If the side rails appear uneven or crooked:
- Recheck bracket connections and levels.
- Adjust the brackets or the way the rails are seated and re-secure.
Rust or Corrosion
To combat potential deterioration over time:
- Regularly inspect rail conditions.
- Re-apply protective paint as needed.

Conclusion
Adding 2-foot side rails to your dump trailer can vastly improve its functionality, safety, and loading capacity. By following the detailed steps outlined in this guide, anyone can undertake this modification with precision and confidence. With the right tools, materials, and techniques, enhancing your trailer ensures not only an upgrade in performance but also a significant return on investment. Happy hauling!


