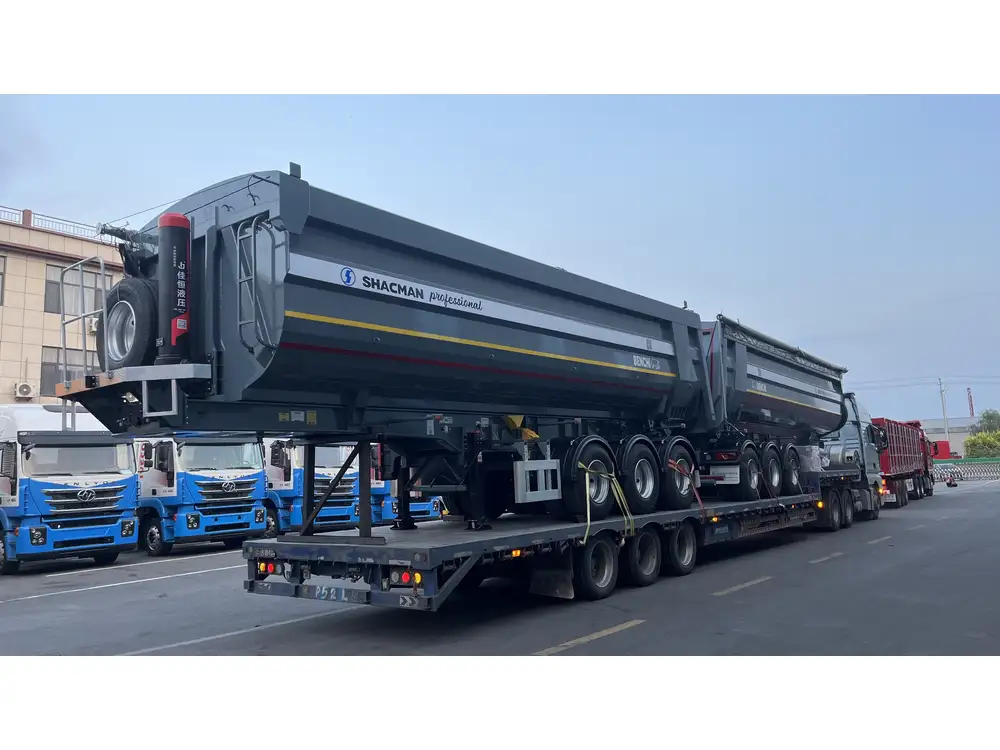
Introduction to Lego Semi-Trailers
Creating a Lego semi-trailer is not just a delight for model enthusiasts; it’s an opportunity to deepen your understanding of engineering principles while enjoying the therapeutic process of building with these iconic bricks. Whether you’re a novice builder or an experienced master, this comprehensive guide will provide you with all the necessary insights to construct your very own Lego semi-trailer, from the foundation up.
Essential Tools and Materials
Before diving into the assembly process, we must curate a toolkit and gather all necessary materials. Here’s a detailed breakdown:
| Item | Purpose |
|---|---|
| Lego Bricks | Main building material |
| Baseplate | For structural support |
| Wheels and Axles | To allow movement |
| Additional Accessories | For enhanced realism (figures, cargo, etc.) |
| Instructions or Schematics | Reference for assembly steps |
| Creative Imagination | Vital for customization |

Types of Lego Bricks You Might Need
- Basic Bricks: Fundamental building blocks available in various sizes.
- Plates: Thin bricks used to create smooth surfaces.
- Slope Bricks: Perfect for crafting semi-trailer shapes.
- Wheels and Tires: Essential for mobility.
- Specialty Pieces: To include details like lights, toolboxes, or even cargo.
Step-by-Step Construction Process
Starting from scratch can be overwhelming, but breaking the process into clear, structured steps ensures a seamless building experience.
Step 1: Designing Your Semi-Trailer
The first step in constructing your Lego semi-trailer involves crafting a design. This phase can leverage digital platforms like Lego Digital Designer or even simple sketches on paper. Important elements to consider include:
- Length and Width: Decide how large you want your semi-trailer to be.
- Functionality: Will it have a moving door, extendable chassis, or a removable cargo hold?
- Aesthetic Features: Think of color schemes and decorative stickers.

Step 2: Constructing the Chassis
The chassis serves as the backbone, providing structural integrity. Start with the baseplate:
- Attach Wheels: Secure the wheels with axles ensuring they spin freely.
- Build Upwards: Use various bricks to build the sides of the trailer, incorporating slope bricks for an aerodynamic look.
- Add Reinforcements: Utilize additional bricks to strengthen critical areas.
Step 3: Creating the Cargo Section
Depending on your design, this portion varies:
- Flatbed Design: Ideal for carrying pallets or vehicles.
- Enclosed Trailer: Use side bricks to create walls, and add a removable top.
- Specialty Cargo: Customize your cargo area to fit Lego figures or other themed accessories.
Step 4: Integrating the Hitch Mechanism
A functional hitch is essential for connecting the semi-trailer to a Lego truck. To do this:
- Design the Hitch: Use plates and small bricks to design a mechanism that holds firmly yet allows easy attachment and detachment.
- Test the Fit: Prior to disassembly, ensure the hitch works with the truck you plan to pair it with.

Step 5: Finishing Touches and Customization
Adding personalized features will make your semi-trailer unique:
- Color Choices: Utilize a variety of colors to distinguish different sections.
- Decals and Stickers: Craft labels or logos to mimic those found on real trailers.
- Figures and Accessories: Incorporate minifigures or cargo items to enhance realism.
Troubleshooting Common Issues
Throughout the construction journey, you may encounter several challenges. Here’s how to address them systematically:
| Issue | Solution |
|---|---|
| Wheels Won’t Spin | Check for axle blockage or misalignment. |
| Unstable Structure | Reinforce joints with additional bricks. |
| Chassis Too Long/Short | Recalculate dimensions and adjust as necessary. |
| Design Elements Clash | Rethink the arrangement or remove conflicting pieces. |
The Art of Customization
One of the most enjoyable aspects of building with Legos is the possibility for customization—a way to showcase personal creativity. Consider:
- Themes: Select themes such as construction, emergency response, or vintage transport.
- Colors: Experiment with unconventional colors or patterns for a unique look.
- Functionality: Innovate with retractable or movable parts.

Inspiring Examples and Variations
For inspiration, let’s showcase a few notable design variations of Lego semi-trailers:
- Flatbed Truck: Ideal for transporting oversized cargo items, complete with features to secure loads.
- Reefer Trailer: A refrigerated trailer constructed to keep cargo cool, complete with air conditioning vents.
- Tank Trailer: Designed to transport liquids, featuring a rounded top and secure fittings.
Conclusion
Building a Lego semi-trailer is far more than a simple pastime; it’s an engaging endeavor fostering creativity, patience, and learning. From the foundational structure to intricate detailing, every step involves critical thinking and problem-solving skills. By utilizing this comprehensive guide, we hope to inspire both novice and experienced builders to embark on their own Lego journeys.
Further Reading
- Lego Architecture: Explore the world of Lego architecture for building inspiration.
- Advanced Building Techniques: Learn through advanced guides that focus on complex machinery and mechanics within Lego sets.
- Community Resources: Join forums and social media groups to share creations and ideas with fellow Lego enthusiasts.
As you embark on your Lego semi-trailer project, remember that the joy of building lies in the journey, the creativity involved, and the stories you can tell with every brick you lay down.


