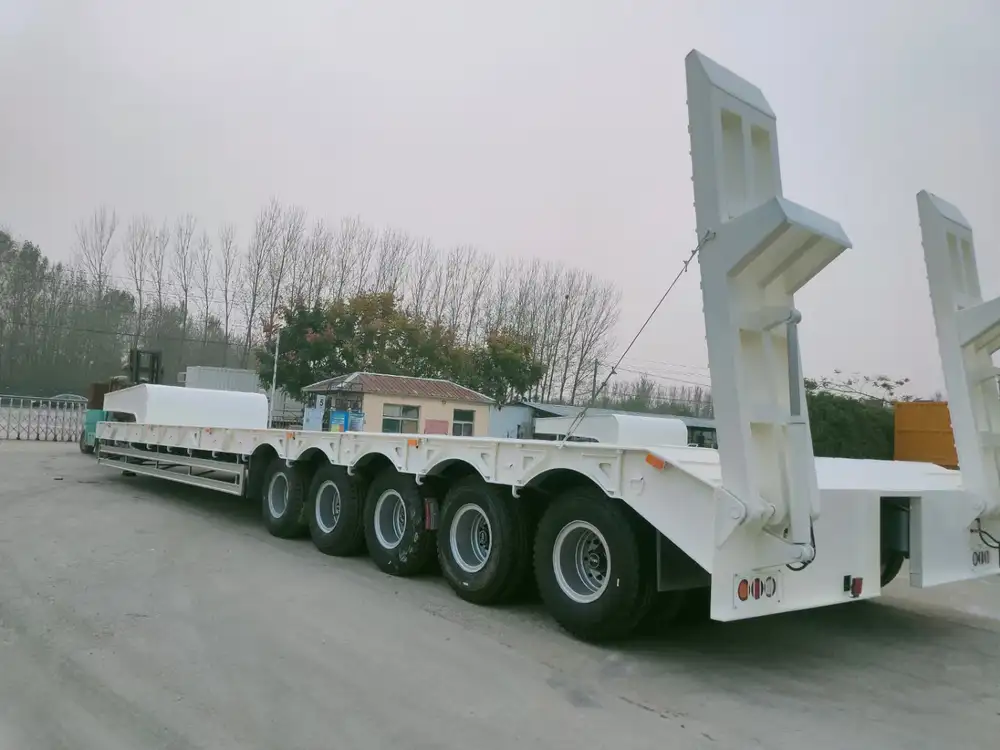
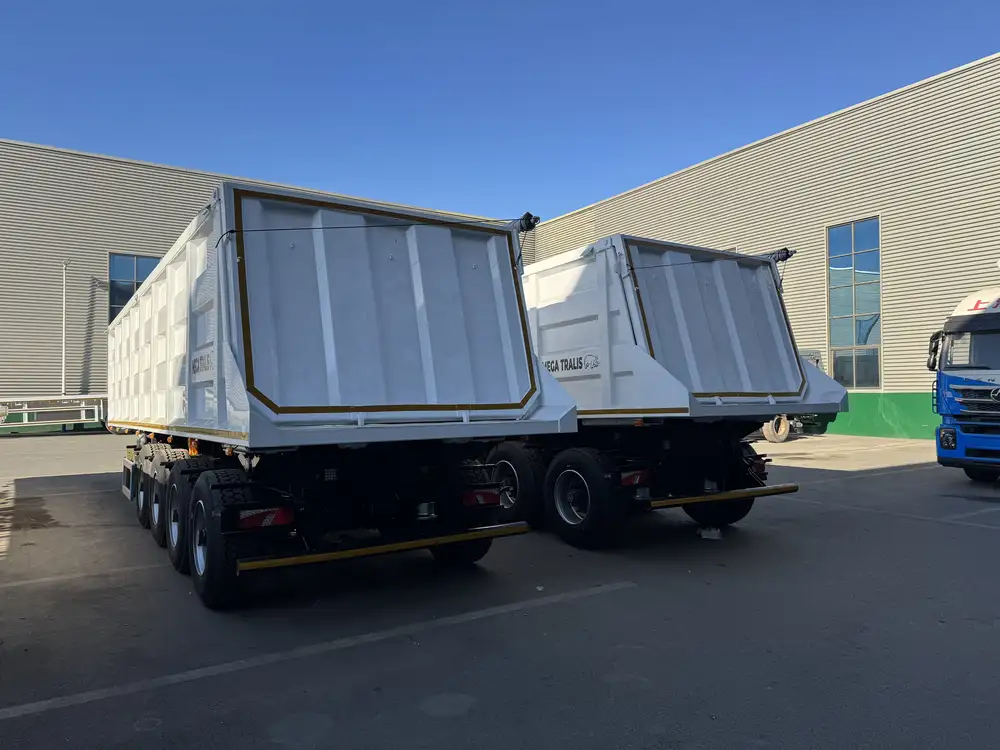
Wiring tail lights on a semi-trailer might seem like a daunting task, but with the right approach and materials, it can be done effectively and safely. In this guide, we will delve into the essential aspects of wiring tail lights on your semi-trailer, providing you with step-by-step instructions, essential tools, and best practices that ensure functionality and safety compliance.
Understanding Tail Light Systems on Semi-Trailers
Before jumping into the wiring process, it’s crucial to understand the components involved in your semi-trailer’s tail light system. Tail lights typically serve multiple functions, including:
- Running Lights: Illuminate when the vehicle is in motion.
- Brake Lights: Flash brighter when the brake pedal is engaged.
- Turn Signal Lights: Indicate the direction of the turn.
- Reverse Lights: Activate when reversing.
Components of the Tail Light Circuit
Here’s a breakdown of the key components that make up the tail light wiring system:
| Component | Description |
|---|---|
| Tail Light Assembly | Consists of housing for bulbs and lenses, often LED or incandescent. |
| Wiring Harness | A bundled collection of wires that connects the tail light assembly to the vehicle’s electrical system. |
| Connectors | Plastic terminals that facilitate easy connections between the wires. |
| Ground Wire | Essential for completing the electrical circuit and preventing shorts. |
| Fuse | A protective device in the circuit that prevents overcurrent damage. |
Understanding these components is pivotal to grasping how to wire and troubleshoot tail lights effectively.

Essential Tools and Materials
To wire the tail lights on a semi-trailer properly, gather the following tools and materials:
Tools
- Wire Strippers: For stripping insulation from wires.
- Crimping Tool: To secure connections between wires.
- Screwdrivers: For mounting brackets and terminals.
- Multimeter & Test Light: Essential for testing voltages and circuit continuity.
- Heat Shrink Tubing: Provides insulation and protection for connections.
Materials
- Wiring Kit: Includes wires (typically red for power, black for ground), and connectors.
- Tail Light Assemblies: Ensure they are compatible with your semi-trailer.
- Fuses: Proper amperage ratings to protect your circuit.
- Electrical Tape: For additional insulation and securing connections.

Step-by-Step Guide to Wiring Tail Lights
Step 1: Safety First
Ensure the power to your semi-trailer’s electrical system is turned off. Disconnect the battery if necessary to prevent any electrical shocks or shorts.
Step 2: Remove Old Tail Light Assemblies
If you are replacing an existing tail light assembly, carefully remove it by unscrewing any mounting screws and disconnecting the wiring harness. Check for corrosion or damaged wires which may need to be replaced.

Step 3: Identify the Wiring Configuration
The wiring configuration varies by manufacturer, but generally, you will find the following wire associated with each light function:
| Light Function | Wire Color |
|---|---|
| Running Lights | Brown |
| Left Turn Signal | Yellow |
| Right Turn Signal | Green |
| Brake Lights | Red |
| Ground | Black |
Refer to your specific semi-trailer’s wiring diagram to ensure compatibility.
Step 4: Preparing the New Tail Light Assembly
If installing a new tail light assembly, follow these sub-steps:
- Attach the appropriate connectors to the wires of the tail light assembly. Ensure a firm connection for reliability.
- Use heat shrink tubing over each connection to provide insulation from moisture, dirt, and corrosion.
Step 5: Connecting the Wires
- Connect the assembled wires from the tail light to the semi-trailer’s wiring harness by matching colors according to the configurations identified earlier.
- Use a crimping tool to secure the connections if using crimp connectors.
- For additional security, wrap each connection with electrical tape. This will help prevent any exposure to the elements.

Step 6: Grounding the Circuit
Proper grounding is critical to the function of the tail light. Follow these steps:
- Locate the ground wire in the harness, typically a black wire.
- If there’s no dedicated ground wire, attach the ground wire to a clean, unpainted metal surface on the semi-trailer; ensure tight contact to prevent resistance.
Step 7: Testing the System
After making all connections, it’s time to test the tail light system:
- Reconnect the battery.
- Use a multimeter to check for voltage at each wire.
- Activate the running lights, turn signals, and brake lights one at a time to observe functionality.
- If you experience non-functioning lights, double-check your connections and consult the wiring diagram for troubleshooting.
Step 8: Securing the Assembly
Once functionality is confirmed, secure the tail light assembly in place with screws and silicone sealant around the edges to prevent water ingress.

Step 9: Final Inspection
Verify that all connections are insulated, wrapped securely, and that there is no interference in the circuit. Close any access points and ensure that all wire coats are intact.
Common Issues and Troubleshooting Tips
Sometimes wiring can get tricky, and problems may arise. Here are some common issues and how to resolve them:
Issue 1: Tail Lights Not Working
- Check the Fuse: Inspect the fuse that corresponds to the tail light circuit.
- Inspect for Corrosion: Rust or corrosion can impede connections.
- Ensure Proper Grounding: A loose ground can cause lights to malfunction.

Issue 2: Brake Lights Sticking On
- Faulty Switch: This might indicate a malfunctioning brake light switch.
- Wiring Short: Check for frayed wires that may be touching.
Issue 3: Flickering Lights
- Loose Connections: Tighten any loose connections.
- Worn Wiring: Inspect for old or damaged wires that may need replacing.
Issue 4: One Side Not Working
- Check Bulbs: A burned-out bulb may cause one side to fail.
- Inspect Connections: Ensure all connections are tightly secured and correct.

Maintenance Best Practices
To ensure longevity and reliability in your tail light system, consider the following maintenance tips:
- Regular Inspections: Conduct regular checks on the tail light system, particularly before long trips.
- Clean Connections: Periodically clean any corrosion from connectors to maintain a strong electrical connection.
- Protect from the Elements: Use silicone sealants where water could potentially ingress into connections.
- Replace Bulbs as Needed: Identifying and replacing burned-out bulbs promptly can save time and ensure safety.
Conclusion
Wiring tail lights on a semi-trailer requires attention to detail and adherence to safety standards. By following this guide, you can effectively wire and troubleshoot your tail lights, ensuring optimal functionality on the road. Always prioritize safety by using the correct tools and methods, and consider consulting a professional if you encounter any complexities beyond your expertise.


