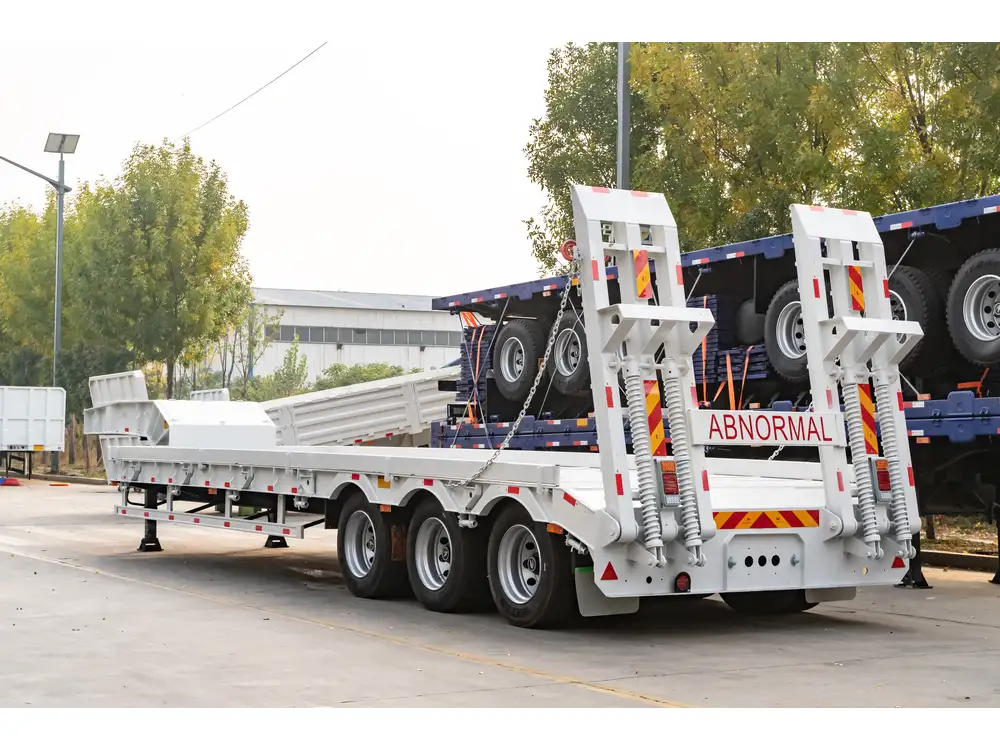
When it comes to the safety and functionality of your flatbed trailer, proper wiring of the lights is non-negotiable. This guide aims to provide you with a thorough understanding of how to wire flatbed trailer lights, ensuring that you are fully equipped to tackle this task with confidence.
Understanding the Basics of Trailer Lighting Systems
Before delving into the actual wiring process, it’s crucial to familiarize yourself with the basic components of trailer lighting systems:
| Component | Description |
|---|---|
| Trailer Connector | A device that connects the trailer’s wiring to the tow vehicle. Common types include 4-pin, 5-pin, and 7-pin connectors. |
| Brake Lights | Lights that illuminate when the tow vehicle’s brakes are engaged. |
| Tail Lights | Lights that provide visibility and alerts other drivers of the trailer’s presence at night. |
| Turn Signal Lights | Lights that indicate a turn or lane change by blinking on either side of the trailer. |
| Reverse Lights | Lights that activate when the tow vehicle is in reverse, increasing visibility. |
| Running Lights | Lights that remain illuminated whenever the vehicle’s headlights are on. |
Materials Needed for Wiring Flatbed Trailer Lights
Before starting the wiring process, gather the necessary materials:
- Wire Strippers
- Electrical Tape
- Soldering Iron and Solder
- Heat Shrink Tubing
- Wire Connectors (Butt Connectors or Splice Connectors)
- LED or Incandescent Lights
- Multi-Function Trailer Wiring Harness
- Test Light or Multimeter
- Cable Ties

Step-by-Step Guide to Wiring Flatbed Trailer Lights
Step 1: Assess Your Trailer Lights System
Identify Light Functions: Understand which lights you’ll be installing on your flatbed trailer. This optimizes your wiring endeavors based on the intended functionality—tail lights, brake lights, and turn signals.
Locate the Existing Wiring: If there is already a wiring system in place, inspect the existing wires for damage. If significant wear is observed, it may be prudent to replace the entire system rather than attempt repairs.
Step 2: Prepare Your Trailer for Wiring
- Clean the Surface: Ensure that the area where you’ll be working is free of debris. This ensures proper adhesion of electrical components.
- Identify a Ground Point: A secure ground connection is vital. Ideally, this should be a clean, rust-free area on the trailer’s frame.

Step 3: Install the Trailer Connector
The trailer connector is the key interface where your trailer lighting system integrates with your tow vehicle.
How to Install a 7-Pin Connector
Remove Connector Cover: If a cover is present, detach it carefully.
Strip Wires: Use wire strippers to expose about 1/2 inch of copper from each wire.
Connections: Refer to the chart below for color-coding standards:
| Wire Color | Function | Connector Pin |
|---|---|---|
| White | Ground | 1 |
| Brown | Tail and Running Lights | 2 |
| Yellow | Left Turn Signal | 3 |
| Green | Right Turn Signal | 4 |
| Red | Brake Lights | 5 |
| Blue | Reverse Lights | 6 |
| Black | Auxiliary Power | 7 |
- Secure Wires: Each wire should be securely fastened using the corresponding pin. Tighten screws and ensure connections are insulated (use electrical tape if necessary).
Step 4: Wire the Lights

Connect the Tail Lights
Position the Lights: Ensure that the tail lights are mounted in their correct location on the flatbed.
Connect Wires for Tail Lights: Connect the brown wire from the trailer connector to the tail light’s positive terminal. Attach the ground wire (often white) to the negative terminal.
Connect the Brake Lights & Turn Signals
Install Brake Lights: Generally these are mounted higher than tail lights to enhance visibility.
Wire Up: Connect the red wire from the connector to the brake light’s positive terminal. For turn signals, use the yellow wire for the left and green wire for the right turn signals, connecting them to their respective positive terminals.
Install Reverse Lights (if applicable)
Mount Reverse Lights: If your flatbed trailer is equipped with reverse lights, mount them accordingly.
Connect the Blue Wire: Attach this wire from the trailer connector to the positive terminal of the reverse lights, and don’t forget the ground connection.

Step 5: Insulate and Secure the Connections
- Heat Shrink Tubing: Slide a section of heat shrink tubing over each wire joint and apply heat until secured, preventing moisture ingress.
- Electrical Tape: Wrap all exposed wires tightly with electrical tape to ensure safety.
Step 6: Test the Wiring System
Visual Inspection: Before hooking up to the tow vehicle, conduct a comprehensive check of all connections.
Power Tests: Use a test light or multimeter to ensure that power is flowing correctly through each wire.
Function Tests: Finally, connect your flatbed trailer to the tow vehicle and test each light function, including turn signals and brake lights.
| Test Light | Action |
|---|---|
| Tail Lights | Switch on vehicle lights |
| Brake Lights | Press brake pedal |
| Left/Right Turn Signals | Activate turn signals |
Step 7: Finalize and Secure Everything
Once testing confirms that all lights are operating properly, take the time to secure any loose wires with cable ties and ensure that no wires are pinched or exposed, which could lead to shorts or other electrical issues.

FAQs Regarding Wiring Flatbed Trailer Lights
What if My Trailer Has Different Colored Wires?
If your trailer has custom wiring, consult the manufacturer’s manual or wiring diagram. Always follow the instructions provided above while adhering to specific color codes.
How Do I Maintain My Flatbed Trailer Lights?
- Regular Inspections: Periodically check for any signs of wear on the wiring and light fixtures.
- Clean Connections: Remove any corrosion on connectors; this helps maintain a reliable connection.

What are the Common Problems with Trailer Lights?
| Problem | Possible Cause |
|---|---|
| Lights Not Functioning | Faulty connection or ground |
| Dim Lights | Corroded connectors |
| Blinking Lights | Bad connection or wiring faults |
Conclusion
Wiring flatbed trailer lights may initially appear daunting, but with this comprehensive guide, you are well-equipped to handle the task effectively. Thorough preparation, an understanding of the components, and a detailed wiring process will ensure that your trailer operates safely and efficiently. Whether you’re preparing for a cross-country haul or simply securing a local shipment, staying compliant with lighting regulations enhances safety and visibility on the road.
Maintaining diligence during the wiring process and regular upkeep will extend the lifespan of your lighting system, ensuring a robust, compliant trailer ready for any cargo it carries. Remember, when it comes to trailer safety, you cannot afford to compromise.
Safety First! Happy towing!


