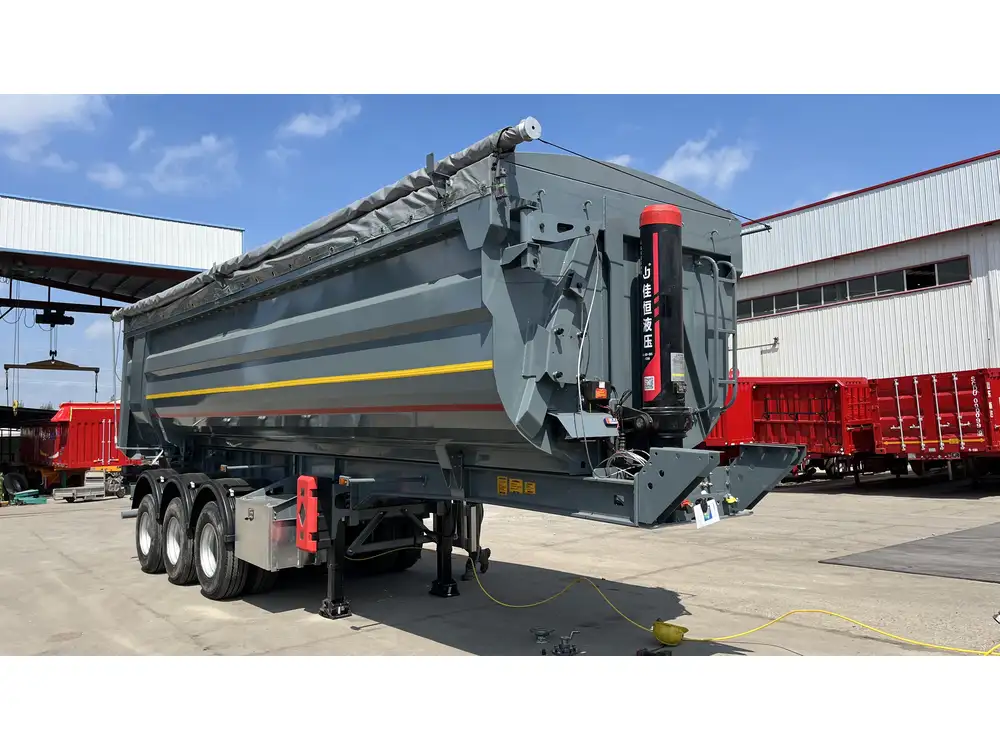
Wiring a dump trailer to a truck requires careful consideration and a systematic approach. Whether you are a DIY enthusiast or a seasoned professional, following the right steps ensures safety and optimal performance. In this guide, we delve into the intricate details of how to wire a dump trailer to a truck, addressing common questions, potential pitfalls, and best practices.
Understanding the Basics of Dump Trailer Wiring
Before diving deep into the wiring process, it’s essential to grasp some foundational concepts related to dump trailers:
- Electrical Systems: Dump trailers typically operate on a 12-volt electrical system, which requires a reliable connection to the towing vehicle.
- Grounding: Proper grounding is crucial for a secure connection and preventing electrical faults.
- Connector Types: Recognizing the different types of connectors (like 7-pin, 6-pin, etc.) can help in choosing the right one for your specific needs.
Tools and Materials Needed
Here’s a checklist that outlines the essential tools and materials required for wiring a dump trailer:
| Tools | Materials |
|---|---|
| Wire Strippers | Wiring Harness |
| Crimping Tool | Connectors (7-pin, 6-pin) |
| Socket Wrench Set | Heat Shrink Tubing |
| Electrical Tape | Fuses |
| Multimeter | Grounding Wire |
| Drill with Bits | Long-term Adhesive (if needed) |

Safety Precautions
- Ensure the Vehicle is Off: Always start the installation process with the truck turned off to prevent any accidental short-circuits.
- Use Proper Personal Protective Equipment (PPE): When handling electrical components, ensure you are equipped with gloves and safety glasses.
- Avoid Overheating Connections: Monitor connections closely during the installation process to avoid overheating.
Step-by-Step Wiring Process for a Dump Trailer
Step 1: Prepare Your Work Space
Begin by selecting a spacious area conducive to working on both your truck and dump trailer. Clear any clutter around your tools and materials, as it can be distracting and unsafe.

Step 2: Identify the Trailer Wiring Color Codes
Most dump trailers follow a standard color code for wiring. Here’s a typical breakdown:
- Brown: Tail Lights
- Green: Right Turn Signal
- Yellow: Left Turn Signal
- White: Ground
- Red: Electric Brakes
- Blue: Electric Brake Controller
- Black: 12V Power Supply
Understanding these color codes is critical for making correct connections and avoiding malfunction.
Step 3: Inspect the Truck’s Wiring Harness
Next, examine the wiring harness on your truck. Depending on the model, you might find different wiring configurations. Typically, a towing package or connector system will already exist on the truck.
- Locate Existing Connectors: Identify the 7-pin or 6-pin connector installed at the rear of your truck.
- Examine Connections: Ensure there’s no corrosion or damage. Use a multimeter to check if the power is flowing correctly through each pin.
Step 4: Connect the Dump Trailer Wiring
Now, connect your dump trailer’s wiring to that of the truck using the following steps:
Connect the Ground Wire: The white wire from the trailer needs to be connected to the truck’s grounding point. This is crucial for safety and functionality.
Wire the Tail Lights: Connect the brown wire from the trailer to the corresponding terminal on the truck connector.
Configure the Turn Signals:
- Right Turn Signal: Connect the green wire on the trailer to the truck’s right turn signal connection.
- Left Turn Signal: Connect the yellow wire on the trailer to the truck’s left turn signal connection.
Connect the Electric Brakes: Attach the red wire to the truck’s brake controller to enable braking functionality.
Attach the Power Supply: The black wire from the trailer should connect to the truck’s 12V power supply, allowing the trailer’s battery (if equipped) to charge while driving.
Install the Brake Controller: If applicable, ensure that the blue wire is connected to the electric brake controller.

Step 5: Secure and Protect Connections
To ensure the longevity and safety of your connections, use the following techniques:
Crimping: Use a crimping tool to secure connectors firmly. Make sure no bare wire is exposed.
Heat Shrink Tubing: After crimping, apply heat shrink tubing over the connectors. This will protect them from elements and prevent short-circuiting.
Electrical Tape: As an additional layer of security, wrap electrical tape around connections to keep dust and moisture out.
Step 6: Test the Wiring Connections
After wiring, it is essential to test the connections. Here’s how you can efficiently check for any faults:
Visual Inspection: Check all connections for any visible signs of wear or damage.
Functionality Test:
- Turn on your truck’s headlights and hazard lights to ensure that the trailer lights activate.
- Test the brakes by activating the truck’s brakes to ensure the trailer brakes function correctly.
Voltage Testing: Use a multimeter to ensure the correct voltage is being transmitted through the lines.
Step 7: Final Adjustments and Securing the Wiring
- Bundle Excess Wiring: Avoid unnecessary friction or snagging by bundling excess wiring in a secure manner using zip ties.
- Inspect for Loose or Frayed Wires: Check again for any loose wires that could lead to operational issues.

Troubleshooting Common Issues
- Lights Not Functioning Properly: If lights aren’t responding, check for loose connections or damaged wires.
- Brakes Not Engaging: If the electric brakes fail to work, revisit the wire connections and ensure proper grounding.
- Intermittent Signals: Intermittent functioning points towards a potential short, so inspect wires for fraying or cuts.
Conclusion
Wiring a dump trailer to a truck is a detailed process that demands precision, patience, and knowledge of electrical systems. By following the steps outlined above, you can achieve a successful and efficient connection, ensuring the safe operation of your dump trailer. Familiarize yourself with the wiring color codes, use high-quality tools, and always prioritize safety as you navigate through the installation process.
Ultimately, whether for hauling heavy loads or transporting materials, a well-wired dump trailer enhances your utility and minimizes headaches on the road. Take the time to ensure a proper setup, and you’ll reap the benefits every time you hit the road with your truck and trailer in tow.
By understanding the wiring principles and employing systematic checks and balances alongside robust safety measures, you can not only improve your operational efficiency but also elevate your user experience. Let this guide serve as your roadmap to successfully wiring a dump trailer to your truck, enabling you to tackle any job that comes your way with confidence and ease.


