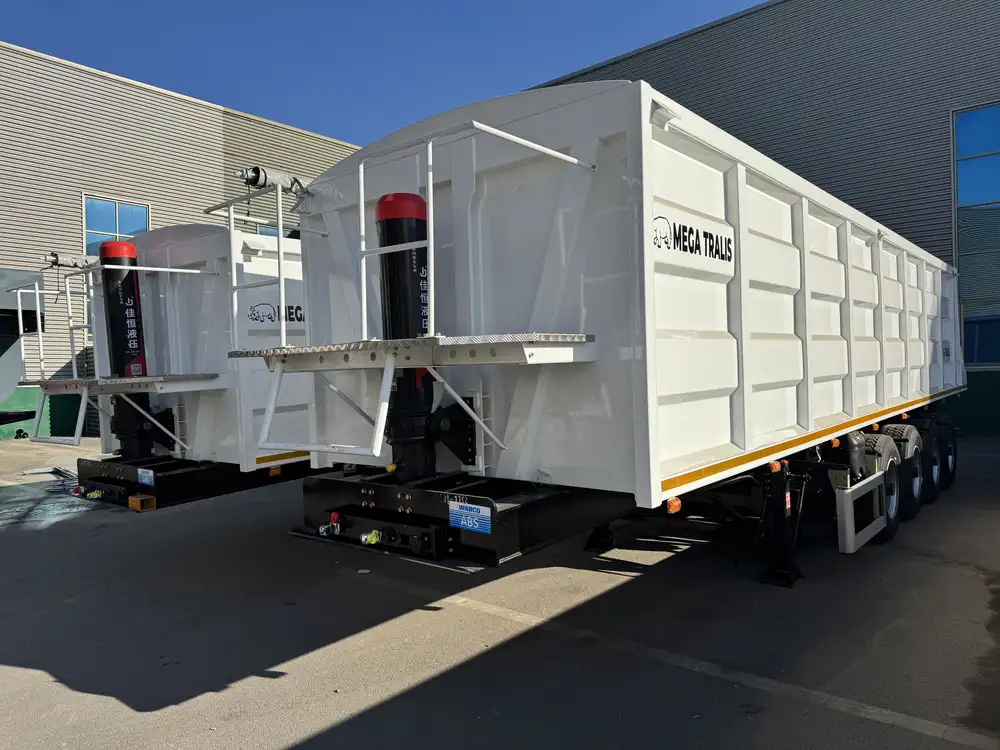
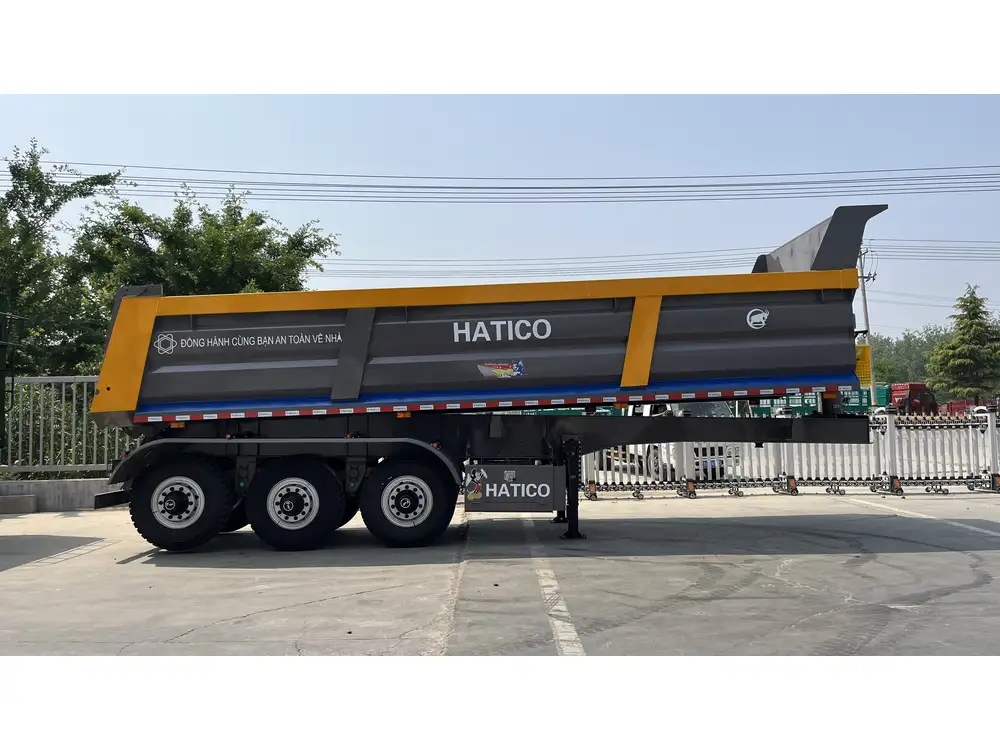
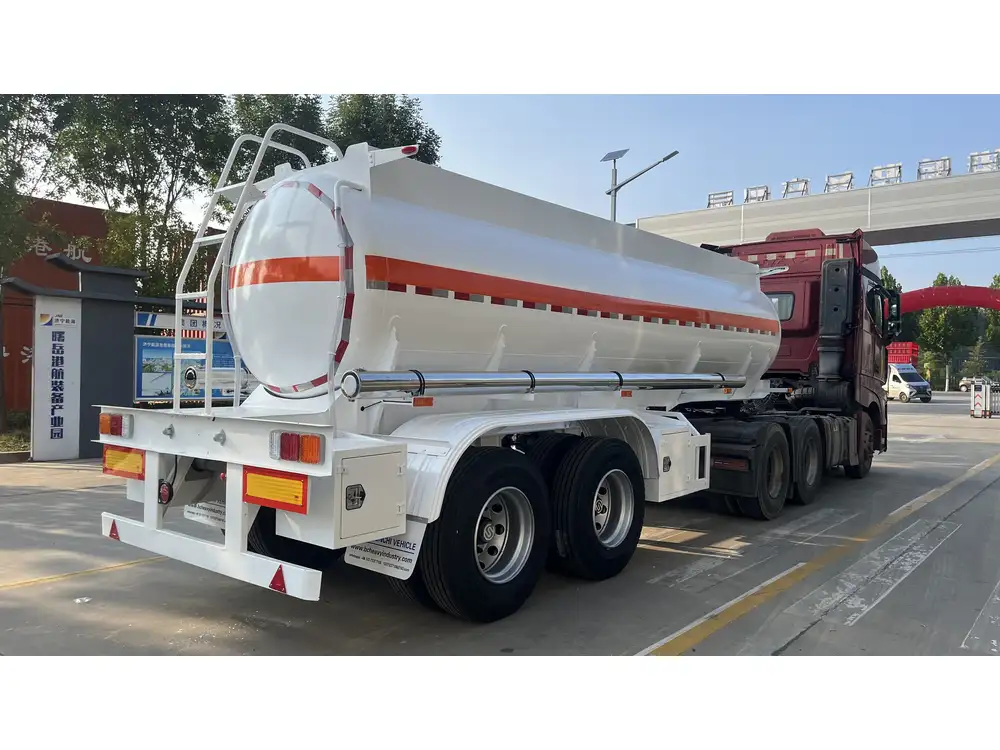
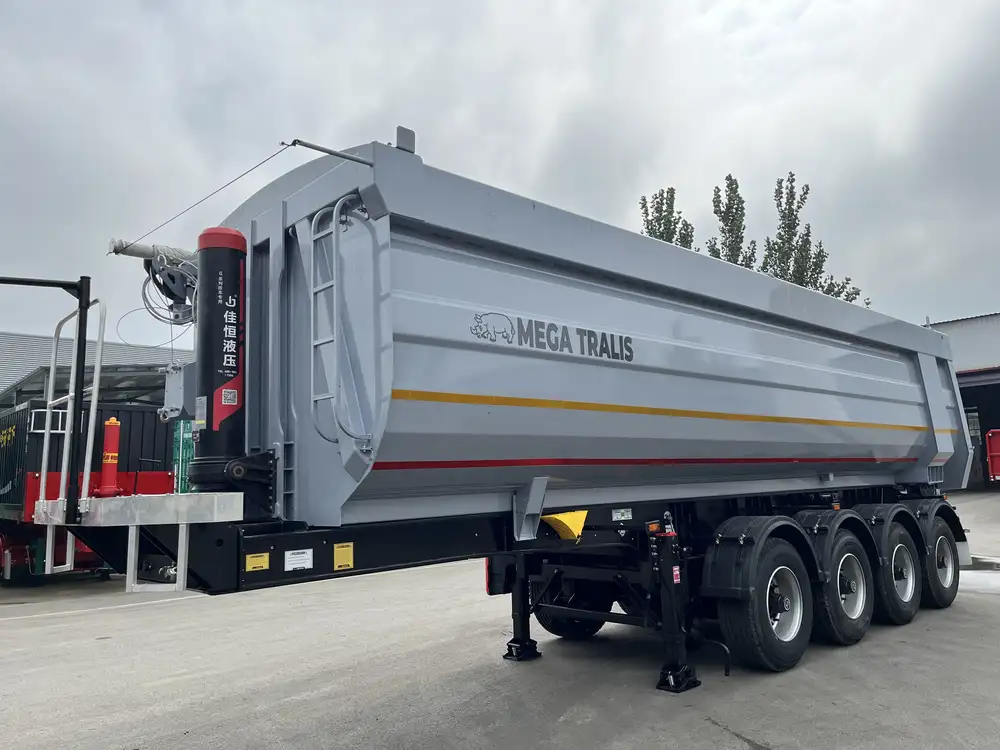
Installing a roof on a semi-trailer is an essential process that protects cargo from the elements and ensures the trailer’s longevity. This guide outlines the necessary steps, materials, and considerations for a successful roof installation on a semi-trailer.
Understanding Semi Trailer Roof Types
Before starting the installation process, it’s vital to understand the different types of roofs commonly used on semi-trailers. Each type has unique characteristics that affect installation and functionality.
| Roof Type | Description | Advantage(s) |
|---|---|---|
| Flat Roof | A horizontal surface with no slope. | Cost-effective, easy to construct. |
| Arched Roof | A curved structure, often made of aluminum or fiberglass. | Enhanced aerodynamics, reduces wind resistance. |
| Tapered Roof | Slopes towards the sides for water runoff. | Effective drainage, reduces pooling of water. |
| Custom Roofs | Tailored designs to fit specific needs. | Versatile for unique applications. |
Selecting the Appropriate Roof Style
Choosing the right roof type depends on several factors, including:
- Intended Use: What type of cargo will be transported?
- Climate Conditions: Will the trailer be exposed to heavy rain, snow, or extreme heat?
- Budget: Are you looking for a cost-saving option or willing to invest in a more durable solution?

Required Tools and Materials
Tools
To install the roof effectively, gather the following tools:
- Drill: For creating holes for screws and fasteners.
- Screwdriver: Ensuring a tight fit for screws.
- Measuring Tape: For accurate measurements.
- Level: To ensure the roof is even.
- Ladder: For safe access to the roof.
Materials
The choice of materials will largely depend on the roof type. Common materials include:
- Fiberglass Sheets: Lightweight and durable.
- Aluminum Panels: Corrosion-resistant and strong.
- Rubber Membrane: Effective for flat roofs, offering waterproof protection.
- Sealant and Adhesives: For securing materials and creating airtight seals.

Step-by-Step Installation Process
1. Preparation and Planning
Inspection: Begin by inspecting the semi-trailer for any existing damage. This includes checking the frame and existing roof structure for wear and tear.
Measurements: Measure the dimensions of the trailer roof thoroughly to ensure accurate material cutting and fitting. Use a measuring tape and record all dimensions.
2. Material Cutting
Once measurements are confirmed, cut your materials to size:
- For Aluminum Panels: Use a metal shear or a circular saw with a fine-toothed blade to ensure clean cuts.
- For Fiberglass Sheets: Score the sheet with a utility knife and snap along the line.

3. Assembling the Framework
If your roof design requires additional support or framing, follow these steps:
- Add Cross Beams: Secure cross beams along the width or length of the trailer to improve structural integrity.
- Use Metal Brackets: Fasten brackets to connect beams and ensure a sturdy framework.
4. Installing the Roof Panels
Flat Roof Installation
- Position Panels: Place the cut panels atop the trailer, ensuring they overlap slightly at edges for maximum weather resistance.
- Secure Panels: Begin securing panels using screws every 12 inches, starting from the center and moving outward.

Arched Roof Installation
- Align Arches: Position arched panels ensuring they follow the contour of the trailer.
- Fasten with Rivets or Screws: Utilize rivets for added strength on metal roofs, evenly spacing them for consistency.
5. Sealing Joints and Edges
After fastening the panels:
- Apply Sealant: Use a high-quality waterproof sealant along all seams and edges. This step is crucial to prevent leaks.
- Inspect the Sealing: Double-check for any missed spots and apply additional sealant as needed.
6. Final Inspection
Once installed, conduct a thorough inspection:
- Check for Gaps: Ensure there are no visible gaps or areas where water could penetrate.
- Secure All Fasteners: Revisit all screws and connections to confirm they are tight and secure.

Maintenance Tips for Semi-Trailer Roofs
To prolong the lifespan of the trailer roof, consider the following maintenance best practices:
Regular Inspections
- Conduct biannual inspections to check for signs of wear, damage, or leaks, particularly after harsh weather conditions.
Cleaning Routine
- Regularly clean the roof to remove debris, leaves, and dirt which can retain moisture and cause damage.

Prompt Repairs
- Address any signs of damage or leaks immediately to prevent more significant issues down the line.
Conclusion
The process of installing a roof on a semi-trailer may appear daunting, yet with the right tools, materials, and methodical approach, it becomes manageable. By understanding the various roof types, adequately preparing, and carefully executing each step outlined in this guide, one can achieve a durable and efficient installation that ensures the trailer remains resilient against environmental challenges.
Having a well-installed roof is not merely about practicality but also significantly contributes to the overall safety and functionality of transport operations. This knowledge empowers manufacturers, fleet operators, and DIY enthusiasts alike to maintain the integrity of their semi-trailers effectively. Whether you operate in inclement weather or require specialized cargo transport, ensuring a robust roof installation is paramount for optimal performance.
This comprehensive guide aims to equip semi-trailer owners and operators with the fundamental knowledge necessary for roof installation. Incorporating these practices will enhance the durability and efficiency of the trailer, ensuring your business remains competitive and reliable.


