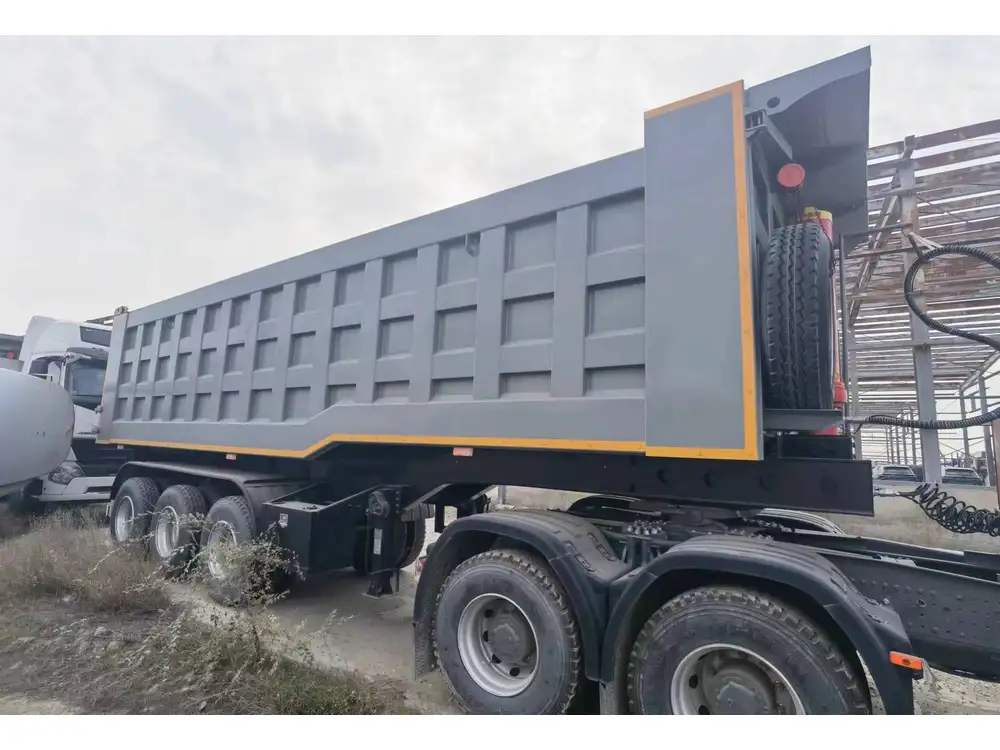
Ensuring the safety and functionality of a semi-trailer is crucial for the transportation industry. One of the critical components that often goes overlooked is the brake lights. This guide provides an extensive overview on how to check brake lights on a semi-trailer, ensuring that both operators and other road users are protected during every journey.
Importance of Working Brake Lights
The significance of functioning brake lights on a semi-trailer cannot be overstated. These lights serve several essential roles:
- Visibility: Brake lights alert other drivers to the action of slowing down or stopping, aiding in accident prevention.
- Legal Compliance: Insufficiently working brake lights can lead to legal penalties and fines.
- Safety Checks: Regularly checking brake lights contributes to the overall maintenance of the trailer, preventing more significant issues.
Step-by-Step Guide on How to Check Brake Lights on a Semi-Trailer
Regular maintenance checks are vital for the durability and performance of your semi-trailer. Below, we’ll dissect the process of checking brake lights into clear, actionable steps:

1. Gather Required Tools
Before initiating any checks, make sure you have the following tools on hand:
| Tool | Purpose |
|---|---|
| Multimeter | To check for electrical connectivity |
| Screwdriver | To access the light fixtures |
| Wrench or pliers | For disconnecting or securing wires |
| Assistant | To help verify lights from outside the truck |
2. Visual Inspection of Brake Lights
Perform a thorough visual inspection to identify any immediate issues.
- Locate Brake Light Assemblies: Check the rear of the semi-trailer, typically located within the tail light indicator area.
- Examine for Cracks or Dirt: Look for any cracks in the lenses or dirt accumulation that could impair light emissions.
- Check Bulbs: Inspect any bulbs themselves for signs of burning out or broken filaments.
3. Testing Electrical Functionality

Checking Voltage with a Multimeter
- Power the Trailer’s Electrical System: Ensure that the truck is running, and the electrical system is activated to provide power.
- Set the Multimeter to Voltage Testing: Adjust the multimeter to test for DC voltage.
- Test Power to the Brake Light Socket:
- Remove the brake light bulb from its socket.
- Insert the multimeter probes into the socket.
- An operational system should register around 12-14 volts when the brake pedal is pressed.
- Observe Readings:
- If you receive no reading, suspect a malfunction occurring due to a blown fuse, damaged wiring, or a defective brake switch.
4. Investigating the Brake Light Switch
If the lights aren’t responding as expected, the brake light switch might be the culprit.
- Locate the Brake Light Switch: This is usually situated near the brake pedal mechanism.
- Conduct Functional Testing:
- Manually activate the switch (either by pressing the pedal or using a lever) to see if the brake lights illuminate.
- If they don’t, then the switch itself may need replacement.
5. Inspect Wiring and Connections
Issues can arise from damaged wires or loose connections:
- Study the Wiring Harness: Inspect for any frays, loose connections, or corrosion at plugs and terminals.
- Secure Loose Wires: Tighten any connections found to be loose, ensuring that they are free from dirt and corrosion.

Connection Testing Techniques
To further ensure secure connections:
- Pull Test: Gently tug at connectors to confirm their fit.
- Corrosion Inspection: Check for green or white build-up, indicating corrosion, and clean with appropriate tools.
6. Replacing the Bulbs
If bulbs are burnt out:
- Carefully Remove Old Bulbs: Following the manufacturer’s instructions, twist or pull the bulb out of the socket.
- Install New Bulbs: Gently insert a new bulb, taking care not to touch the glass with bare hands (oil from skin can reduce bulb lifespan).
- Double-Check Assembly: Ensure the bulb is seated securely to avoid any intermittent faults.
7. Final Verification
After performing these steps:
- Conduct a Road Test: Bring in an assistant to observe brake lights while you test drive the semi-trailer.
- Confirm Audible/Visible Responses: Be mindful of both auditory and visual cues to ensure full operational functionality.

Common Issues and Troubleshooting
Below are some common problems related to semi-trailer brake lights, along with troubleshooting options:
| Issue | Possible Cause | Solution |
|---|---|---|
| Brake lights do not turn on | Blown fuse | Replace the fuse |
| Dim brake lights | Corroded socket or wiring issues | Clean connections or replace wiring |
| Flickering lights | Loose connections | Secure or replace connections |
| One side fails to light | Single bulb failure | Replace the faulty bulb |
Maintaining Brake Light Functionality
To extend the lifespan of brake lights and reduce the frequency of malfunctions:
Regular Inspections
- Schedule routine inspections of your brake light systems monthly.

Environment Considerations
- Be aware of environmental factors that contribute to wear and tear, such as humidity and excess road grime. Employ protective measures, including frequent cleaning and protective coatings.
Annual Professional Checkups
- It’s advisable to conduct an annual comprehensive inspection by a qualified mechanic, ensuring all components are functioning optimally.
Conclusion
The process of checking the brake lights on a semi-trailer is multifaceted, but by following the detailed steps outlined in this guide, operators can ensure that their vehicles remain compliant, safe, and efficient. The small effort invested in regular checks and maintenance not only safeguards lives but also contributes significantly to the longevity of the trailer itself.
In a world where transportation safety cannot be compromised, understanding the ins and outs of your semi-trailer’s braking system is paramount. By taking a proactive stance and addressing any issues immediately, operators can keep both their equipment in top shape and their reputation in good standing.
Remember, safety on the roads is a shared responsibility. Regularly checking your semi-trailer’s brake lights is a crucial aspect of this duty that should never be overlooked.


