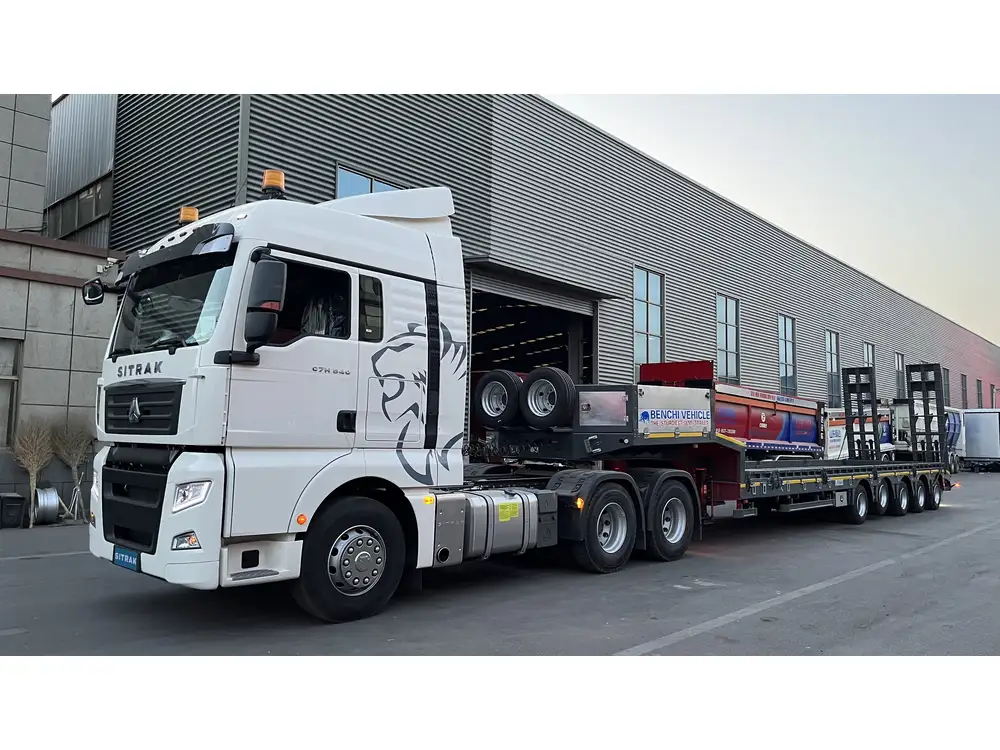
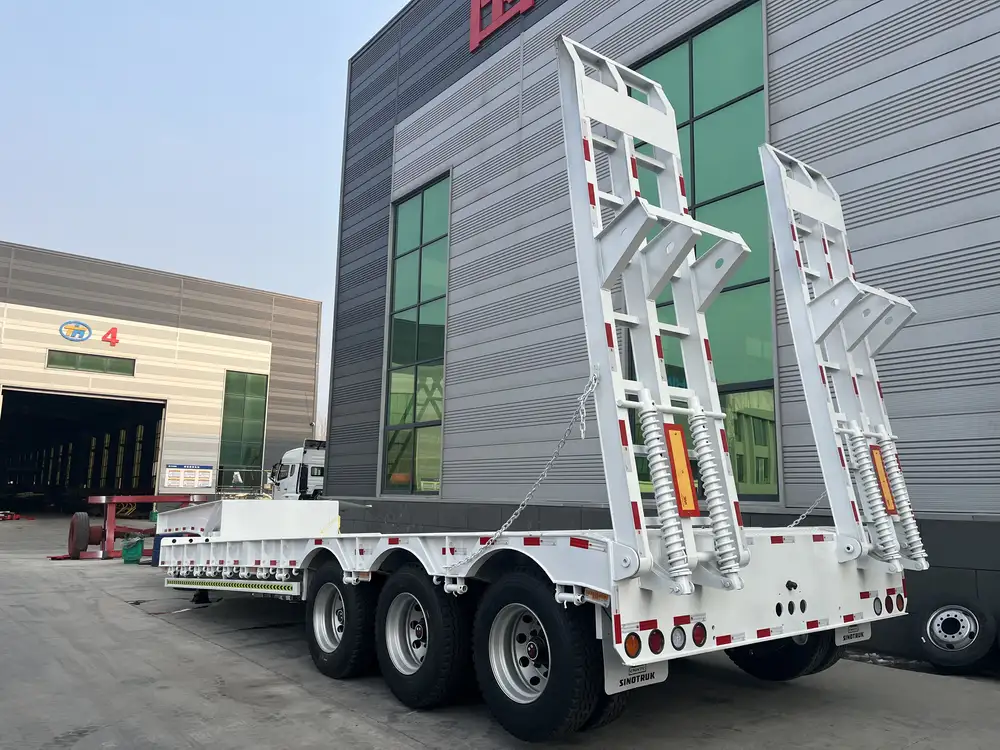
When you own or operate a flatbed trailer, ensuring its optimal performance and safety is paramount. One of the crucial components in maintaining that performance is the air bag suspension system. This article provides an in-depth guide on how to change air bags in flatbed trailers, addressing common issues, offering step-by-step instructions, and answering questions that can ensure the longevity of your trailer’s suspension system.
Understanding Air Bag Functionality
Before diving into the process of changing air bags, let’s briefly explore their importance. Air bags, or air springs, are used in the suspension systems of flatbed trailers to provide a smooth ride, mitigate shock loads, and maintain load leveling. They support the weight of the cargo and absorb bumps from the road, contributing to the trailer’s overall stability and performance.
Common Signs of Air Bag Failure
Recognizing the signs of air bag failure can save you time and money in the long run. Here are some telltale indicators:
- Visible Cracks and Wear: Inspect the exterior of the air bag for signs of visible damage, such as cracks or fraying.
- Uneven Ride Height: If the trailer tilts to one side or appears uneven while loaded, it may be a sign of air bag failure.
- Excessive Bounce: Noticeable bouncing while driving indicates that the air bags are no longer absorbing shocks effectively.
- Air Leak Sounds: Listen for hissing noises, which could signify an air leak that needs immediate attention.

Step-by-Step Guide to Changing Air Bags in Flatbed Trailers
Changing air bags in flatbed trailers is not an overly complicated task if you follow the right procedures. Here’s a comprehensive guide:
Tools and Materials Needed
- New Air Bags: Ensure you purchase the correct replacement bags specific to your trailer model.
- Torque Wrench
- Jack and Jack Stands
- Wrench Set
- Air Line Disconnect Tool
- Rubber Mallet
- Cleaning Supplies (Wire Brush, Cleaner)
- Safety Equipment (Gloves, Goggles)
Preparation Steps
Safety First: Always wear safety gear. Ensure the work area is well-lit and free of distractions.
Inspect the Air Bags: Before beginning, inspect the air bags and other suspension components for wear and potential issues.
Raise the Trailer: Using a jack, raise the trailer until the tires are off the ground. Secure it with jack stands to prevent any accidents.

Removing the Old Air Bags
Release Air Pressure: Check the system and ensure that all air pressure is released from the air bags. This can usually be done by using a release valve or by disconnecting the air supply line.
Access the Air Bags: Locate the mounting hardware that holds the air bags in place. This usually includes bolts or brackets that need to be removed.
Disconnect the Air Lines: Use the air line disconnect tool to carefully detach the air lines from the old air bags. Be cautious to avoid damaging the lines for future use.
Remove the Old Air Bags: Once everything is disconnected, carefully remove the air bag from its mounting position. If the air bag is stuck, gently tap it with a rubber mallet.
Installing New Air Bags
Clean the Area: Thoroughly clean the mounting area to remove any dirt or debris. Inspect the mounting brackets and replace any worn components as necessary.
Position the New Air Bag: Position the new air bag in place, ensuring it aligns correctly with the mounting holes.
Reconnect Air Lines: Reattach the air lines to the new air bags, making sure the connections are secure and leak-free.
Bolt Down: Use the torque wrench to secure the bolts to the manufacturer’s specified torque settings, ensuring everything is tightened correctly.
Finishing Up
Re-pressurize the System: Gradually release air back into the suspension system and check for any leaks around the air lines and bags.
Lower the Trailer: Carefully lower the trailer back to the ground and remove the jack stands.
Test Drive: Once everything is secured and checked, take the trailer for a short drive to ensure the air bags function correctly. Monitor for any unusual sounds or ride issues.

Frequently Asked Questions (FAQs)
Q1: How often should I change the air bags in my flatbed trailer?
Air bags generally last anywhere from 5 to 10 years, depending on usage and environmental factors. Regular inspections are crucial for early detection of wear and damage.
Q2: Can I drive my trailer with a damaged air bag?
Driving with a damaged air bag is highly discouraged. It compromises safety and can lead to further damage to the trailer’s suspension system.

Q3: What maintenance should I perform on air bags?
Routine inspections, cleaning, and air pressure checks are essential for maintaining the health of your air bag system. Ensure you address any issues promptly.
Q4: Are there aftermarket air bags that I should consider?
While aftermarket options can provide cost savings, always research their compatibility and reliability compared to OEM parts. High-quality replacements can make a significant difference in performance.
Conclusion
In summary, changing air bags in flatbed trailers is an essential aspect of maintaining the vehicle’s integrity and performance. Recognizing signs of failure, following a precise installation procedure, and ensuring routine maintenance can prolong the lifespan of your air suspension system significantly. With this guide, you are now equipped to tackle air bag changes with confidence, minimizing downtime and enhancing safety on the road. Remember that staying proactive with your trailer maintenance not only ensures your safety but also preserves the value and reliability of your equipment for years to come.


