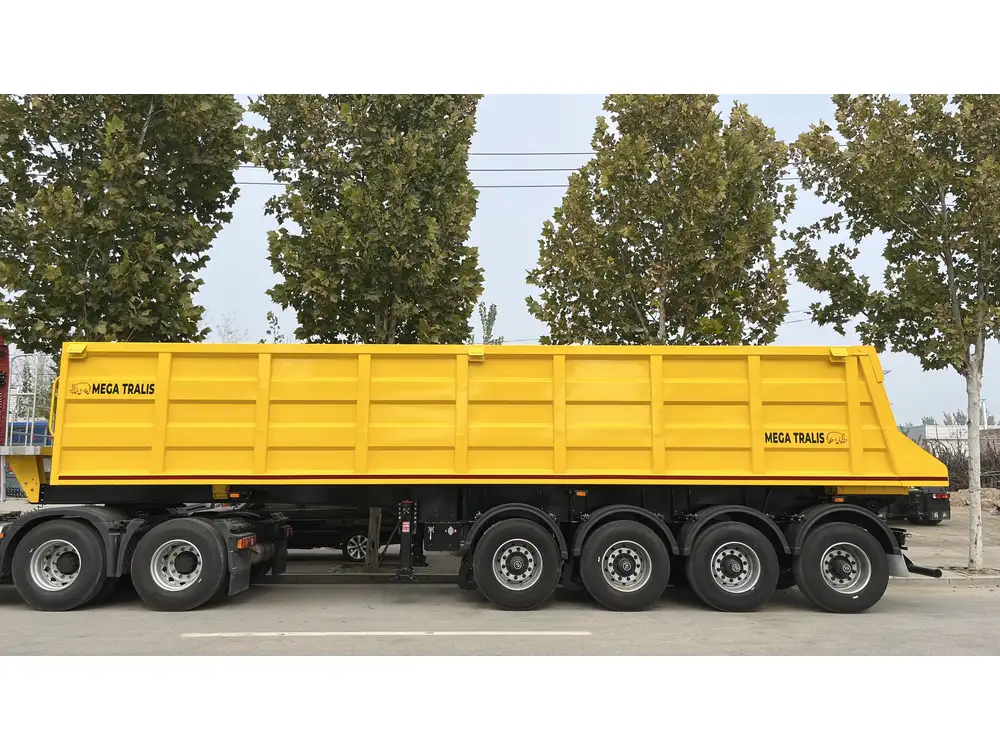
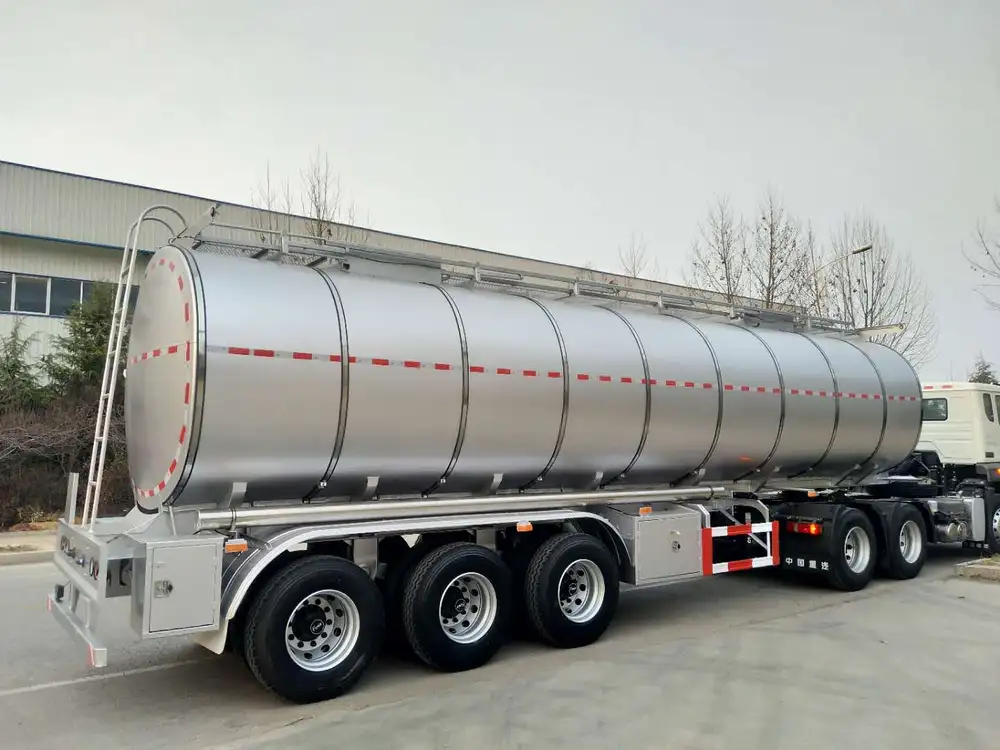
The efficient operation of semi-trailers hinges on the ability to manage their air systems effectively. Properly dumping air when needed can optimize load management, enhance braking performance, and extend the longevity of your equipment. This article provides an in-depth look at how to dump air on a semi-trailer, including definitions, operational procedures, troubleshooting, and maintenance tips.
Understanding Air Suspension and its Components
Before diving into the practical steps of air dumping, it’s critical to understand the air suspension system that supports most semi-trailers. The key components of an air suspension system include:
| Component | Description |
|---|---|
| Air Bags | Flexible bags filled with air that support the trailer’s weight and provide cushioning. |
| Air Compressor | Device responsible for generating and maintaining the pressure in the air system. |
| Air Lines | Tubes through which air flows between different components of the suspension system. |
| Dump Valves | Valves that allow air to escape from the air bags, lowering the trailer when required. |
| Control Switch | An interface for the driver to manage the air levels in the suspension system. |
The Purpose of Dumping Air
The act of dumping air serves multiple essential functions in the operation of a semi-trailer:
- Loading and Unloading: Lowering the trailer to ground level can facilitate easier loading and unloading.
- Braking: Proper distribution of weight via air dumping enhances braking efficiency, particularly in tandem trailers.
- Stability: Maintaining a lower center of gravity by dumping air can enhance stability during transport.

Step-by-Step Guide on How to Dump Air on a Semi Trailer
1. Equipment Check
Before executing the air dump procedure, perform a comprehensive inspection of all air components. Ensure:
- All air bags are intact without leaks.
- Air lines are securely connected and free of damage.
- The air compressor is operational.
2. Locate the Dump Valve
Identify the location of the dump valve. This is generally found on the control panel of the truck or semi-trailer. It may vary based on the manufacturer, so refer to the specific trailer’s user manual if needed.

3. Preparing for Air Dumping
- Park the Truck: Position the semi-trailer on level ground. This step is crucial for safety and ease of operation.
- Engage the Parking Brake: Ensure the vehicle is stationary.
- Uncouple the Trailer (if applicable): If you need to fully dump the air for unloading purposes, uncoupling may provide better access to the dump valve.
4. Dumping Air
Now that you’re prepared, follow these operational steps:
- Activate the Control Switch: Locate the control switch designated for air dumping. This may be a button or a lever, depending on your model.
- Press the Dump Control: Activate the dumper by pressing or pulling the control until you hear the air releasing from the bags.
- Monitor the Trailer’s Height: Observe as the trailer lowers to the desired height. It is vital not to completely empty the air bags unless necessary.
5. Confirm Height Adjustment
Once you’ve dumped the air, double-check the trailer height against your loading or delivery requirements:
- For Unloading: If the goal is to level the trailer for unloading, confirm it is low enough for the loading dock or ground level.
- For Loading: Ensure the height allows for safe lifting of loads onto the trailer.

6. Complete the Process
After completing the air dump:
- Restore Air Pressure: When finished, remember to refill the air bags by using the control switch, accordingly, to bring the trailer back to normal operating height.
- Inspect the System: Perform a final inspection of the air system to ensure everything is functioning correctly.
Common Issues and Troubleshooting
Leaking Air Bags
Symptoms: The trailer does not lower as expected, or uneven height.
Solutions: Inspect air bags for visible punctures or tears. Replace faulty bags.

Air Compressor Fails to Build Pressure
Symptoms: Control switch engages, but bags don’t inflate.
Solutions:
- Check the compressor’s power supply.
- Evaluate the compressor for mechanical failures.
- Replace relay switches if needed.
Control Switch Malfunctions
Symptoms: Control switch is unresponsive.
Solutions:
- Ensure electrical connections are secure.
- Test the switch with a multimeter to verify functionality.
- Replace the switch if it’s defective.
Best Practices for Air Suspension Maintenance
Effective maintenance of the air suspension system is crucial for ensuring optimal functionality over time. Adopt these best practices:
- Regular Inspections: Conduct routine inspections of air bags and lines for wear and tear.
- Service the Compressor: Regularly check the air compressor for any blockages, ensure filters are clean.
- Monitor Air Pressure: Keep an eye on the air pressure gauge to ensure air levels are consistent.

Scheduled Maintenance Checklist
| Task | Frequency | Notes |
|---|---|---|
| Visual Check of Air Bags | Monthly | Look for cracks or leaks. |
| Inspect and Clean Air Filters | Every 6 Months | Prevent clogging and ensure efficiency. |
| Test Dump Valve Functionality | Quarterly | Ensure responsiveness and sealing. |
| Consult Manufacturer Manual | As Needed | Follow specific guidelines for maintenance. |
Conclusion
Mastering the nuances of how to dump air on a semi-trailer is essential for ensuring optimal performance and safety during transportation tasks. By understanding the components of the air suspension system, following the steps for effective air dumping, and maintaining the system diligently, manufacturers can significantly enhance their operational efficiency and extend the lifespan of semi-trailers.
Equipped with this knowledge, you can confidently manage your semi-trailer’s air suspension, improving both productivity and safety in your transport operations. Embrace these techniques, and watch your operational efficacy soar.


