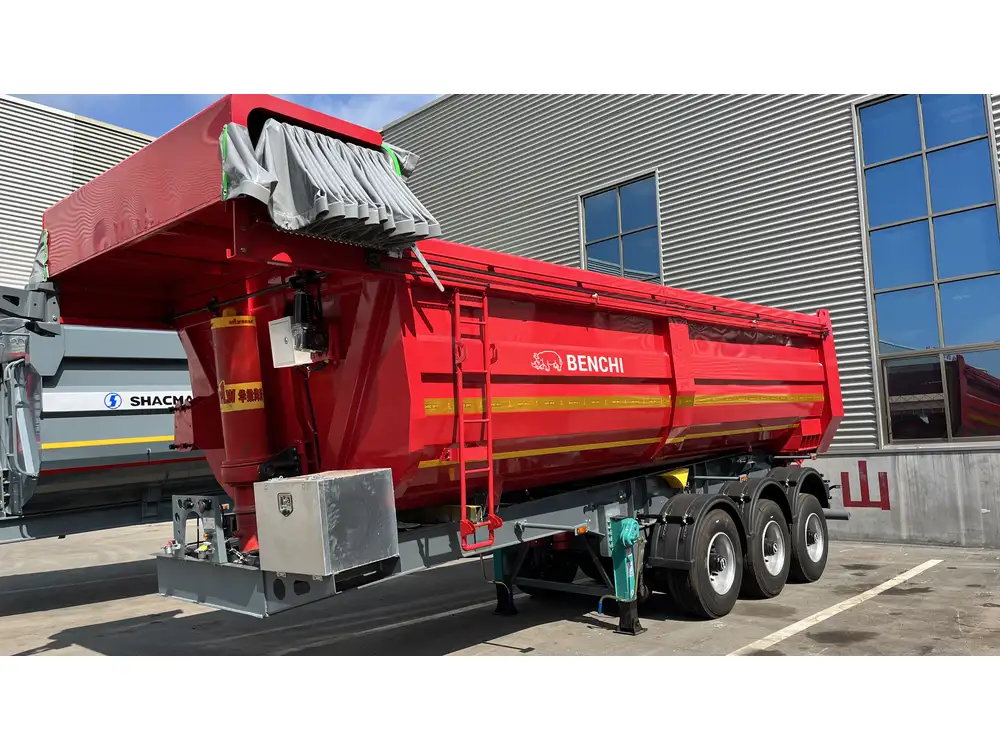
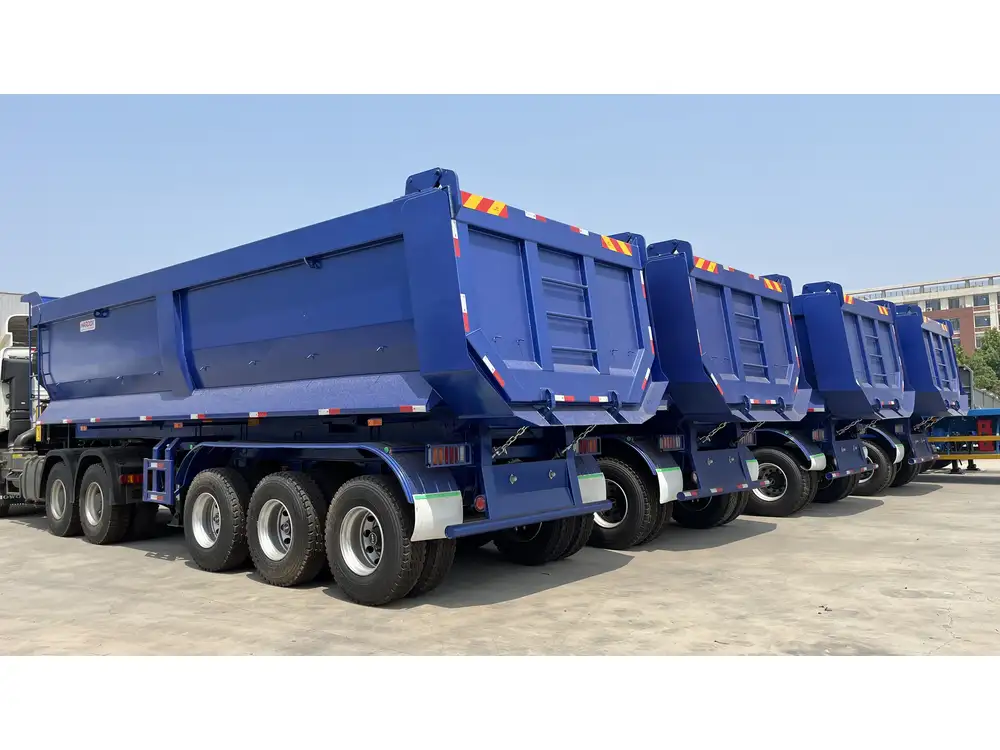
When it comes to optimizing the functionality of your semi-trailer, integrating a water holding tank can be a game-changer. From enhancing road safety to facilitating sustained operations in remote areas, a well-installed water tank serves numerous purposes. In this extensive guide, we will delve deep into perfecting your water tank installation process, addressing common concerns, suggesting best practices, and providing a step-by-step approach to ensure efficiency and reliability.
Understanding the Importance of a Water Holding Tank
Benefits of a Water Holding Tank
- Extended Range: A water holding tank can significantly extend your trailer’s operational range, enabling longer trips without frequent stops.
- Convenience: Having onboard water makes it easier to handle various tasks like cleaning, cooking, and sanitation, especially in remote locations.
- Safety Measures: In instances of emergencies or breakdowns, having a supply of water can be crucial for hydration and hygiene.
- Versatility: Water tanks can serve different functions, such as providing water for firefighting systems, livestock watering, and cleaning equipment.

Types of Water Tanks
Before installation, it’s essential to understand the various types of water tanks available, ensuring you choose one that fits your needs:
| Type | Description | Pros | Cons |
|---|---|---|---|
| Plastic Tanks | Lightweight, resistant to corrosion | Easy to install, affordable | May not withstand extreme temperatures |
| Metal Tanks | High durability and strength | Long lifespan, robust | Heavier, potential rusting |
| Fiberglass Tanks | Non-corrosive, lightweight | Versatile shapes, durable | Typically more expensive |
Planning Your Installation
Assessing Space and Requirements
Determining where to install the water holding tank is crucial. Consider the following:
- Space Availability: Measure the area within your trailer to ensure the tank fits properly without obstructing essential components.
- Weight Distribution: Proper weight distribution is crucial for towing stability. Position the tank to maintain balance.
- Accessibility: Ensure the tank is accessible for maintenance and refilling.

Choosing the Right Tank
Selecting the right size and type of tank directly impacts functionality. Consider your usage patterns. For instance, a family on a road trip may require a larger capacity than a contractor needing water for equipment cleaning.
Essential Tools and Materials
To avoid unplanned interruptions during the installation process, gather all necessary tools and materials beforehand.
Tools:
- Drill and drill bits
- Wrench set
- Hose clamps
- Utility knife
- Level
- Measuring tape
- Safety goggles
Materials:
- Water holding tank
- Hose for water intake
- Mounting brackets
- Sealant tape
- Screws
Step-by-Step Installation Guide
Now, let’s get into the nitty-gritty of installing your water holding tank in your trailer.

Step 1: Preparation
- Choose the Location: Based on the previous planning stage, mark where you will install the water tank, ensuring it’s easily accessible for fill-ups and maintenance.
- Empty Space: Remove any existing obstructions in the installation area.
Step 2: Positioning the Tank
- Place the Tank: Carefully position the tank in the marked area. Use leveling tools to ensure it sits evenly.
- Secure It: Use mounting brackets to secure the tank. It should be fastened tightly to withstand movements during travel.
Step 3: Connecting the Plumbing
- Intake Hose Connection: Attach a hose to the bottom of the tank, using hose clamps for a secure fit. This hose will lead to your water source.
- Outlet Connection: Connect a second hose for water outflow as needed, ensuring it is also secured with clamps.
- Ventilation: Don’t forget to include a vent. Installation of a vent prevents suction, allowing for smoother water flow.

Step 4: Testing the System
- Fill the Tank: After securing all connections, fill the tank with water to test for leaks.
- Check for Leaks: Monitor the hoses and tank for any signs of leaks and tighten connections if necessary.
- Run a Quick Usage Test: Activate any systems that will use the water to check the flow rate and consistency.
Step 5: Final Adjustments and Cleanup
- Inspect All Connections: Ensure every connection is secure and free of leaks. Adjust as necessary.
- Organize the Space: Clean up any debris created during installation. Ensure that the remaining space is clear and organized for safe travel.
Maintenance Tips for Longevity
After the installation, it’s crucial to implement a regular maintenance schedule to ensure your water holding tank remains in optimal condition:
- Inspect Regularly: Check hoses and connections periodically for wear and tear. Replace any compromised parts immediately.
- Clean the Tank: At least twice a year, empty and clean the tank to prevent contamination. Use a mild soap solution and rinse thoroughly.
- Monitor Water Quality: Pay attention to the water quality in the tank, especially if storing water for long periods.

Troubleshooting Common Issues
In case of any issues, refer to our quick troubleshooting guide:
| Issue | Possible Causes | Solutions |
|---|---|---|
| Leaking tank | Cracked tank or loose fittings | Repair cracks, tighten fittings |
| Low water pressure | Clogged filter or hose kink | Clear clogs or replace hose |
| Unexpected odor | Stagnant water or contaminants | Clean tank, replace water source |
Conclusion
Installing a water holding tank in your trailer isn’t merely an enhancement but a necessity, depending on your usage and operational requirements. By carefully planning the installation process, using quality materials, and following proper maintenance routines, you can ensure that your investment leads to a significant increase in convenience and safety.
Feel free to reach out for further assistance with materials or expert advice. Enjoy the freedom and reliability that comes with an installed water holding tank, making your travels smoother and more enjoyable.


