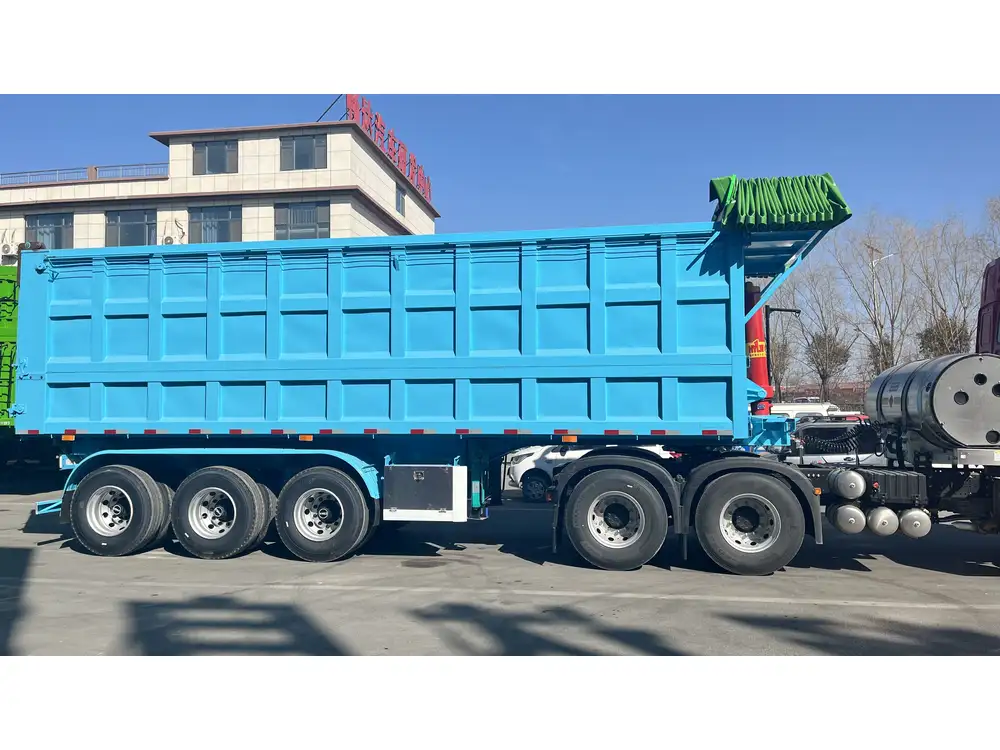
When it comes to operating dump trailers, precise control is paramount for safety and efficiency. Understanding how to wire the control on a Hawke dump trailer can drastically enhance your equipment’s functionality while ensuring that everything runs smoothly. This detailed guide will meticulously walk you through the wiring process, troubleshooting tips, and best practices that will empower you to handle your Hawke dump trailer with utmost expertise.
Understanding Dump Trailer Wiring Systems
Before diving into the technicalities, it’s essential to comprehend the components surrounding dump trailer wiring systems. Primarily, a dump trailer’s control system includes:
- Electric Pump: Facilitates raising and lowering the trailer using hydraulic pressure.
- Control Switch: The user interface for operating the pump.
- Battery: Powers the electric system of the trailer.
- Wiring Harness: Connects all electronic components, ensuring seamless communication.
- Safety Features: Fuses and circuit breakers prevent electrical overloads.
Key Components Overview
| Component | Description |
|---|---|
| Electric Pump | Drives hydralic functions |
| Control Switch | Operates the pump |
| Battery | Supplies electrical energy |
| Wiring Harness | Connects all electrical components |
| Safety Features | Protects against electrical faults |

Preparing for Wiring: Safety First
Before beginning the wiring process, adhere to the following safety measures:
- Personal Protective Equipment: Wear gloves and safety goggles to shield against electric shocks or injuries.
- Disconnect Power: Ensure that the trailer is disconnected from any power source to prevent accidental activations.
- Clear Work Area: Maintain a clean space devoid of clutter to reduce hazards.
Tools You Will Need
- Wire Strippers/Cutters: For preparing the wire ends.
- Multimeter: To test voltages and continuity.
- Insulation Tape: To secure and protect wire connections.
- Screwdriver Set: For securing switches and connections.
- Crimping Tool: For installing connectors properly.
Wiring the Control System on Your Hawke Dump Trailer
With your tools and safety measures in place, we can now delve into the wiring process.

Step 1: Identify Connectors and Color Codes
Different Hawke dump trailers may employ varying color codes for wiring. Typically, you can expect:
- Red Wire: Power source (positive)
- Black Wire: Ground (negative)
- Green Wire: Pump control
- Yellow Wire: Limit switch
Refer to the owner’s manual for your specific model to verify color codes.
Step 2: Connect the Battery
- Locate the trailer’s battery compartment.
- Connect the red wire (positive) from the battery to the control switch.
- Attach the black wire (negative) from the battery to a suitable grounding point on the trailer frame.
Step 3: Wiring the Control Switch
- Connect the green wire from the control switch to the electric pump’s connection point.
- Attach the yellow wire, if available, to the limit switch. This wire is crucial for ensuring that the trailer doesn’t over-extend.

Step 4: Connecting the Electric Pump
- Connect the corresponding terminals of the electric pump using the green wire from the control switch.
- Ensure that connections are tight and secure to prevent disconnections during operation.
Step 5: Insulate and Secure Wiring
After completing your connections:
- Use insulation tape to cover exposed wires.
- Secure the wiring harness along the trailer’s frame using zip ties, ensuring that wires are not exposed to sharp edges or moving parts.
Testing the Wiring System
Upon completing the wiring, it’s crucial to test the system:

Conduct a Functional Test
- Reconnect Power: Ensure power is restored to the system.
- Activate Control Switch: Test the up and down functions of the trailer using the control switch.
- Check Limit Switch: Ensure the limit switch effectively halts the pump when the trailer reaches its maximum height.
Troubleshooting Common Issues
- Pump Does Not Operate: Check battery connections and ensure the battery is adequately charged.
- Intermittent Power: Inspect for loose connections or damage in the wiring harness.
- Control Switch Not Responding: Verify the integrity of the switch; consider replacing it if necessary.
Best Practices for Maintaining Dump Trailer Wiring
The integrity of your wiring system is vital for the longevity and safety of your Hawke dump trailer. The following practices are advised:
- Routine Inspections: Regularly check all connections and wiring for signs of wear or corrosion.
- Electrical Grease Application: Apply dielectric grease to terminals to prevent corrosion, especially in humid conditions.
- Avoid Overloading: Ensure that the trailer is not overloaded beyond its capacity as this can strain the electrical components.
- Stay Informed: Keep updated with manufacturer advisories and recall notices.

Frequently Asked Questions
How Long Does It Take to Wire a Dump Trailer?
Wiring a dump trailer can take anywhere from 1 to 3 hours depending on your experience. Adequate preparation with the necessary tools can expedite the process significantly.
Can I Use a Different Battery for the Trailer?
Yes, but ensure that the replacement battery can match the voltage and current specifications required by the dump trailer.

What If I Can’t Find the Wiring Diagram?
If the wiring diagram is not available, consult the manufacturer or community forums related to trailer modifications for similar models to guide you.
Are There Any Common Misconnections I Should Be Aware Of?
Yes, some of the most common misconnections are:
- Connecting the wrong color wires, which could lead to pump malfunction.
- Failing to ground the battery properly, resulting in erratic behavior of the control system.
Conclusion
In conclusion, mastering how to wire control on a Hawke dump trailer requires diligence, the right guidance, and a foundational knowledge of the components involved. By following the outlined steps, conducting regular maintenance, and implementing best practices, you will not only enhance your trailer’s efficiency but also prolong its lifespan.
Ultimately, your ability to navigate through potential challenges and implement preventive measures will ensure that your Hawke dump trailer performs optimally. Should you encounter any complexities beyond basic wiring, always consult a professional or refer to the manufacturer’s specifications to ensure your safety and the functional integrity of your equipment.


