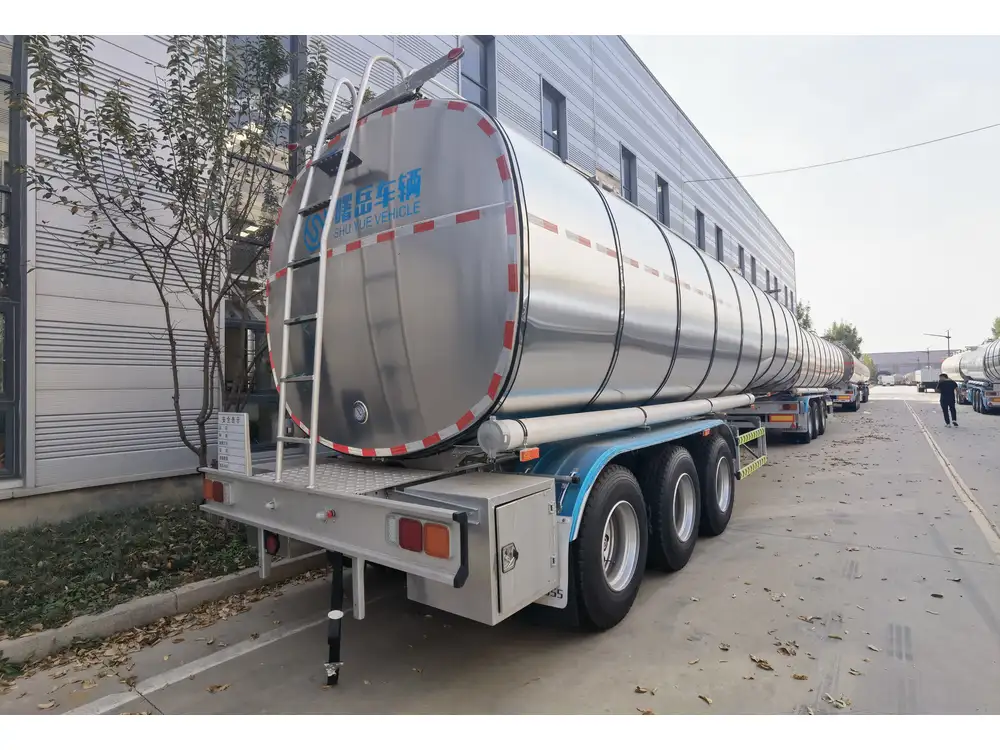
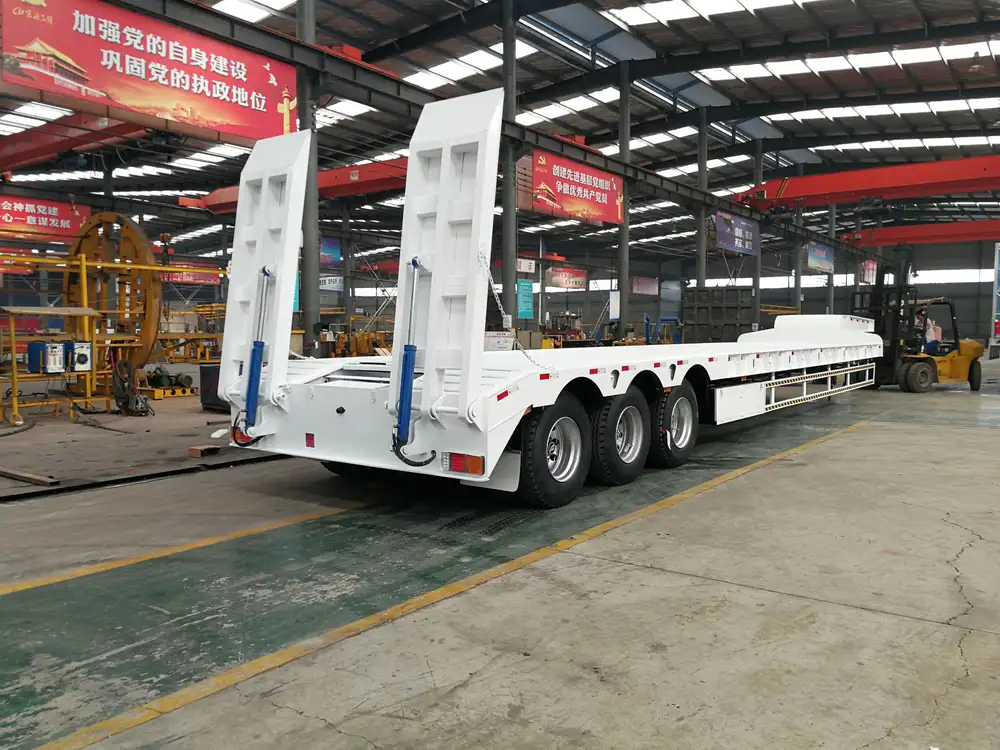
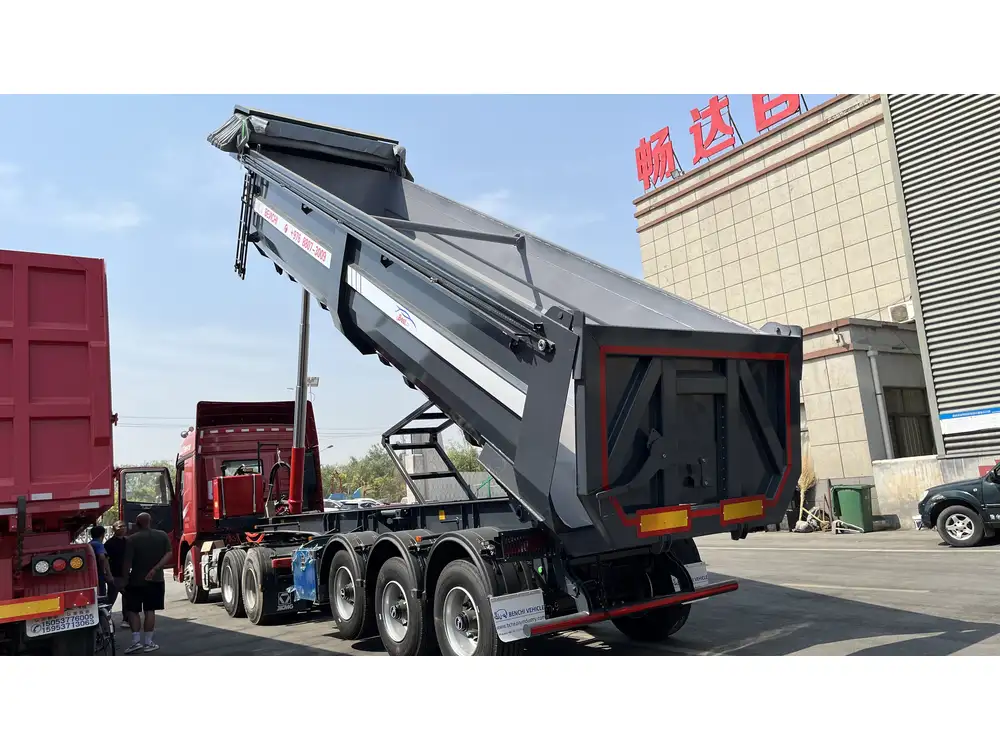
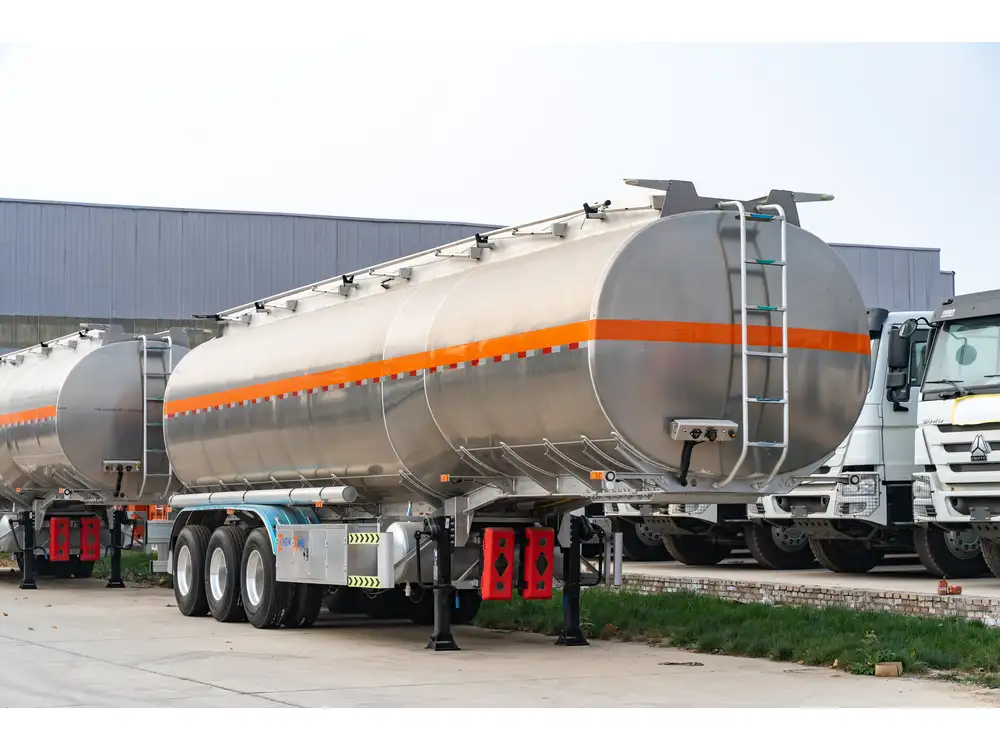
Changing an inside tire on a semi-trailer can seem daunting, but with the right guidance and tools, it is entirely achievable. This detailed guide will offer step-by-step procedures, essential tools, prevention tips, and common pitfalls to avoid. By gaining a clear understanding of the process, we can help ensure that you are equipped to handle maintenance efficiently and safely.
Essential Tools Required for Tire Change
1. Safety Equipment
| Equipment | Purpose |
|---|---|
| Safety glasses | Protects eyes from debris |
| Gloves | Prevents abrasions and provides grip |
| Steel-toed boots | Ensures foot protection against heavy objects |

2. Tire Changing Equipment
| Equipment | Purpose |
|---|---|
| Hydraulic jack | Lifts the trailer for tire removal |
| Jack stands | Stabilizes the trailer after lifting |
| Tire iron or lug wrench | Removes nuts securing the wheel |
| Torque wrench | Ensures proper torque on nuts during installation |
| Spare tire | Replacement for the old tire |
| Valve stem tool | Assists in changing valve stems, if necessary |
Preparing for the Tire Change
Step 1: Ensure Safety First
Before starting the tire change, find a level surface away from traffic to ensure safety. Engage the parking brakes. This simple yet crucial step ensures that the semi-trailer remains stationary during the procedure. Always wear your safety equipment.

Step 2: Gather the Tools
Assemble all the necessary tools in a convenient location close to your semi-trailer. By having everything at hand, you minimize delays and interruptions during the process.
Step-by-Step Procedure on Changing an Inside Tire
Step 3: Loosening the Lug Nuts
- Identify the Correct Lug Nuts: Focus on the inner wheel, which is surrounded by the outer tire.
- Use a Tire Iron: Place the tire iron on the lug nuts and turn counter-clockwise. If they’re particularly tight, consider using a breaker bar for additional leverage.
- Loosen but Don’t Remove: It’s important to loosen all lug nuts slightly but not to remove them completely while the wheel is still on the ground. This prevents wheel spin and makes the process smoother.

Step 4: Lifting the Trailer
- Position the Hydraulic Jack: Consult the semi-trailer’s manual for proper lifting points, usually found alongside the landing gear or frame.
- Lift the Trailer: Operate the hydraulic jack until the tire is elevated off the ground.
- Secure with Jack Stands: Once lifted, place jack stands underneath to provide stability and prevent accidents during the tire change.
Step 5: Removing the Tire
- Completely Remove Lug Nuts: With the wheel now elevated and stable, remove the lug nuts entirely. Place them in a safe location to avoid misplacing them.
- Take Off the Tire: Gently pull the semi-trailer tire straight out from the axle. This may require some effort as the weight can be substantial.
Step 6: Installing the New Tire
- Check the Replacement Tire: Inspect the new tire for any defects or damage. Ensure proper tire pressure according to the specifications outlined in your trailer’s manual.
- Align the New Tire: Position the spare tire onto the hub. Align it correctly to ensure that bolt holes line up with the axle.
- Secure with Lug Nuts: Begin hand-tightening the lug nuts. Following a crisscross pattern will help ensure even seating of the tire against the hub.

Step 7: Tightening the Lug Nuts
- Use a Torque Wrench: After the tire is adequately hand-tightened, use the torque wrench to further tighten the lug nuts to the manufacturer’s specified torque settings.
- Double Check: After tightening, double-check all lug nuts to ensure optimal security.
Step 8: Lowering the Trailer
- Remove the Jack Stands: After securing the new tire completely, safely remove the jack stands.
- Lower the Hydraulic Jack: Gradually lower the jack until the tire makes contact with the ground.
Step 9: Final Checks
- Inspect the Work: Once the tire is back on the ground, inspect your work area for any stray tools and double-check the lug nut torque.
- Test Drive: If possible, take the semi-trailer on a short drive and monitor for any unusual noises or vibrations, as this could indicate improper installation.

Maintenance Tips for Semi-Trailer Tires
- Regularly Monitor Tire Pressure: Maintaining proper tire pressure can increase tire life and improve fuel efficiency.
- Tread Wear Checks: Regularly inspect tire treads for any signs of uneven wear, which may indicate alignment or inflation issues.
- Rotation and Balancing: Consider rotating and balancing tires based on the manufacturer’s recommendations, usually after every 6,000 to 8,000 miles.
Common Pitfalls to Avoid
- Neglecting Safety Protocols: Always prioritize safety equipment and procedures during changes.
- Ignoring Tire Pressure: Failing to check tire pressure can lead to premature wear or blowouts.
- Improper Torquing: Ensure that lug nuts are torqued to the correct specifications to prevent accidents.
- Failure to Inspect Replacement Tire: Before installation, confirming the integrity of the spare tire is essential. A damaged or inconsistent tire can compromise trailer safety.
Conclusion: Mastering Tire Changes for Maintaining Semi-Trailer Integrity
Changing an inside tire on a semi-trailer does not need to be an intimidating task. By following proper procedures, utilizing the correct tools, and understanding the step-by-step process, we empower you to undertake this maintenance task with confidence. Regularly monitoring your tires alongside proactive maintenance will significantly reduce the risk of breakdowns on the road, ensuring you reach your destination safely and efficiently.
In this guide, we’ve aimed to provide you with a thorough understanding of the intricacies involved in changing an inside tire on a semi-trailer. This knowledge will not only save time and money but also add to your expertise as a semi-trailer owner or operator. Proper tire management is integral to maintaining long-term operational efficiency and safety.


