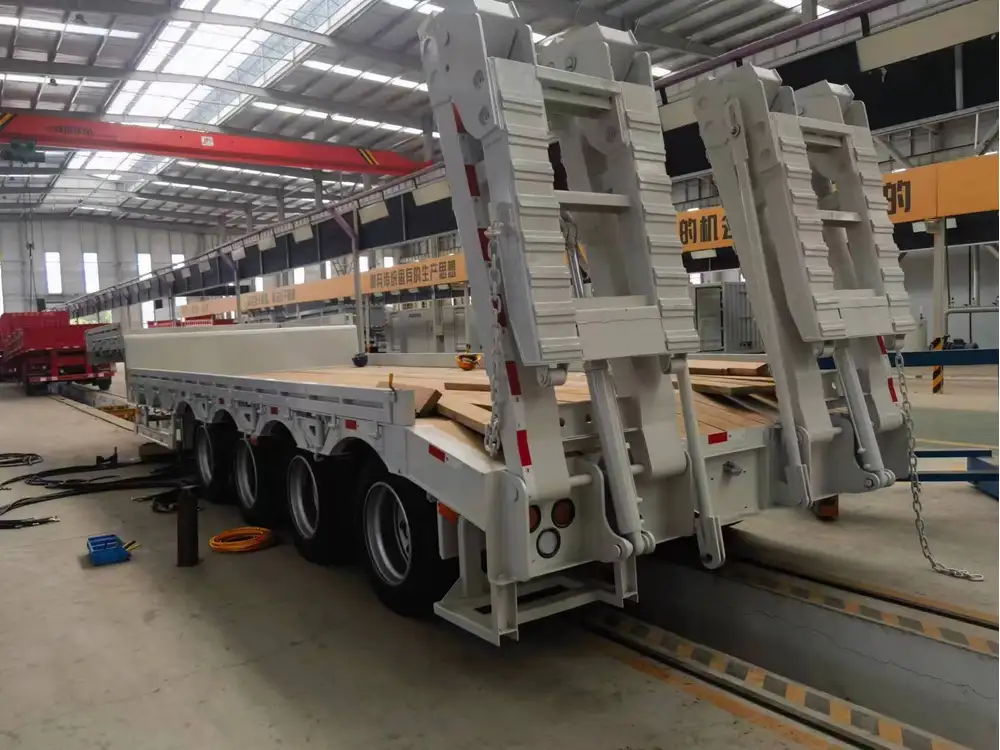
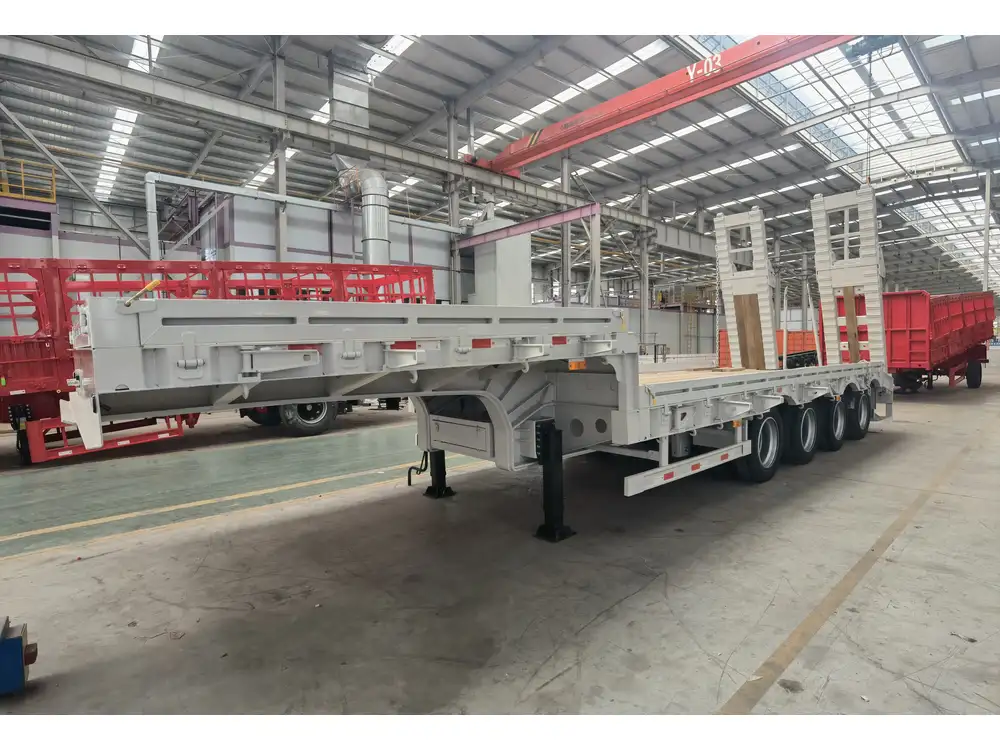
When it comes to maintaining the safety and efficiency of your semi-trailer, understanding how to change a brake chamber is a crucial skill. Brake chambers play an integral role in a trailer’s braking system, converting air pressure into mechanical force to engage the brakes. In this guide, we will navigate through the detailed steps involved in changing a brake chamber, providing insights and tips to ensure your semi-trailer remains roadworthy and compliant with safety standards.
Understanding the Brake Chamber
What is a Brake Chamber?
A brake chamber is a cylindrical device attached to the braking system of a semi-trailer. It houses a diaphragm that separates the air pressure from the push rod mechanism. Here’s a concise breakdown of its components:
| Component | Function |
|---|---|
| Diaphragm | Converts air pressure into mechanical movement to apply brakes |
| Push Rod | Transfers the movement from the diaphragm to the brake shoes |
| Mounting Bracket | Attaches the brake chamber to the axle assembly |
| Air Supply Port | Provides the chamber with compressed air from the vehicle’s system |

Signs of Brake Chamber Issues
Identifying issues early can prevent safety hazards. Common indicators include:
- Leaking Air: Listen for hissing sounds or visible moisture around the chamber.
- Reduced Braking Power: Noticeable delay in braking response.
- Unusual Sounds: Grinding or clunking noises when braking.
- Physical Damage: Cracks or significant wear on the brake chamber casing.
Tools and Materials Needed for Changing a Brake Chamber
Before diving into the process, ensure you have all necessary tools and materials ready:
- New Brake Chamber: Make sure to purchase the correct type (e.g., single-diaphragm, double-diaphragm).
- Wrenches and Socket Set: To remove and install bolts.
- Pliers: Useful for disconnecting air lines.
- Torque Wrench: For securing bolts to the required specifications.
- Replacement Air Line Clips: To secure new air lines to the chamber.
- Grease: To lubricate components during assembly.
- Safety Gear: Gloves and safety glasses to protect yourself.
Step-by-Step Guide to Changing a Brake Chamber

Step 1: Safety Precautions
Begin by ensuring safety measures are in place:
- Park the semi-trailer on a flat, stable surface.
- Engage the parking brake.
- Use wheel chocks to prevent any movement.
Step 2: Prepare the Work Area
Clear the area around the axle to provide ample space to work. This allows you to move freely and minimizes the risk of accidents.
Step 3: Identify the Faulty Brake Chamber
Begin by locating the defective brake chamber. It’s typically mounted near the axle, connected to the brake shoes via a push rod.

Step 4: Disconnect the Air Lines
- Locate the Air Supply Lines: Identify the lines connected to the brake chamber.
- Remove the Clips: Utilize pliers to carefully remove the air line clips.
- Disconnect the Lines: Pull the air lines out from the chamber. Be prepared for a minor release of air pressure.
Step 5: Remove the Old Brake Chamber
- Unbolt the Chamber: Using a socket wrench, remove the bolts securing the brake chamber to the mounting bracket.
- Detach the Push Rod: Carefully slide out the push rod from the chamber.
- Take Out the Old Chamber: Remove the brake chamber from its bracket.
Step 6: Prepare the New Brake Chamber
- Inspect the New Chamber: Before installation, ensure the new brake chamber is free of damage.
- Apply Grease: Lightly grease the grommets and mounting surfaces to facilitate installation.

Step 7: Install the New Brake Chamber
- Attach the Push Rod: Align the push rod with the diaphragm inside the new brake chamber, then secure in place.
- Mount the Chamber: Position the new brake chamber onto the mounting bracket and align with the bolt holes.
- Bolt Securely: Use a torque wrench to tighten the bolts to the manufacturer’s specifications, ensuring a tight fit.
Step 8: Reconnect Air Lines
- Insert the Air Lines: Fit the air lines back into their respective ports on the new brake chamber.
- Secure with Clips: Use the replacement clips to secure the air lines, preventing air leaks.
Step 9: Test the New Installation
- Re-engage the Air System: Check for any leaks by conducting a leak test.
- Inspect for Proper Functioning: From the driver’s seat, apply the brakes and listen for any unusual sounds or behaviors.
- Conduct a Brake Test: Conduct a short drive to test the braking system performance under normal conditions.

Maintenance Tips for Brake Chambers
To maximize the lifespan and functionality of your brake chambers, consider following these maintenance tips:
- Regular Inspections: Conduct routine checks for cracks, leaks, or wear.
- Clean Air Lines: Ensure that air lines are free from obstructions and moisture.
- Replace Damaged Components Promptly: Don’t delay in replacing faulty items, as they compromise vehicle safety.
- Consult Manufacturer’s Guidelines: Adhere strictly to maintenance schedules outlined in the trailer’s manual.
FAQs
How often should I check my brake chamber?
If you use your semi-trailer frequently, consider checking brake chambers during every major service interval or at least once a month.

Can I change a brake chamber myself?
Yes, with the right tools and adherence to safety protocols, you can change a brake chamber yourself. However, if you’re unsure, consult a professional mechanic.
What is the cost of replacing a brake chamber?
The price can vary based on the type of brake chamber and the labor involved. Prices typically range from $100 to $300 for parts, with labor adding potentially another $100 to $150.
Conclusion
Changing a brake chamber on a semi-trailer is a fundamental maintenance skill that can ensure both safety and compliance on the roads. By following the detailed steps outlined in this guide, you can effectively change the brake chamber with confidence. Always prioritize safety and proper tools to facilitate a smooth process. Regular maintenance and timely replacements are key to ensuring that your braking system operates at its peak, securing both your cargo and your safety on the road.
Embarking on the journey of semi-trailer maintenance yields not just a roadworthy vehicle but peace of mind that stems from knowing your braking system is functioning effectively. Remember, proactive maintenance is the cornerstone of a successful semi-trailer operation. With diligence and care, you can navigate the intricacies of brake chambers and ensure long-term reliability.


