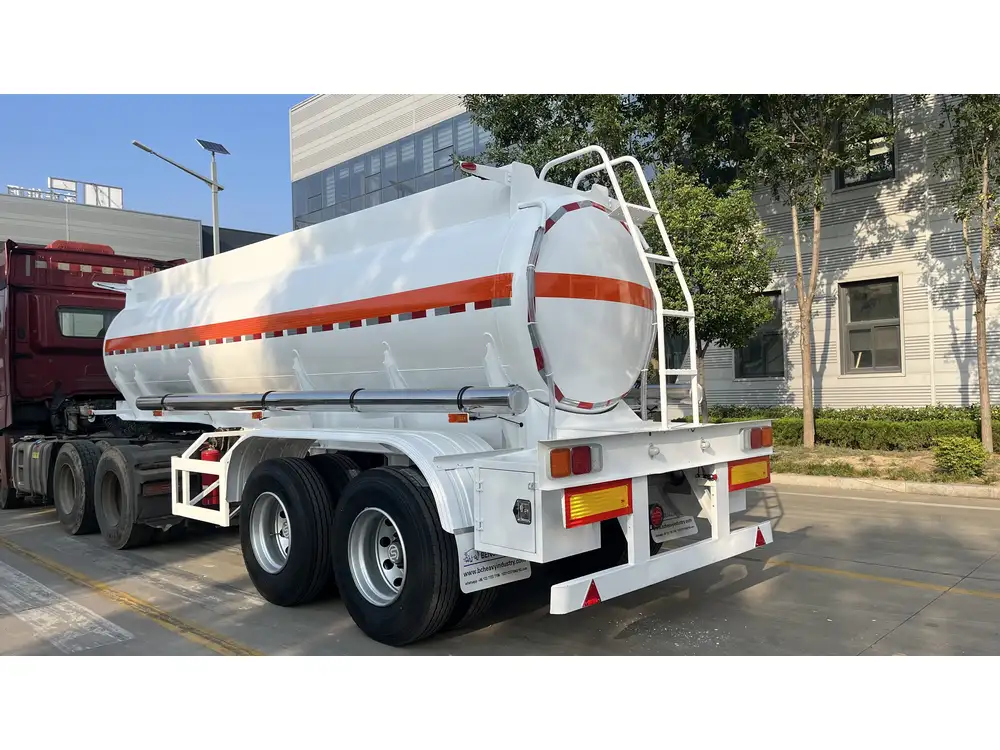
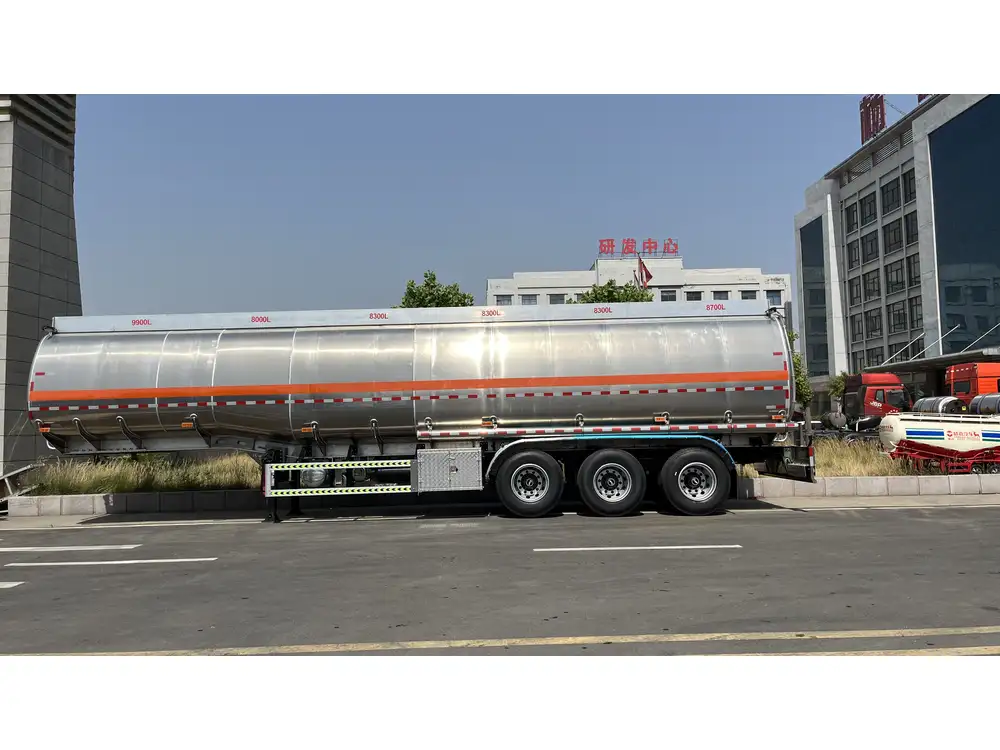
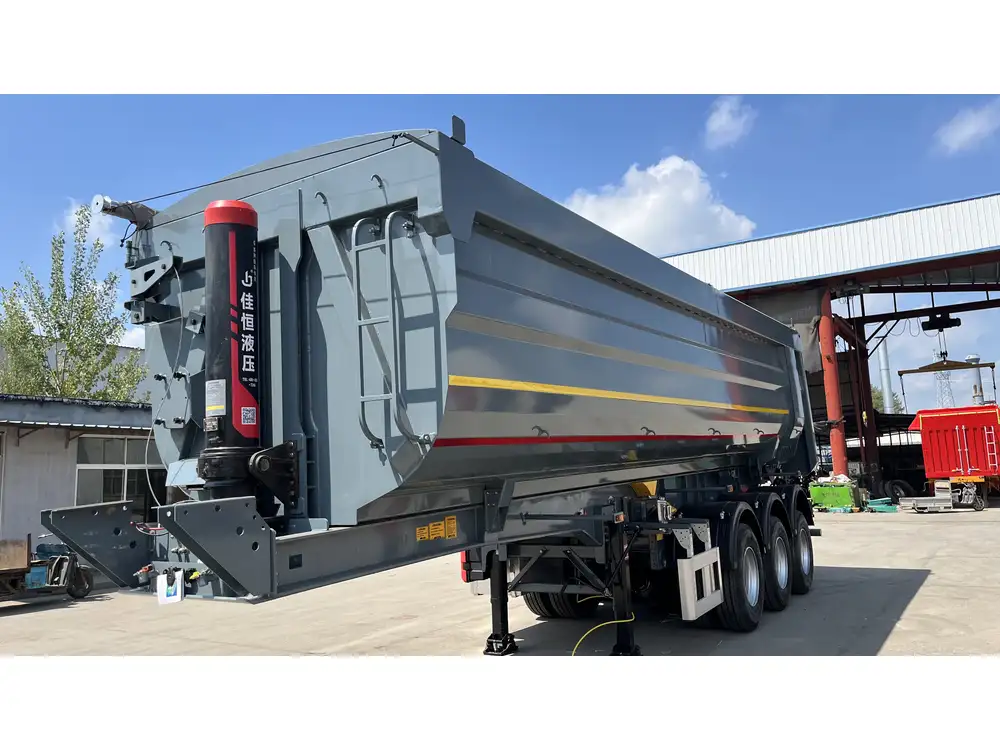
Changing a tire on a semi-trailer is an essential skill for any truck operator. The process can seem daunting, but with the right knowledge and equipment, it becomes manageable. In this guide, we will cover the necessary steps, safety precautions, tools required, and some helpful tips that will ensure the job is performed correctly and efficiently.
Understanding the Importance of Tire Maintenance
Maintaining semi-trailer tires is crucial for several reasons:
- Safety: Worn or improperly inflated tires can lead to blowouts, increasing the risk of accidents.
- Fuel Efficiency: Properly functioning tires enhance fuel economy by reducing rolling resistance.
- Longevity: Timely tire changes prolong the lifespan of both tires and trailers, saving costs in the long run.
Let’s break down the process of changing a tire on a semi-trailer into detailed, actionable steps.
Tools Required for the Job
Before you begin the tire-changing process, ensure you have the following tools and equipment at hand:
| Tool Name | Description |
|---|---|
| Jack | A heavy-duty hydraulic or mechanical jack suitable for lifting a semi-trailer. |
| Jack Stands | Used to securely support the trailer once lifted. |
| Lug Wrench | A wrench designed to fit the lug nuts on the semi-trailer wheels. |
| Replacement Tire | Ensure the new tire matches the specifications of the old tire. |
| Tire Pressure Gauge | To check the pressure of the new tire before installation. |
| Wheel Chocks | To prevent the trailer from rolling while you work. |
| Gloves | For hand protection, especially when working with heavy machinery. |

Preliminary Safety Measures
1. Choose the Right Location
Select a flat, stable surface away from traffic for the tire-changing operation. It’s crucial to avoid changing a tire on an incline, as this increases the risk of equipment shifting.
2. Secure the Vehicle
- Activate the Parking Brake: Engage the parking brake to ensure the trailer does not move.
- Use Wheel Chocks: Place wheel chocks behind the wheels on the opposite side of the trailer to further prevent movement.

3. Wear Proper Safety Gear
Always wear gloves and steel-toed boots to protect yourself from potential hazards. Ensure you have reflective vests if you’re working near roadways for visibility.
Step-by-Step Guide to Changing a Semi-Trailer Tire
Step 1: Remove the Damaged Tire
Loosen the Lug Nuts:
- Using the lug wrench, turn each lug nut counterclockwise. Loosen them slightly before lifting the trailer. This prevents the wheel from spinning when you lift the trailer.
Lift the Trailer:
- Position the jack underneath the trailer’s lifting point, usually located near the axle. Ensure it is secure before raising the vehicle.
Position Jack Stands:
- Once the trailer is elevated, place jack stands securely under the frame to safeguard against accidental dropping. Ensure they are stable and positioned correctly.
Remove the Lug Nuts Completely:
- With the trailer securely lifted, remove the lug nuts completely. Place them in a safe location where they won’t get lost.
Take Off the Tire:
- Carefully pull the damaged tire from the hub. You may need to wiggle it to free it from any rust or debris.

Step 2: Prepare and Install the New Tire
Inspect the Rim:
- Before installing the new tire, inspect the rim for damage or rust that could affect the new tire’s performance. Clean off any debris if necessary.
Mount the New Tire:
- Align the holes of the new tire with the wheel studs on the axle. Push the tire onto the hub firmly until it sits in place.
Hand-Tighten the Lug Nuts:
- Start on the opposite side of where you first installed the tire. Hand-tighten the lug nuts onto each stud. Use a star pattern to ensure even tightening.
Step 3: Lower the Trailer and Secure
Lower the Trailer:
- Carefully lower the jack until the trailer is back on the ground, then remove the jack stands. Make sure all tools and equipment are clear from under the vehicle.
Final Tightening:
- Once the tire is on the ground, use the lug wrench to tighten the lug nuts fully, utilizing the star pattern again for an even distribution of pressure.
Check the Tire Pressure:
- Use a tire pressure gauge to ensure the new tire is inflated to the manufacturer’s recommended pressure, typically stated on a sticker inside the door jamb or in the owner’s manual.
Dispose of the Old Tire:
- Properly dispose of the damaged tire according to local regulations. Many places offer recycling services that ensure the tire is disposed of responsibly.
Maintenance Advice Post Tire Change
After changing a semi-trailer tire, it’s crucial to adhere to a post-maintenance routine:
- Regular Inspections: Regularly check tire pressure and tread depth to extend tire life.
- Alignment Checks: Ensure the trailer’s wheels are correctly aligned to avoid uneven tire wear.
- Inflation Maintenance: Check inflation every few days, especially before long trips.

Troubleshooting Common Tire Issues
While tire maintenance seems straightforward, various problems can arise. Here are common issues and how to address them:
| Issue | Symptoms | Solutions |
|---|---|---|
| Uneven Wear | Worn patches on one side of the tire | Check and adjust alignment. Rotate tires regularly. |
| Frequent Blowouts | Repeated incidents of tire failure | Inspect for proper inflation; check for debris or rim damage. |
| Vibration During Driving | Uneven vibration through the vehicle | Check balance and inspect for potential bent rims. |
Conclusion
Changing a tire on a semi-trailer may seem overwhelming, but with the right tools, knowledge, and safety precautions, it’s a manageable task. Implementing a routine for tire inspection and maintenance will not only prolong tire life but also enhance safety on the road.
By mastering the skill of changing a tire and understanding the importance of tire maintenance, where safety and efficiency are paramount, you position yourself as a responsible operator capable of tackling on-the-road challenges. Be proactive and always be prepared – equip your semi-trailer with the best practices for optimal performance!


