
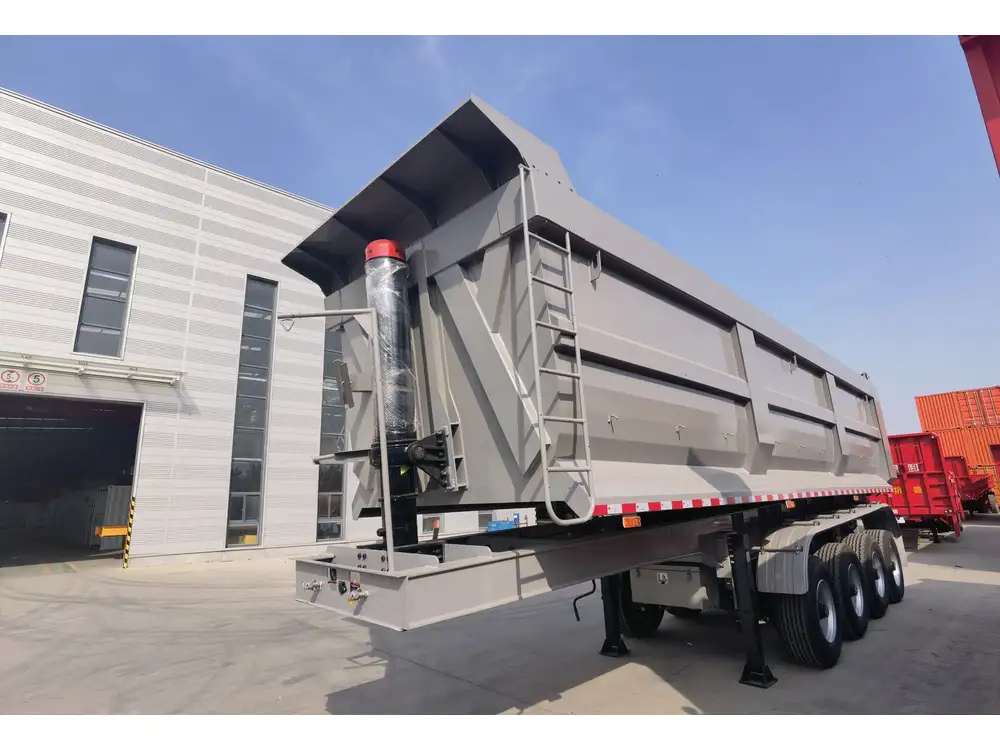
Dump trailers are an essential asset in various industries, from construction to agriculture, often facilitating the transport of bulk materials. However, like any mechanical equipment, they may encounter issues over time, including problems with the jack. In this guide, we will delve into the intricacies of fixing a jack on an old dump trailer, equipping you with the knowledge and steps necessary to address this common concern effectively.
Understanding the Importance of the Dump Trailer Jack
The jack on a dump trailer serves several vital functions:
- Stability: It allows the trailer to remain steady when loading and unloading materials.
- Lift Mechanism: A functioning jack is essential for raising the trailer bed for proper dumping.
- Safety: A faulty jack can lead to accidents, injuries, and damage to valuable equipment.
Recognizing the importance of a well-maintained jack will lay the groundwork for understanding how to fix it effectively.
Common Jack Issues on Old Dump Trailers
Before diving into the repair procedures, it’s crucial to identify potential issues that could arise with a dump trailer jack:
| Issue | Description | Solution |
|---|---|---|
| Inability to Raise or Lower | The jack does not extend or retract properly. | Clean, lubricate, or replace parts. |
| Hydraulic Fluid Leaks | Fluid leaking from the jack signifies a seal failure. | Replace seals or the entire jack. |
| Damaged Handle | The handle is broken or bent, making it hard to operate. | Replace the handle or adjust. |
| Worn-Out Gear Mechanism | The internal gear is stripped or damaged. | Replace the gear assembly. |
Troubleshooting Steps for Jack Issues
Visual Inspection:
- Examine the jack and its components for visible signs of wear, damage or corrosion.
- Check hydraulic lines for leaks or kinks.
Functional Testing:
- Operate the jack to determine if it can extend and retract smoothly.
- Listen for unusual sounds during operation that may indicate internal issues.
Fluid Check:
- Check the hydraulic fluid level. Low fluid levels can hinder performance.
- Inspect for oil stains around hydraulic fittings.
Tools and Materials You Will Need
Gather the necessary tools and materials prior to starting the repair:
Tools:
- Socket and wrench set
- Screwdrivers (flathead and Phillips)
- Pliers
- Jack stand or additional support
- Torque wrench
Materials:
- Replacement hydraulic fluid
- Seal kits or appropriate replacement parts
- Lubricating oil or grease
- Replacement handle (if necessary)
- Gear assembly (if required)
Step-by-Step Guide to Fixing the Jack
Step 1: Ensure Safety First
Before commencing repairs, ensure the trailer is on a level surface, secured with wheel chocks, and that the jack is supported. Using a jack stand is advisable to prevent any accidental lowering during the repair.
Step 2: Remove the Jack
Disconnecting the Jack:
- Use the socket and wrench to remove the jack’s mounting hardware.
- Carefully detach the jack from the frame of the trailer.
Prepare for Inspection:
- Place the jack on a clean work surface.
- Thoroughly inspect all components for damage, focusing on the cylinder, handle, and base.
Step 3: Addressing Common Issues

Problem A: Jack Won’t Raise or Lower
Lubricate Moving Parts:
- Apply lubricating oil to the moving parts of the jack to eliminate friction.
Inspect Inner Mechanism:
- If lubrication does not resolve the issue, inspect the internal gears for wear or damage.
- Replace any stripped gears or worn components as necessary.
Problem B: Hydraulic Fluid Leaks
Identify Leak Source:
- If a leak exists, pinpoint its location (common areas include seals and hydraulic lines).
Seal Replacement:
- If the seals are indeed faulty, proceed to replace them with the new seal kit.
- Remove the old seals carefully using a flathead screwdriver and clean the area before installation.
Problem C: Damaged Handle
- Remove Handle:
- If the handle is broken or ineffective, remove it by unscrewing any retaining screws.
- Replace it with the new handle and ensure it is securely attached.

Problem D: Worn-Out Gear Mechanism
Disassemble the Gear Housing:
- Carefully remove any screws from the gear housing. Take note of how parts fit together for reassembly.
Replace the Gear Assembly:
- Install the new gear assembly, ensuring it is well-lubricated before reassembling the housing.
Step 4: Reinstallation of the Jack
Position the Jack:
- Align the jack with its original mounting points on the trailer.
Secure the Mounting Hardware:
- Using the appropriate socket and wrench, secure the jack in place.
Step 5: Final Testing
Hydraulic Check:
- Fill the hydraulic system with the appropriate fluid, ensuring no air is trapped in the system.
- Test the jack by raising and lowering it several times to confirm functionality.
Inspection After Testing:
- Conduct a final inspection to ensure all parts are secure and functioning well.

Prolonging the Life of Your Dump Trailer Jack
To keep your dump trailer jack in optimal condition, consider the following maintenance tips:
- Regular Inspections: Conduct routine checks every few months to catch issues early.
- Keep Lubricated: Regularly lubricate moving parts to prevent wear and tear.
- Fluid Maintenance: Check fluid levels regularly, and replace hydraulic fluid according to your trailer’s specifications.
- Avoid Overloading: Adhere to the specified load capacity to prevent undue stress on the jack.
FAQs Regarding Dump Trailer Jack Repairs
What can cause a dump trailer jack to fail?
Failures can stem from lack of maintenance, wear and tear of components, hydraulic fluid leaks, or damage caused by heavy loads.

How often should I inspect the jack on my trailer?
A thorough inspection is recommended every three months, or before major use during peak seasons. Regular maintenance can greatly extend the life of the jack.
Can I replace the jack entirely if repairs are extensive?
Yes, if the jack is severely damaged or the cost of repair is closer to the price of a new jack, considering a full replacement might be the best decision.
Conclusion
Fixing a jack on an old dump trailer may seem daunting, but with the right knowledge, tools, and diligence, it is entirely achievable. By understanding the common issues that arise, knowing how to troubleshoot effectively, and following the outlined repair steps, you’ll restore functionality to your trailer, enhancing both its safety and performance. Implementing regular maintenance practices will ensure the longevity of your equipment, allowing you to focus on your projects without interruptions.

