
Drawing a semi-trailer can be an engaging and satisfying endeavor. This guide will elaborate on the nuanced process, offering step-by-step instructions, tips for achieving realism, and crucial technical details to ensure your illustration has the precision and appeal that both enthusiasts and professionals admire. Let’s delve into each stage of the drawing process.
Understanding the Structure of a Semi-Trailer
Components Breakdown
To accurately illustrate a semi-trailer, it’s vital to comprehend its structure. A semi-trailer comprises several critical components:
| Component | Description |
|---|---|
| Chassis | The base frame that supports the trailer and its cargo. It must be sturdy and well-designed. |
| Axles | Responsible for supporting the trailer weight and allowing it to rotate during transit. |
| Tires | Typically four to ten tires that provide traction and stability. |
| Kingpin | A pivotal point where the semi-trailer connects to the tractor. |
| Cargo Area | The section designated for hauling goods, often enclosed or flatbed. |
| Lights & Reflectors | Essential for visibility and safety, positioned according to regulations. |

Visual References
Before starting your drawing, gather visual references. High-quality images and blueprints can prove invaluable for understanding the proportions and details. Consider the following sources:
- Manufacturer websites
- Automotive magazines
- Online image repositories (like Unsplash or Pixabay)
Materials Required for Drawing a Semi-Trailer
To proceed effectively, ensure you have the necessary materials:
- Pencil and Eraser: For initial sketches and adjustments.
- Paper: Choose a smooth surface for clean lines.
- Ruler: To maintain straight edges and accurate dimensions.
- Fine Liners or Markers: For inking the final illustration.
- Colored Pencils or Markers: For adding details and finisher touches.
Step-by-Step Guide to Drawing a Semi-Trailer
Step 1: Sketch the Basic Shapes
Begin with the Chassis:
- Draw a long horizontal rectangle to represent the main body of the trailer. This will be the chassis, which can vary in size depending on the type of semi-trailer (flatbed, refrigerated, etc.).
Add the Kingpin:
- At the front of this rectangle, draw a smaller, two-dimensional shape that represents where the kingpin attaches to the tractor. This will be slightly off-center.
Outline the Tires:
- Sketch circles below the rear portion of the chassis to represent the tires. Position these evenly for balanced aesthetics. Typically, semi-trailers have tandem axles, which means two sets of tires close together.
Step 2: Define the Cargo Area
Shape:
- Depending on the type of trailer, illustrate either a boxy rectangle (for dry vans) or a flatbed structure with sides for securing cargo.
Details:
- If depicting a refrigerated trailer, add insulated panels on the sides. You can illustrate vents or a refrigeration unit at the front.
Step 3: Enhance with Details
Wheels and Axles:
- Make your tires three-dimensional by adding depth; internal circles represent rims. Incorporate axle lines visible on the undercarriage, showing how the trailer is suspended.
Lighting:
- Add rectangles and circles for lights, ensuring proper placement per local regulations. The tail lights, indicators, and reflectors enhance visibility in your illustration.
Cargo Accessories:
- Sketch tie-downs or container locks if illustrating a flatbed. For enclosed trailers, consider showing door hinges or latches.
Step 4: Inking and Coloring
Inking:
- After finalizing your sketch, proceed with fine liners to trace over the lines. Ensure your hand maintains a steady pressure to achieve consistent thickness.
Coloring:
- Use a color palette that reflects real brands or choose vivid shades to make your illustration stand out. Consider realistic shading to add depth, particularly under the trailer and around the tires.
Step 5: Final Touches
Add final details like grime, wear, or company logos on the side of the trailer. These elements portray realism and make the artwork more engaging.
Advanced Tips and Tricks

Working with Perspective
When aiming for realism, consider the perspective. Drawing from a low angle can exaggerate the trailer’s height, emphasizing the difference in scale against the tractor.
Utilizing Grids
For precision, use a light grid overlay. This method can assist in maintaining proportions and spatial relationships, especially in detailed components.
Digital Drawing Techniques
If opting for a digital format:
- Layers: Work on different layers for lines, colors, and details. This practice facilitates correction without compromising the entire illustration.
- Brush Settings: Experiment with various brushes to create varied textures for different surfaces like metal or rubber.
Common Mistakes to Avoid
- Ignoring Proportions: Ensure accurate measurements for various components to avoid an unrealistic look.
- Overcomplicating Details: While details add interest, excessive complexity can distract from the overall design.
- Neglecting Shading: Shading can provide depth and visual interest; avoiding it makes your drawing appear flat.
Exploring Different Types of Semi-Trailers
Types and Their Unique Features
Semi-trailers come in diverse forms, each tailored to specific purposes. Understanding these can enrich your drawing repertoire:
| Type | Description |
|---|---|
| Dry Van | Enclosed trailers suitable for transporting non-perishable goods, often featuring upright walls. |
| Refrigerated | Insulated trailers equipped with cooling units to transport perishable foods. |
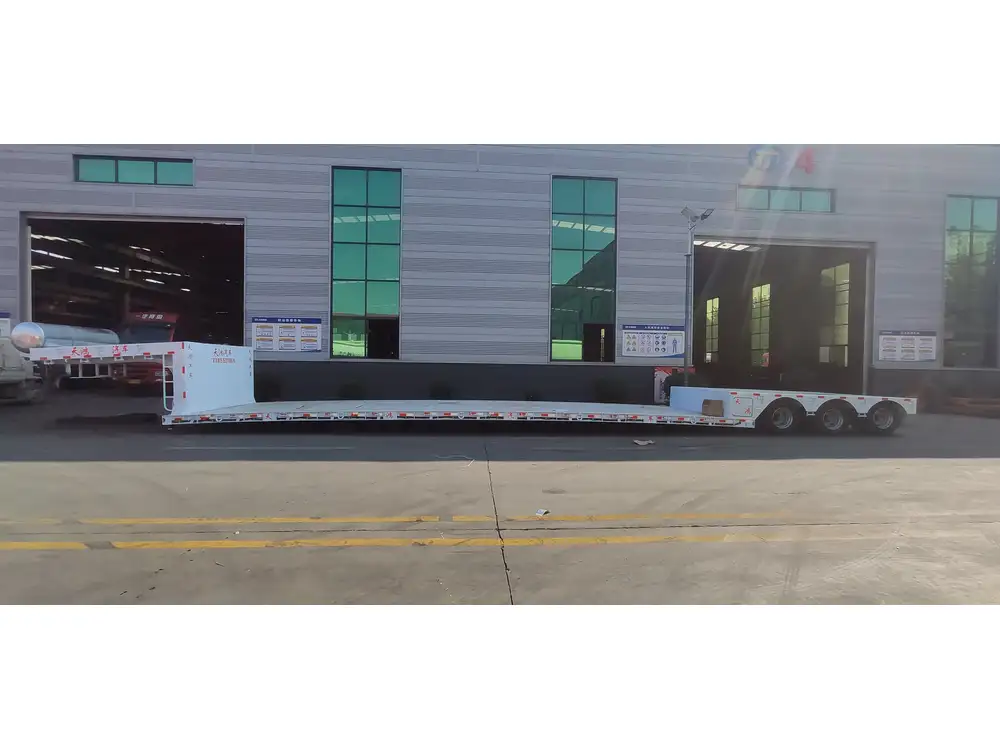
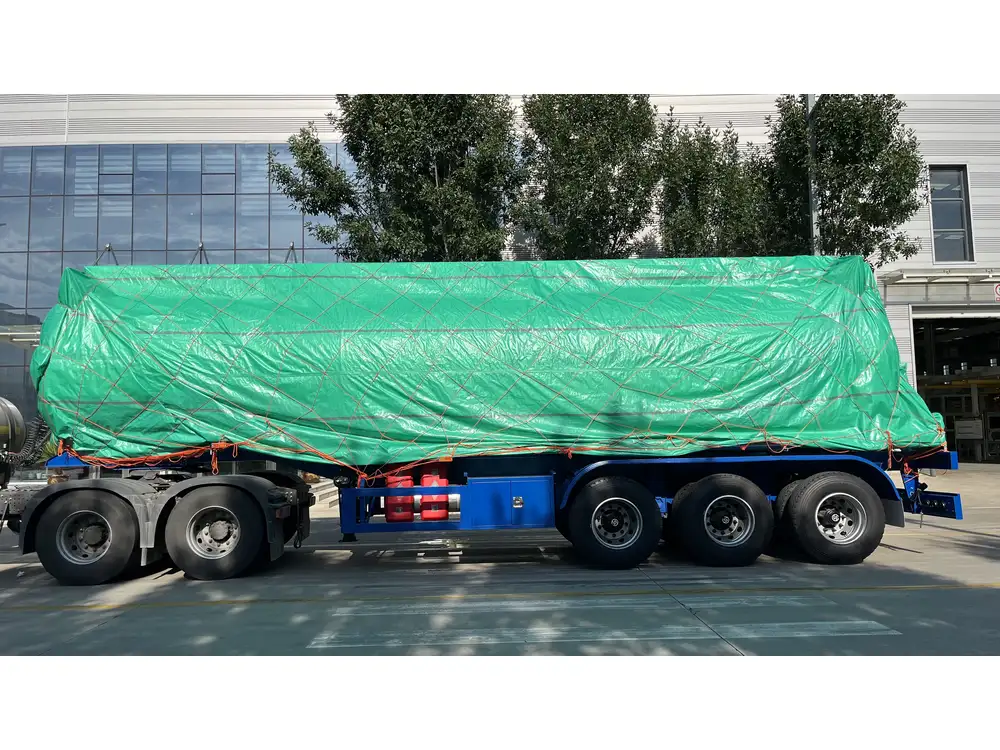
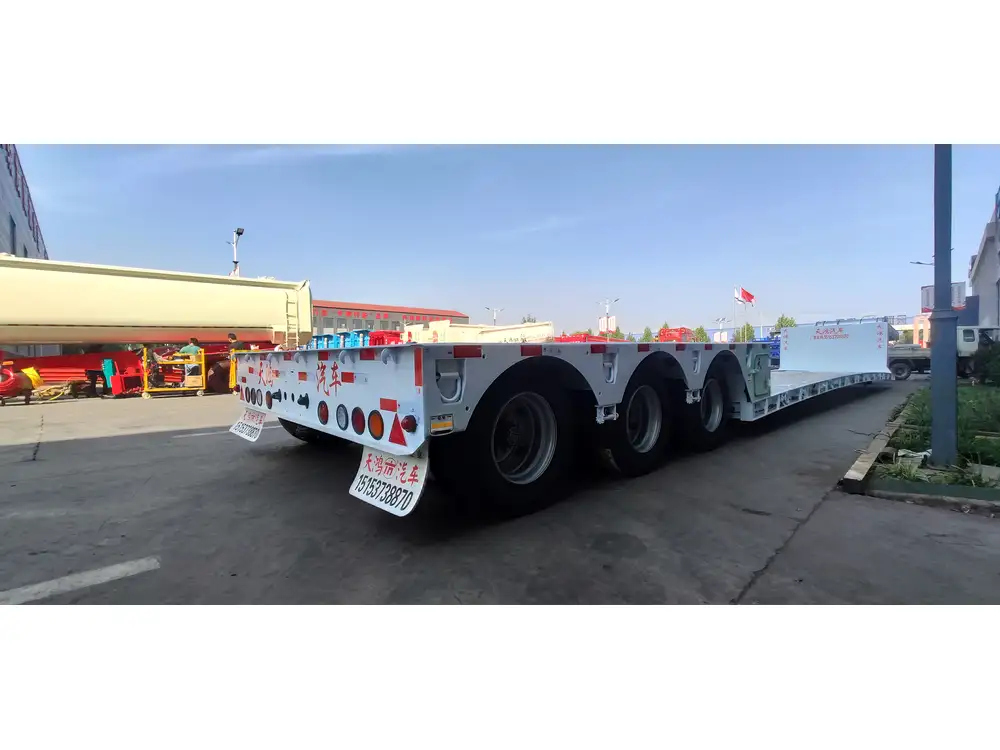
| Flatbed | Open trailers suitable for oversized loads, often requiring tarps for protection. |
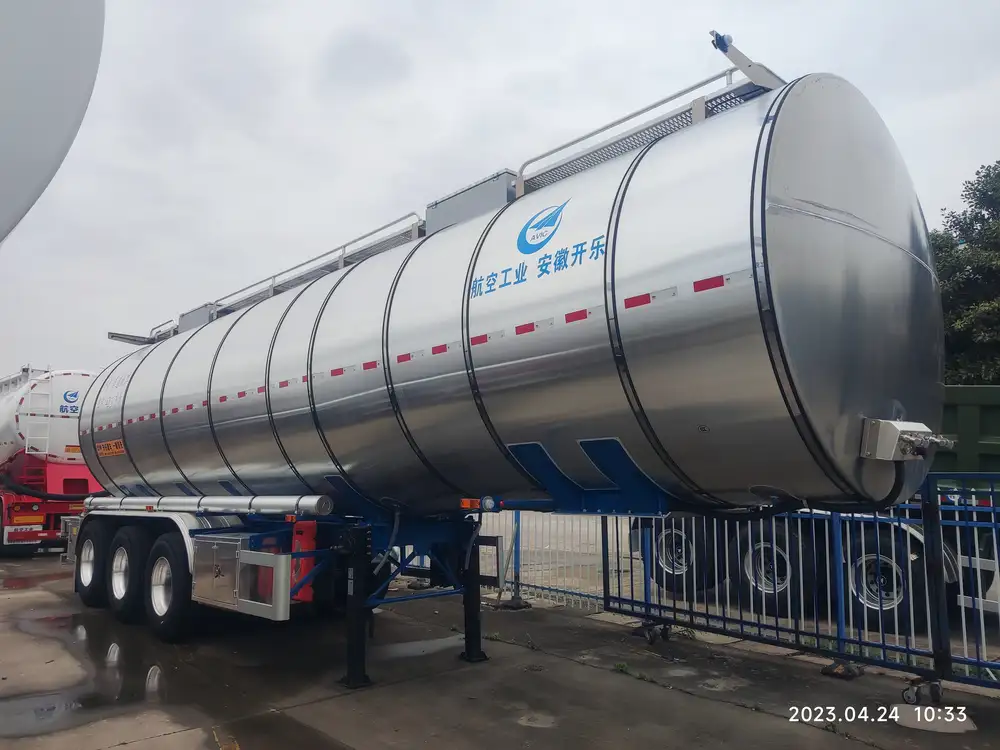
| Tankers | Designed to carry liquids; feature rounded shapes for stability and safety during transit. |
| Conestoga | A hybrid that features a flatbed with canvas covering systems for flexibility in loading/unloading. |
Conclusion
Drawing a semi-trailer encompasses a range of skills from basic sketching to advanced inking and color techniques. By following this comprehensive guide and integrating the detailed practices outlined above, you can create stunning and realistic semi-trailer illustrations that capture the intricate beauty of these vital transportation components. Embrace the process, and with practice, your ability to create lifelike representations of semi-trailers will undoubtedly improve, opening new horizons in your artistic journey. Whether for design purposes or personal satisfaction, enjoy the craft of drawing a semi-trailer!

