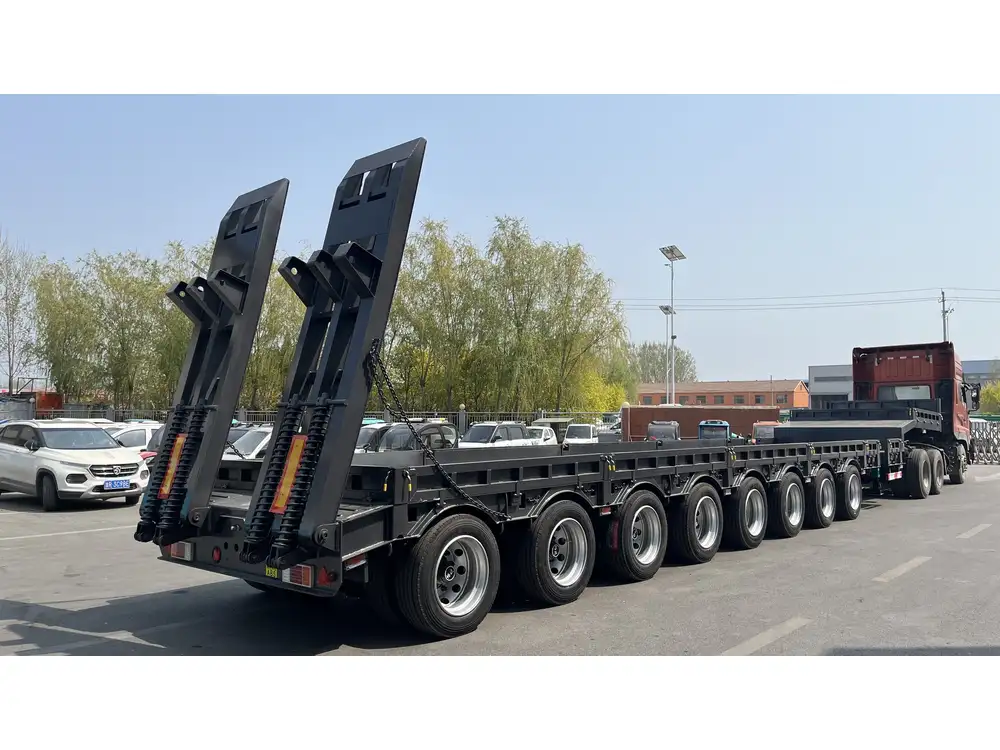
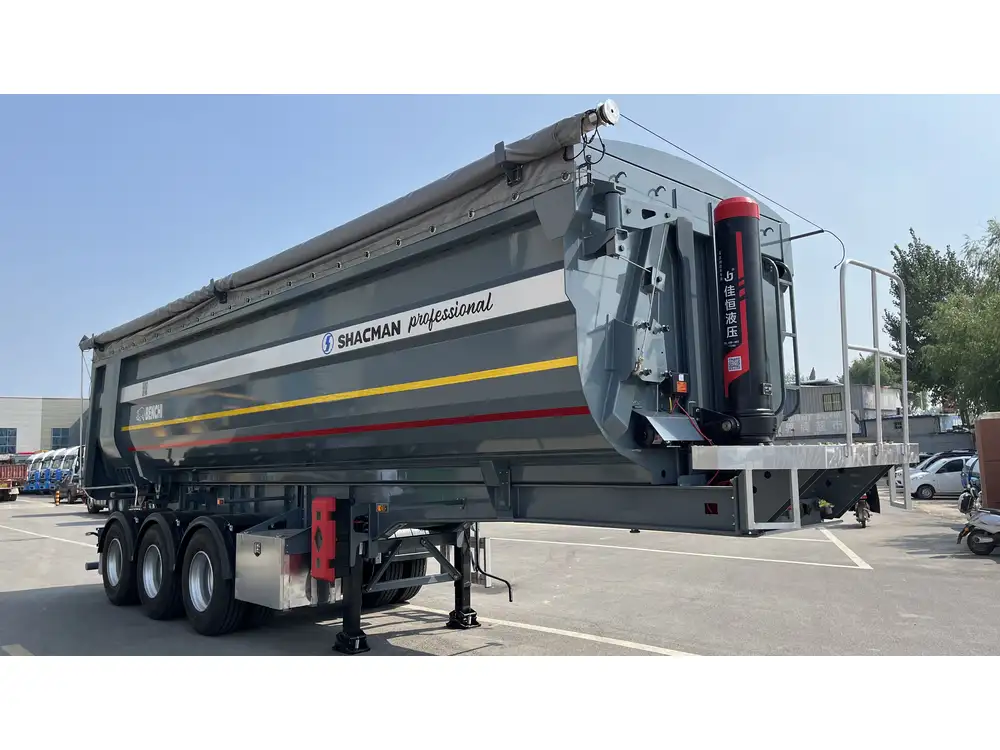
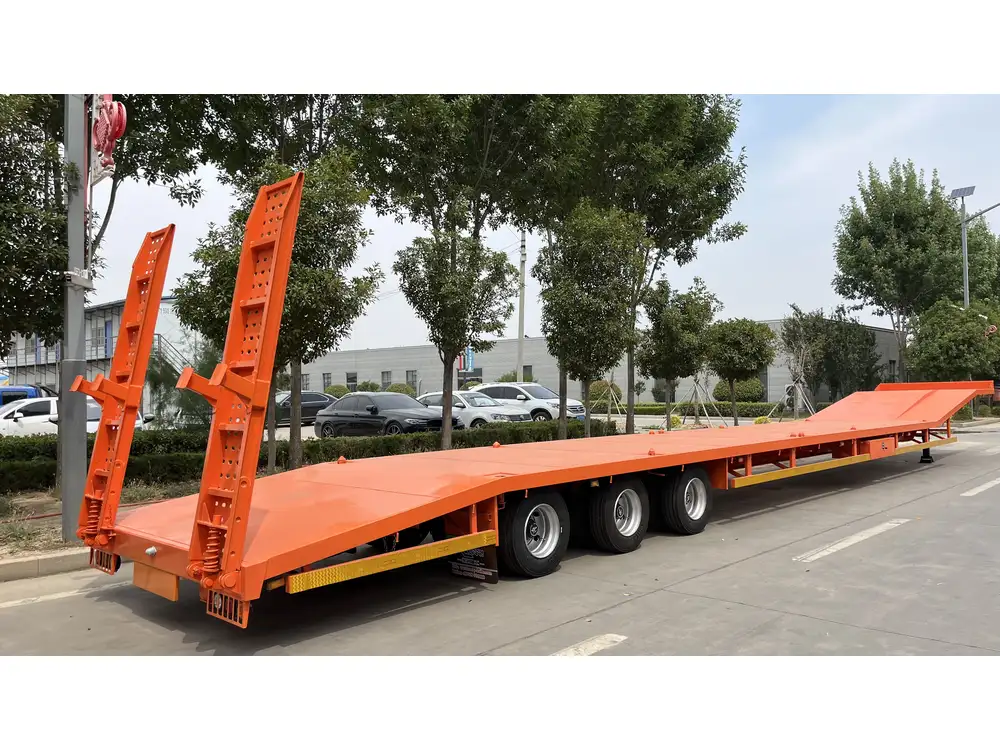
Converting a flatbed trailer into an enclosed trailer is an increasingly popular undertaking among trucking and hauling enthusiasts. Whether for enhancing cargo security, increasing storage capacity, or creating a mobile workspace, an enclosed trailer serves various purposes across diverse industries. In this guide, we explore the intricacies of such a conversion, outlining essential steps, necessary materials, and common challenges. Let’s delve deep into this exciting project, ensuring you’re well-equipped to undertake the transformation.
Table of Contents
- Understanding the Benefits of Conversion
- Gathering Necessary Tools and Materials
- Planning Your Conversion
- Step-by-Step Conversion Process
- Common Challenges and How to Overcome Them
- Maintenance Tips for Your Enclosed Trailer
- Conclusion
Understanding the Benefits of Conversion
Before we embark on the step-by-step guide, it is paramount to recognize why individuals and businesses invest time and resources into converting flatbed trailers into enclosed models. Below are key advantages:
| Benefits | Description |
|---|---|
| Enhanced Security | An enclosed trailer protects your cargo from theft and weather. |
| Increased Versatility | Accommodates diverse types of equipment and structurally fragile goods. |
| Climate Control | Offers protection from extreme weather conditions for sensitive items. |
| Improved Aesthetics | Presents a professional appearance for business purposes. |
This foundational understanding will serve as motivation throughout the conversion process, ensuring your end product meets or exceeds your initial expectations.

Gathering Necessary Tools and Materials
The successful conversion of a flatbed trailer requires a variety of tools and materials. Below is a comprehensive list, categorically organized:
Tools
- Power Drill: For securing structural supports and installation components.
- Saw: Circular or reciprocating saw, depending on your material specifications.
- Measuring Tape: Accuracy is critical, so a sturdy measuring tape is essential.
- Square: For ensuring your cuts and sections are perfectly aligned.
- Wrenches and Sockets: For mechanical assembly and troubleshooting.
- Safety Gear: Such as goggles, gloves, and a hard hat for protection.
Materials
- Wood or Metal Framing: For the structural framework; select based on expected load and usage.
- Plywood or Composite Panels: For wall and roof construction; waterproof options are preferred.
- Insulation Materials: If climate control is necessary, use foam boards or fiberglass.
- Sealing and Fastening Tools: Silicone, screws, and brackets for securing and sealing joints.
- Exterior Finishing Supplies: Paint, weatherproofing, or siding materials to protect against the elements.

Optional Accessories
- Doors and windows: For accessibility and visibility.
- Lighting fixtures: To enhance functionality when operating in low-light conditions.
- Ventilation systems: If storing high humidity items or generating heat.
Having this toolkit at your disposal sets the groundwork for a smooth conversion process.
Planning Your Conversion
Before diving into the actual work, articulate a detailed plan. This stage involves sketching designs, measuring dimensions, and potentially consulting more experienced individuals in the field. Here’s a simple action list to keep you on track:
- Determine Usage: Clearly define the intended use – hauling equipment, living quarters, etc.
- Set Budget: Allocate funds for tools, materials, and unforeseen expenses.
- Establish Timeline: Estimate how long the project will take and set achievable deadlines.
- Revise Designs: Upon feedback or acquisition of new information, modify your plans as necessary.
Example Design Concepts
- Basic Storage: A straightforward box structure suitable for general use.
- Workshop: Integrated shelving and workbenches for on-the-go projects.
- Mobile Office: Electricity access, desk space, and climate control for business tasks.
By delineating your project from onset to completion, you will maintain momentum and clarity throughout the conversion.

Step-by-Step Conversion Process
Now that we have prepared adequately, let’s traverse the conversion steps. Each stage is crucial and should be executed with attentiveness.
1. Securing the Trailer
Before construction, ensure the flatbed trailer is anchored securely. This involves:
- Leveling the Trailer: Use leveling tools to ascertain the trailer is flat.
- Checking Tires and Axles: Inspect and maintain the wheels and axles to prevent mishaps during your project.
- Securing the Trailer: Stabilize it using chocks or jacks to prevent movement while working.
2. Building the Frame
The frame serves as the backbone of your enclosed trailer. Constructing it requires:
- Cutting Your Materials: Lay out your measurements, and utilize your saw for accurate cuts.
- Assembling the Frame: Create a rectangular box using wood or metal, attaching corners with brackets and screws. Ensure stability and support prior to moving forward.
| Joint Type        | Description                 | Recommended Tool      |
|-------------------|-----------------------------|------------------------|
| Butt Joint          | Simple and effective for panels | Power drill/screws      |
| Lap Joint           | Offers additional strength   | Wood glue/screws        |
| Corner Joint        | Essential for frame stability| Metal brackets/screws    |
3. Installing Walls
With a solid frame constructed, it’s time to add walls. This step consists of:
- Attaching Wall Panels: Use plywood or composite panels to erect walls from the base of your frame to the height you desire.
- Insulating: If extra protection against temperature is needed, insert insulation between the frame and wall panels.
- Finishing the Edges: Seal edges to ensure a watertight bond, using caulk or silicone wherever necessary.
4. Adding a Roof
A robust roof is essential for an enclosed trailer:
- Cut Roof Panels: Measure accurately for a snug fit on top of your wall structure.
- Secure Panels: Follow a similar process throughout, ensuring uniformity and strength across the roof area.
- Seal against Weather: Apply weatherproof sealant around edges and seams to avoid leaks.
5. Finishing Touches
With the structure complete, focus on the details that elevate your trailer’s functionality:
- Installing Doors and Windows: Choose locations that are convenient but ensure they don’t compromise structural integrity.
- Electrical Setup: If necessary, install LED lights and outlets, ensuring they comply with safety standards.
- Exterior Treatment: Paint or add siding to protect from environmental factors.

Common Challenges and How to Overcome Them
Even with a solid plan and requisite materials, challenges may arise. Here are some common pitfalls and solutions:
| Challenge | Solution |
|---|---|
| Inaccurate Measurements | Always double-check dimensions before cutting materials. |
| Structural Weakness | Reinforce using additional framing or cross-bracing. |
| Water Leakage | Inspect seals and apply waterproofing products regularly. |
| Insufficient Ventilation | Add vents or small windows to improve airflow. |
By anticipating potential problems and knowing how to navigate them, you can ensure a smoother project execution.
Maintenance Tips for Your Enclosed Trailer
Once your flatbed trailer is successfully converted and put into use, regular maintenance will elongate its lifespan and maintain its appeal. Consider these best practices:
- Regular Inspections: Check for signs of wear, rust, or structural damage at regular intervals.
- Cleaning: Regularly clean both the exterior and interior to prevent grime accumulation.
- Roof Maintenance: Always check roofing materials and seals; repair as necessary.
- Wheel and Tire Checks: Ensure tires are properly inflated, and perform regular brake inspections.
Adopting these maintenance practices will not only safeguard your investment but also enhance the utility of your trailer.
Conclusion
Converting a flatbed trailer into an enclosed trailer undoubtedly requires investment in time and resources, but the benefits far surpass the challenges. As we explored, maintaining good practices, using quality materials, and preparing for common obstacles are essential to a successful conversion.
With a clear vision, proper planning, and a bit of elbow grease, you’re well on your way to transforming your flatbed into an asset that adds value to your operations. Embrace the project ahead, and maximize the potential your enclosed trailer brings to your professional or personal endeavors.


