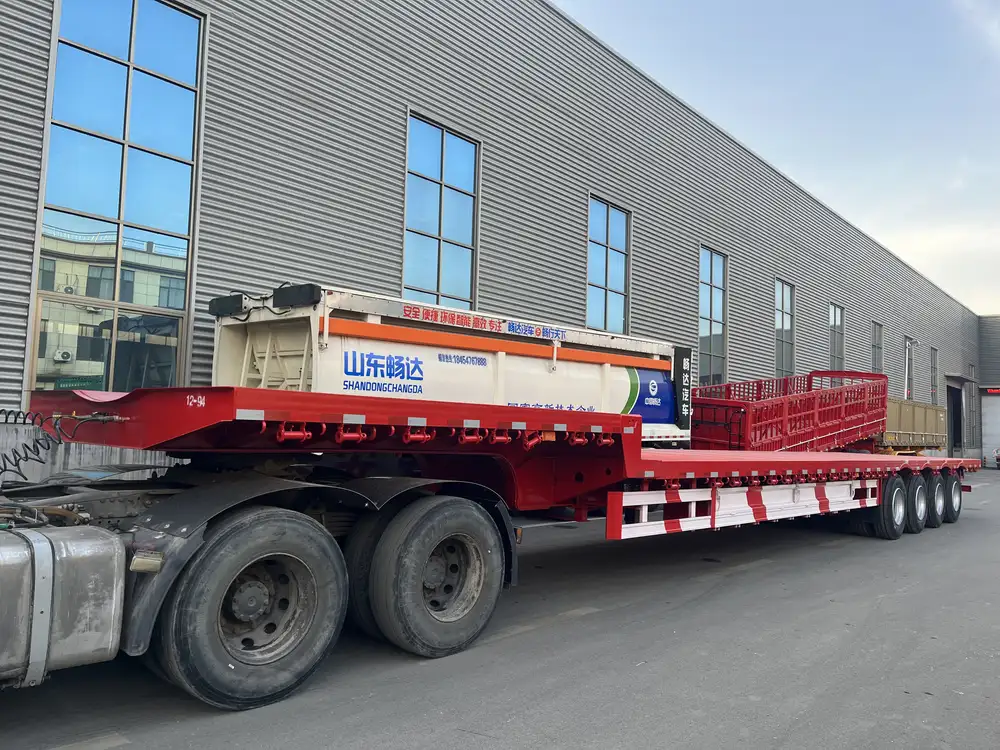
Installing vinyl on semi-trailer aluminum drive rivets is a task that requires both precision and a knowledge of the materials involved. This guide will delve into the intricate steps and nuances of the installation process, designed specifically for those in the manufacturing and logistics industries looking to enhance their semi-trailer aesthetics and protection.
Understanding the Importance of Vinyl Application
Vinyl wraps and coverings serve various functional and aesthetic purposes for semi-trailers. They protect the aluminum from corrosion, improve the vehicle’s appearance, and can be customized with branding and information. Understanding how to install vinyl correctly is crucial for ensuring durability and maintaining the operational efficiency of your trailers.
Advantages of Vinyl on Semi-Trailers
- Protection from Elements: Vinyl protects against UV rays, chemicals, and other environmental factors that can degrade aluminum over time.
- Cost-Effective Branding: Custom vinyl graphics are an affordable way to promote your business while on the road.
- Enhanced Resale Value: A well-maintained trailer with protective vinyl will have a better resale value.

Tools and Materials Needed
Before beginning the installation of vinyl on aluminum drive rivets, gather the following tools and materials. A preparation phase can save time and ensure a smooth installation process.
Essential Tools
| Tool | Purpose |
|---|---|
| Clean Cloth | For surface preparation |
| Measuring Tape | To measure the vinyl and trailer accurately |
| Utility Knife | For cutting vinyl to size |
| Heat Gun | To activate the adhesive and create pliability |
| Squeegee | To smooth out bubbles and ensure a flat surface |
| Protective Gloves | To prevent skin irritation and maintain cleanliness |
Materials Required
| Material | Notes |
|---|---|
| High-Quality Vinyl | Ensure it is rated for outdoor use and UV resistant |
| Adhesive | If using separate vinyl pieces or for securing edges |
| Primer | To improve adhesion on aluminum surfaces |

Preparation Steps
Follow these preparatory steps to ensure a successful installation process.
1. Clean the Surface
Cleaning the trailer’s surface thoroughly is a non-negotiable step. Dust, dirt, grease, and old adhesive can compromise the vinyl’s ability to adhere effectively.
- Use a clean cloth and a gentle cleaner suitable for aluminum.
- Pay special attention to the rivet areas; they can collect dirt which hinders adhesion.
2. Measure and Cut the Vinyl
After cleaning, measure the area you plan to cover. For optimal results, leave a little excess vinyl for cutting later.
- Use measuring tape to accurately determine the width and length of your vinyl.
- Mark the measurements clearly on the vinyl with a marker or masking tape.

3. Temperature Check
Temperature can significantly affect vinyl installation. Ideal conditions are between 65°F and 90°F (18°C – 32°C).
- If you are working in colder temperatures, use a heat gun to warm the vinyl slightly before applying it. This increases flexibility.
- Ensure the surface temperature of the aluminum is also warm to facilitate proper adhesion.
Installation Process
Now that you’ve prepared everything, it’s time to dive into the step-by-step installation process.
Step 1: Position the Vinyl
Carefully position the vinyl over the trailer, ensuring alignment with the rivets. The vinyl must cover the rivets adequately to prevent water ingress and to ensure that it holds properly.

Step 2: Tack It Down
Once in position, begin to tack down one edge of the vinyl.
- Use the squeegee to lightly press the vinyl into place, smoothing out any bubbles from the start.
- Work from the center outwards to achieve an even application.
Step 3: Secure Around Rivets
This phase requires careful attention as the rivets are potential weak spots in the installation.
- Use a utility knife to make a small X cut over each rivet. This allows the vinyl to hug the rivet closely without pulling away.
- Press the vinyl down over the rivets, ensuring it adheres well. Reapply heat if necessary to improve flexibility and adhesion.
Step 4: Final Smoothing
Once the vinyl is positioned and the rivets are secured, use the squeegee to smooth out the entire surface.
- Work outwards from the rivet area, eliminating any air bubbles.
- Take your time during this step, as it is crucial for a flawless finish.

Step 5: Trim Excess Vinyl
With the vinyl adhered securely, it’s time to trim away the excess.
- Use a utility knife for clean cuts at edges. Be cautious around rivets to avoid any damage to the vinyl.
- Ensure that edges are sealed down fully to prevent the elements from lifting them.
Post-Installation Care
After installation, caring for the vinyl will extend its life on the semi-trailer.
1. Wait Before Cleaning
Avoid cleaning the vinyl for at least 48 hours to allow the adhesive to set effectively.

2. Gentle Cleaning
When cleaning, use a mild soap and water solution rather than abrasive cleaners. Ensure you dry the surface thoroughly to prevent water spots.
Troubleshooting Common Issues
Mistakes may occur during the installation process. Here are common issues and how to remedy them:
| Issue | Solution |
|---|---|
| Bubbles in the Vinyl | Use a pin to puncture and smooth out bubbles. Consider reapplying heat if necessary. |
| Vinyl Not Adhering | Check surface preparation; it may require additional cleaning or heating. |
| Tears During Installation | Patch tears with a vinyl repair kit or reapply a piece of vinyl over the damaged area. |
Conclusion
Installing vinyl on semi-trailer aluminum drive rivets is an essential process that enhances both the protection and aesthetic appeal of your vehicles. With the right tools, preparation, and methodology outlined in this guide, your installation will be straightforward and durable.
By following the steps and troubleshooting advice provided, you can ensure a professional-looking result that will help maintain the quality and functionality of your semi-trailers for years to come. For manufacturers and logistics operators, investing the time to perform this installation correctly can lead to significant long-term benefits.


