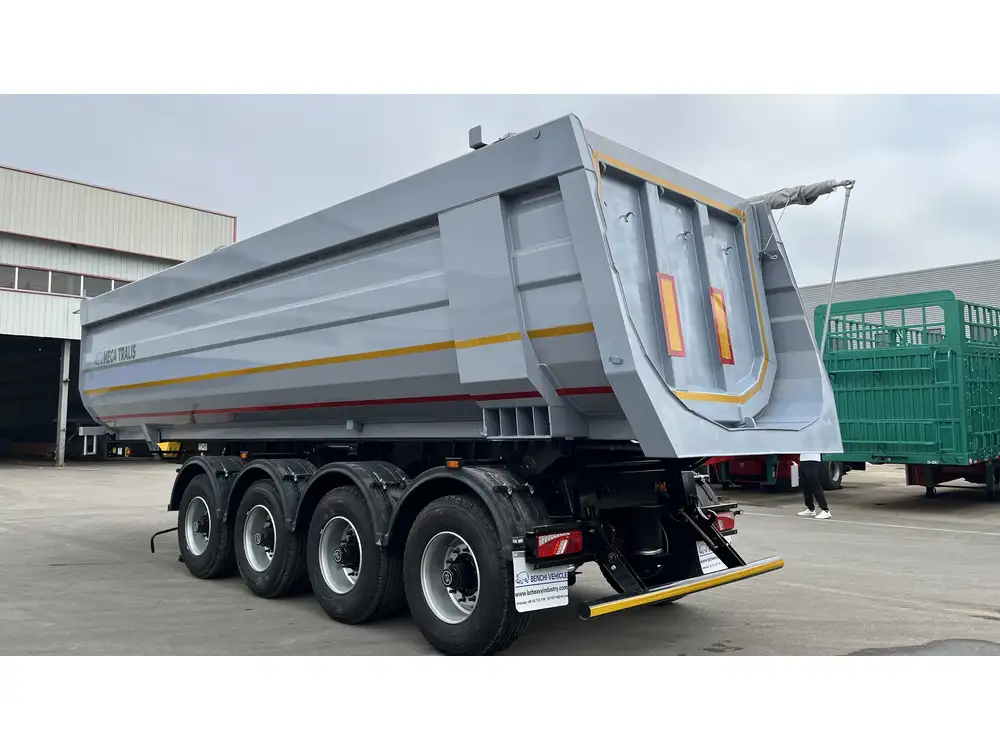
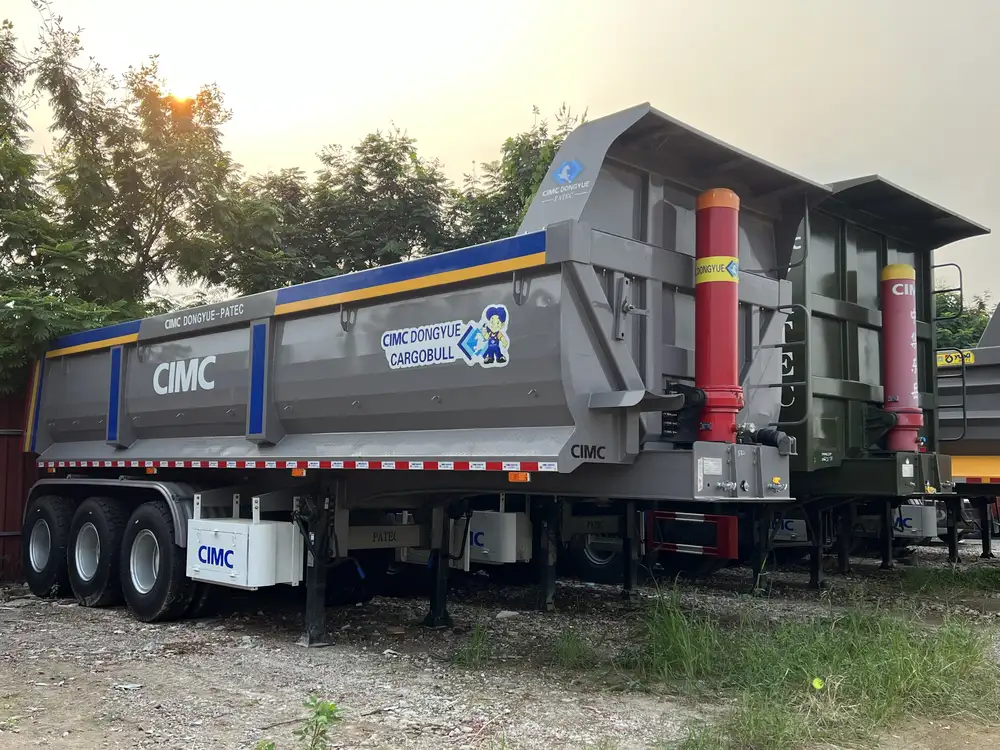
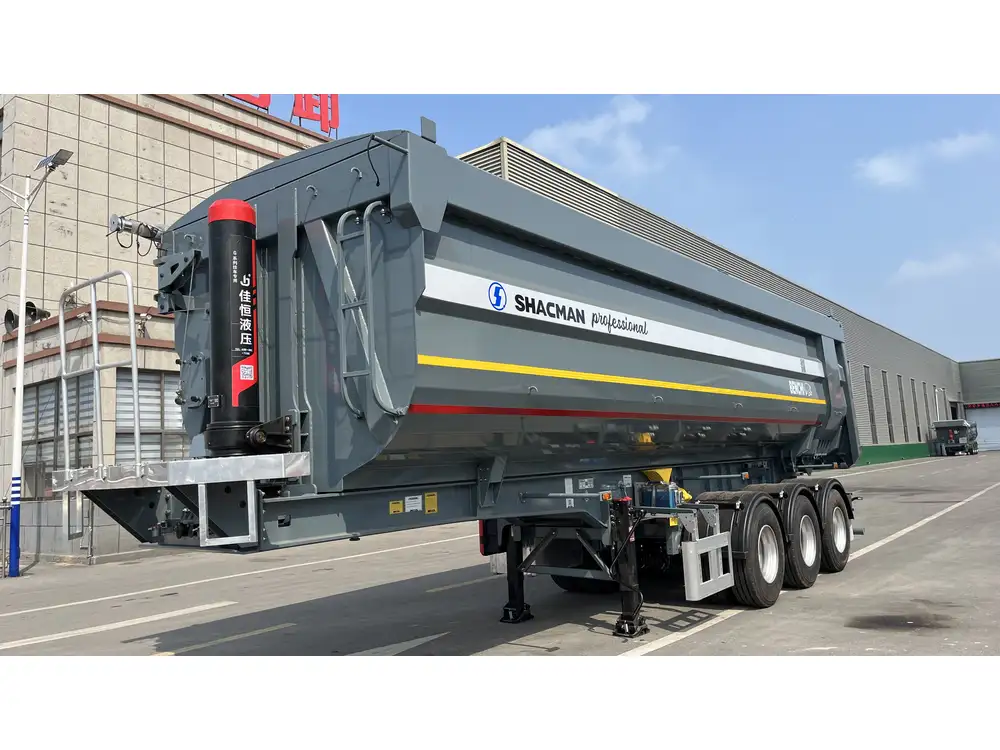
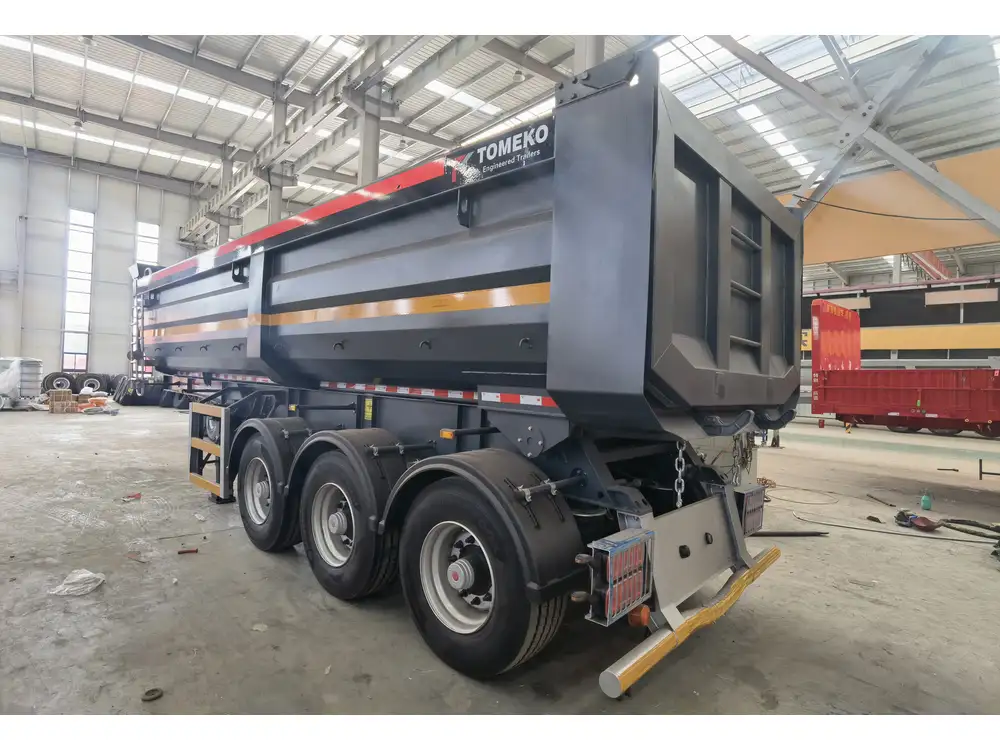
As winter approaches, proper maintenance and care for your semi-trailer is not merely a recommendation—it’s essential for ensuring longevity and efficient performance. One critical aspect of winterization is the careful and systematic emptying of tanks. Improperly handled tanks can allow for damage or degradation over the frigid months. In this article, we will delve into the intricate details of how to empty tanks for winter trailer storage correctly.
Understanding the Importance of Winterizing Your Tanks
Why Proper Tank Maintenance Matters
The looming threat of freezing temperatures can force liquids within your trailer’s tanks to expand, potentially leading to catastrophic damage. Emptying and winterizing your tanks protects them from corrosion, freezing, and damage, ensuring smooth operations when spring arrives.

Risks of Inadequate Winterization
- Corrosion: Leftover fuel or chemicals can cause rust and deterioration.
- Freezing: Liquid expansion can lead to ruptures in the tank.
- Contamination: Residual substances can contaminate future loads.
Key Components Typically Found in Trailers
- Fuel Tanks: Hold diesel or gasoline.
- Water Tanks: Used for potable water or washing systems.
- Waste Tanks (Septic): Store waste products from the trailer.
Step-by-Step Guide to Emptying Fuel Tanks

Assessing Your Fuel Tank
Before embarking on the emptying process, take the time to assess the type of fuel stored. Different fuels may necessitate different procedures or precautions.
Table: Fuel Types and Their Properties
| Fuel Type | Flash Point | Common Uses |
|---|---|---|
| Diesel | 126°F – 204°F | Heavy-duty vehicles |
| Gasoline | Light-duty vehicles | |
| Biofuels | Varies | Sustainable fuel options |
Essential Tools and Materials
- Fuel Pump: Capable of removing liquid from deeper compartments.
- Containers: Approved containment to hold the removed fuel.
- Personal Protective Equipment (PPE): Safety goggles, gloves, and protective clothing.

Step 1: Prepare the Area
Ensure you have sufficient space and ventilation. The area should be devoid of ignition sources since fuel vapors can be highly flammable.
Step 2: Safety First!
Always wear appropriate PPE. This precaution protects against spills and vapors that can be harmful to health.
Step 3: Engage the Pump
- Connect your fuel pump to the tank outlet.
- Position the receiving container securely to avoid spillage.
- Begin pumping until the tank is thoroughly evacuated.

Step 4: Dispose of Remaining Fuel
Consider the environmental impact of residual fuel. Check local regulations regarding fuel disposal or recycling.
Step-by-Step Guide to Emptying Water Tanks
Assessing Water Tank Condition
Evaluate the water tank’s material and condition. Metal tanks might require different handling than plastic ones.

Tools and Materials for Water Tanks
- Siphon Pump: For easy drainage of water without mechanical electricity.
- Clean Containers: To temporarily hold flowing water.
- Biological Treatment: If water was previously contaminated.
Step 1: Shutdown Procedures
Properly turn off any heating systems connected to the water supply to prevent hazards.
Step 2: Begin Siphoning
- Attach the siphon pump’s hose to the water intake.
- Lower the opposing end into a clean container while ensuring proper gravitational flow.
- Continuously monitor the tank to prevent air intake, which can disrupt the siphon process.

Step 3: Clean and Inspect
After emptying, ensure you clean the interior of the tank. Use a biodegradable cleaner to avoid introducing hazardous substances into the environment.
Step 4: Protect the Tank
Consider using tank covers or antifreeze solutions that are safe for potable water systems if the tank remains outdoors.
Managing Waste Tanks

Identifying The Waste Tank Contents
Understanding the contents of waste tanks is crucial, as they may contain hazardous materials.
Tools and Materials for Waste Tanks
- Comprehensive Waste Disposal Kit: For handling waste safely.
- Suction Pump: Specifically designed for septic waste.
- Chemical Deodorizers: To neutralize odors during the emptying process.
Step 1: Initial Checks
Perform a visual inspection for leaks or structural integrity before starting the emptying process.

Step 2: Use a Suction Pump
- Insert the suction pump into the tank following the manufacturer’s guidelines.
- Pump out the waste carefully, paying attention to surrounding areas for any spills.
Step 3: Dispose of Waste Responsibly
Engage with a licensed waste disposal service that complies with local regulations to prevent environmental damage.
Common Mistakes to Avoid

Ignoring Manufacturer Guides
Many trailers have specific guidelines for tank maintenance. Adhere strictly to these recommendations, as they improve efficiency and prevent damage.
Fixed Mindset on Frequency
Recognize that the frequency of winterization depends on geographical locations. If you reside in areas with mild winters, the procedure may not need to execute annually.
Neglecting Inspection
After emptying tanks, perform a thorough inspection. Look for signs of corrosion, cracks, or damages that may require immediate attention.

Conclusion: Wrapping Up Your Winter Trailer Storage
Successfully emptying tanks for winter trailer storage is not just a precautionary measure; it is a strategy to maintain the operational integrity of your equipment. Keeping your tanks free of residues and ensuring they’re properly maintained extends their life and optimizes their function.
For further information or professional assistance, don’t hesitate to contact our expert team, who can guide you through necessary maintenance procedures tailored to your trailer’s specific needs. Investing diligence in these measures now can yield substantial dividends in avoiding costly repairs and ensuring your trailer’s readiness when the winter thaw arrives.
By adhering to this guide, users seeking to understand how to empty tanks for winter trailer storage will find comprehensive, actionable advice that addresses their concerns directly. Engage with the seasonal requirements that keep your semi-trailer in prime condition.


