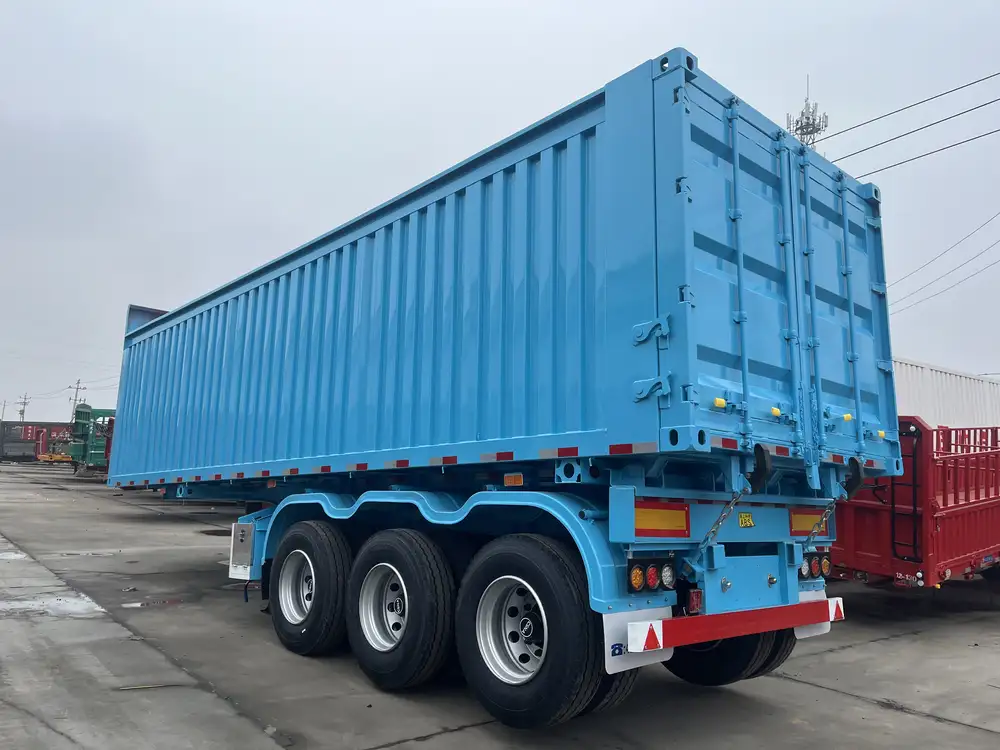
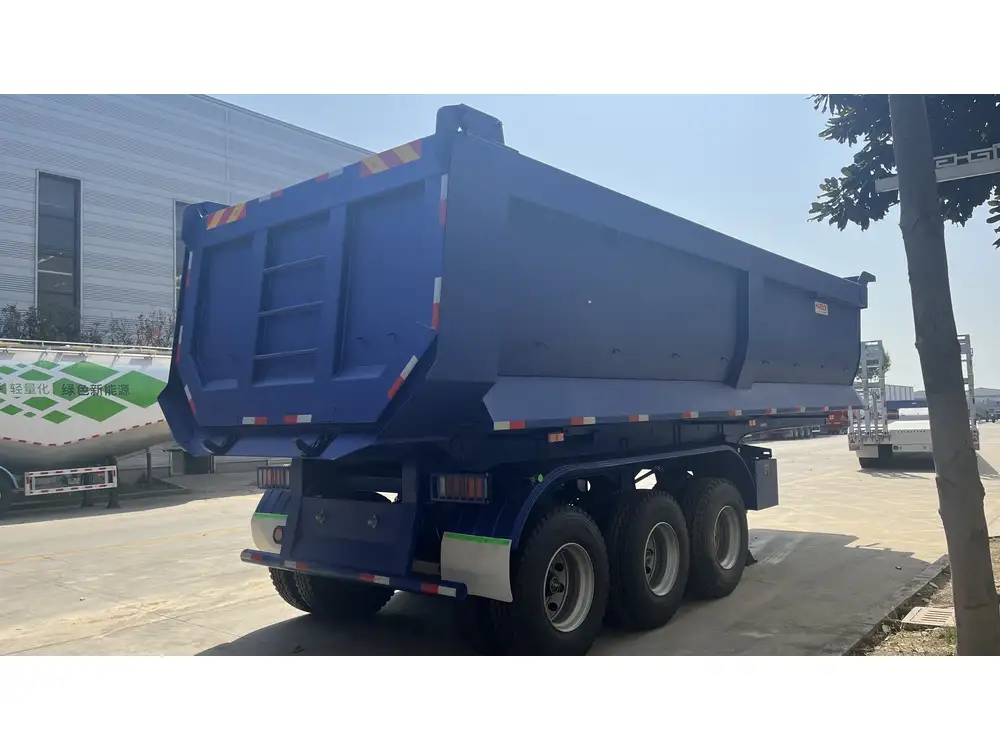
When it comes to operating a Mophorn dump trailer efficiently, the motor’s wiring is crucial for optimal performance. Proper wiring not only ensures safety but also maximizes functionality. In this guide, we provide a comprehensive breakdown of the wiring process, ensuring you have all the necessary information to wire your dump trailer motor successfully.
Table of Contents
- Understanding the Components
- Safety Precautions
- Tools Required for Wiring
- Wiring Diagrams for Mophorn Dump Trailers
- Step-by-Step Wiring Process
- 5.1 Preparing the Wires
- 5.2 Connecting the Battery
- 5.3 Attaching the Switch
- 5.4 Final Motor Connections
- Testing the Wiring
- Troubleshooting Common Issues
- Conclusion
1. Understanding the Components
Before embarking on the wiring process, it’s essential to become familiar with the components involved. A Mophorn dump trailer typically includes:
- Dump Trailer Motor: The powerhouse behind the hydraulic lift.
- Battery: Supplies the necessary power.
- Control Switch: Regulates the function of the motor.
- Wiring Harness: The network of wires that connects all components.
- Hydraulic System: Responsible for lifting and lowering the trailer.
Having a solid understanding of each component will streamline the wiring process.

2. Safety Precautions
Safety should be the top priority when dealing with electrical components. Adhere to the following precautions:
- Always disconnect the battery before working on electrical systems to prevent shock or short circuits.
- Wear insulated gloves and safety goggles to protect yourself from accidental electrical discharge.
- Work in a well-ventilated area to avoid inhaling potential fumes from electrical components.
- Ensure that your work area is dry to minimize the risk of electrical hazards.
3. Tools Required for Wiring
Success in wiring your Mophorn dump trailer motor hinges on having the right tools. Here’s a checklist:
- Wire Strippers
- Electrical Tape
- Soldering Iron (for better connections)
- Heat Shrink Tubing
- Multimeter for testing connections
- Pliers
- Screwdriver set
Having these tools on hand will save time and ensure a professional finish.
4. Wiring Diagrams for Mophorn Dump Trailers
A wiring diagram is essential for helping visualize the connections needed for the motor, battery, and switch. Below is a simplified representation of a typical wiring schematic for a Mophorn dump trailer:
[ Battery ] --> [ Switch ] --> [ Motor ]
         \______________/
This diagram illustrates how power is routed from the battery to the switch and then to the motor, enabling the lift mechanism to function.

5. Step-by-Step Wiring Process
With the components identified, safety precautions understood, and tools gathered, it’s time to dive into the wiring process.
5.1 Preparing the Wires
- Measure Wire Lengths: Measure and cut wires to the appropriate lengths between the battery, switch, and motor.
- Strip Wire Ends: Using wire strippers, strip about ¾ inch of insulation from each end of the wires to prepare for connections.
- Organize Wires: Keep wires organized to avoid confusion during installation, grouping them by function (positive and negative).
5.2 Connecting the Battery
- Identify the Battery Terminals: Locate the positive (+) and negative (-) terminals on the battery.
- Connect the Positive Wire: Attach one end of the red wire to the positive terminal of the battery. Secure it firmly.
- Connect the Negative Wire: Attach the other end of the black wire to the negative terminal. Again, ensure a secure connection to avoid vibrations.

5.3 Attaching the Switch
- Locate the Control Switch: Find a suitable location for the control switch; typically, it should be accessible while operating the vehicle.
- Connecting Power to the Switch:
- Connect the other end of the red wire (from the battery) to the switch’s input terminal.
- Use electrical tape to secure connections if they are screw-type.
- Connecting the Motor to the Switch:
- Use another wire (usually black) to connect the output terminal of the switch to the motor’s positive input.
5.4 Final Motor Connections
- Connecting the Ground: Attach a wire from the motor’s negative terminal to the battery’s negative terminal. This provides a complete circuit for the motor.
- Double-Check Connections: Ensure all connections are tight and secure to prevent any electrical failures.
- Insulating Exposed Wires: Use electrical tape or heat shrink tubing to cover any exposed wires, ensuring safety from shorts.
6. Testing the Wiring
Once all connections are made:
- Reconnect the Battery: Once everything is in place, carefully reconnect the battery.
- Activate the Switch: Press the control switch to check if the motor operates smoothly.
- Listen for Unusual Noises: Any grinding or unusual sounds might indicate poor wiring or malfunction.

Testing Checklist
| Task | Status | Notes |
|---|---|---|
| Battery connected | ✅ | |
| Switch functionality | ✅ | Check responsiveness |
| Motor operation | ✅ | Listen for sounds |
| Connections secured | ✅ | No exposed wires |
7. Troubleshooting Common Issues
If problems arise during your testing phase, consult the following troubleshooting tips:
- Motor Does Not Run: Check if the battery is charged and verify all wire connections for tightness and proper placement.
- Switch is Unresponsive: Test the switch with a multimeter to ensure it is functioning correctly; replace if faulty.
- Motor Running Slowly: This could indicate insufficient power supply; check battery voltage and wire gauge to ensure they are adequate.
Common Problems and Solutions
| Problem | Cause | Solution |
|---|---|---|
| Motor does not engage | Poor connection | Recheck all connections |
| Switch does not respond | Faulty switch | Replace switch |
| Battery drains excessively | Short circuit | Inspect for exposed wires |

8. Conclusion
Wiring a Mophorn dump trailer motor can initially seem daunting; however, following this detailed guide equips you with the necessary knowledge and hands-on steps to achieve success. By understanding each component, preparing adequately, and adhering to safety protocols, you can ensure your dump trailer operates efficiently and reliably. With routine maintenance and periodic checks, you will extend the lifespan of your wiring and motor, enhancing your overall efficiency in the field. Always remember, when in doubt, consult a professional to ensure safety and reliability in your wiring endeavors.


