Creating a LEGO flatbed trailer can be an exhilarating and enriching experience, allowing builders of all ages to engage in creative play. In this guide, we will delve deep into the process of crafting your own LEGO flatbed trailer, ensuring you possess all the crucial knowledge and techniques necessary to bring your design to life.
Why Build a LEGO Flatbed Trailer?
Building a flatbed trailer in LEGO not only fosters creativity but also serves a practical purpose within your LEGO ecosystem. Whether for transporting goods in a miniature city or enhancing your existing vehicles, a flatbed trailer can add significant depth and functionality to your collection.
Benefits of Constructing Your Own LEGO Flatbed Trailer
- Encourages Creativity: Personalizing your design allows for unique interpretations.
- Enhances Problem-Solving Skills: Overcoming design challenges fosters critical thinking.
- Improves Fine Motor Skills: Manipulating small pieces contributes to dexterity.
- Educational Value: Understanding weight distribution and balance in construction.

Essential Tools and Materials
Before embarking on the construction journey, gather the following tools and materials. Having everything at your fingertips will streamline the process and enhance your building experience.
LEGO Elements Needed
- Base Plate: Choose a suitable size; typically, a 6×12 or 8×16 plate works well.
- Wheels and Axles: Select two pairs of sturdy wheels and the corresponding axles.
- Bricks for the Frame: Use a combination of 1×2, 1×4, and 1×6 bricks, ensuring durability.
- Tiles for the Surface: Flat tiles (1×2, 1×4) for a smooth finish.
- Accessories: Consider incorporating items like toolbox pieces or LEGO vehicle hitches.
Tools for Assembly
- LEGO Brick Separator: For disassembling pieces smoothly.
- Measuring Tools: A ruler may come in handy for precision (if required).
- Work Surface: A clean, spacious area will enhance focus and creativity.

Step-by-Step Instructions on Building a LEGO Flatbed Trailer
Embarking on the construction of your flatbed trailer requires attention to detail, creativity, and a methodical approach. Let’s break down the process into manageable steps.
Step 1: Creating the Base
Begin with the foundation of your trailer, which will determine its overall stability and capacity.
1. Choose Your Base Plate
Utilize a flat base plate (6×12 or 8×16). This will serve as the main platform for your trailer.
2. Constructing the Frame
- Use 1×2 bricks along the edges of the base plate to form the outer frame.
- Add 1×4 bricks in the center for added strength.
- Ensure all joints are firm and flush against the plate.
Step 2: Adding Wheels and Axles
Functionality meets aesthetics as you incorporate wheels for mobility.
1. Positioning the Axles
- Measure and mark equidistant points for the axles, typically near the ends of the trailer for balanced weight distribution.
- Use Technic pieces to create slots for the axles, ensuring they are securely fastened.
2. Attaching the Wheels
- Snap the wheels onto the axles.
- Ensure they spin freely for smooth mobility.
Step 3: Building the Flatbed Surface
This is where the magic happens! Crafting the surface will define the practical uses of your trailer.
1. Laying Tiles
- Place flat tiles (1×2 or 1×4) on the base plate to create a smooth, usable surface.
- Align them meticulously, ensuring there are no gaps.

2. Reinforcing the Structure
- For added durability, reinforce the surface with additional bricks beneath the tiles.
- Consider an alternate color scheme to differentiate functionality.
Step 4: Adding Side Rails (Optional)
Enhancing your trailer’s capacity for transporting items can be done by adding side rails or barriers.
1. Building the Rails
- Use 1×1 bricks or special rail pieces along the edges of the flatbed.
- Ensure they are high enough to keep cargo secure but not obstructive.

2. Accessory Placement
- You can attach small accessory pieces like toolboxes or crates, enhancing realism and design.
Step 5: Hitching Mechanism
Connecting the trailer to a LEGO vehicle requires a solid hitching system.
1. Designing the Hitch
- Use a small Technic piece or a modified brick to create a hitching mechanism at the front.
- Ensure it aligns correctly with your LEGO vehicle for easy connection.
2. Test the Connection
- Attach the trailer to a compatible LEGO truck or vehicle.
- Check for stability and mobility; make adjustments as needed.
Customization Ideas for Your LEGO Flatbed Trailer
Now that your flatbed trailer is assembled, let your creativity take the reins. Here are some customization ideas to consider:
Color Schemes
- Classic Colors: Use traditional colors like red, blue, or black for a realistic touch.
- Unique Patterns: Mix and match colors or use stickers to create patterns.
Functional Add-Ons
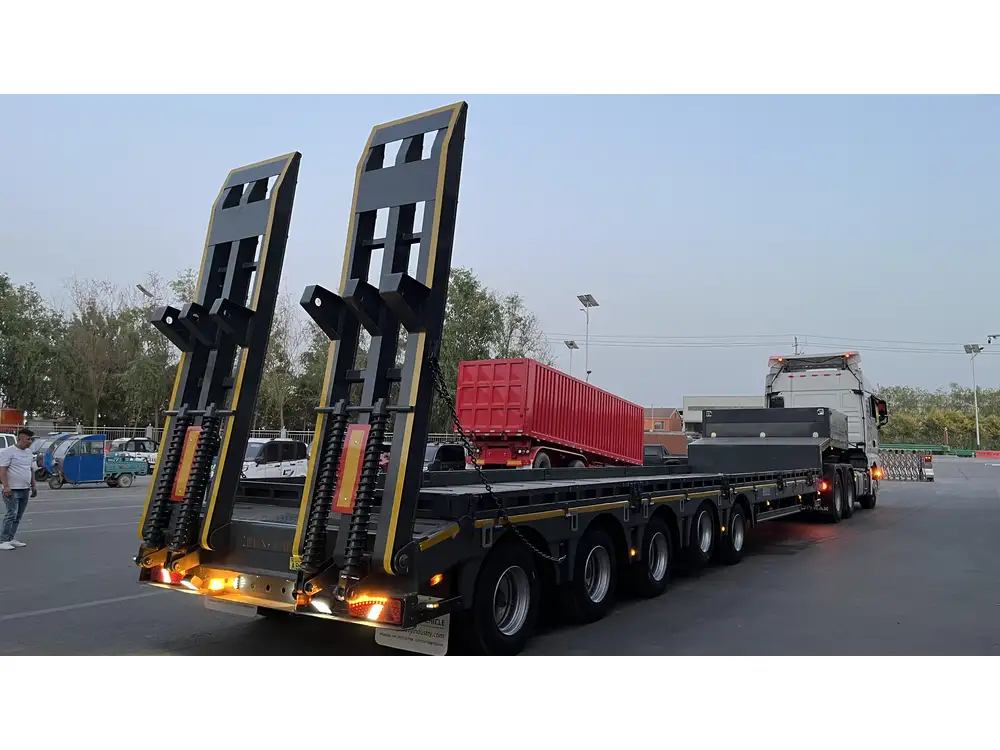
- Loading Ramps: Construct ramps for easy loading and unloading of items.
- Storage Compartments: Create hidden compartments beneath the trailer bed for added functional realism.
Themed Creations
- Construction Theme: Add construction vehicles, barrels, or signs.
- Urban Landscape: Integrate small plants, people, or urban settings for a bustling scene.
- Agricultural Theme: Utilize LEGO crops or farm vehicles for a countryside feel.
Trouble-Free Troubleshooting Tips
Building a flatbed trailer can sometimes lead to challenges. Here, we outline common hurdles and effective solutions.
Stability Issues
If your trailer feels wobbly or unstable, revisit the frame. Adding additional bricks within the foundation can redistribute weight more evenly.
Wheel Misalignment
Should the wheels not spin freely or misalign, double-check their positioning. Ensure they are affixed correctly to the axle without constricting motion.
Design Flaws
Be open to deconstructing and rebuilding if necessary. Adapting and rethinking designs is part of the creative process.
Conclusion: Unleashing Your Creativity
Crafting your LEGO flatbed trailer stands as a testament to innovation and imagination. By following these structured steps and leveraging the variety of customization options available, the possibilities are virtually endless. The blend of creativity, problem-solving, and technical skills not only lends itself to an exciting building experience but also enriches your overall LEGO universe.
Share Your Creation
Once your flatbed trailer is complete, consider sharing your design with the LEGO community. Show off your unique creations on social media platforms or LEGO forums. Engaging with fellow builders can provide inspiration for future projects.
Future Projects
The journey doesn’t end here! Explore new horizons with ideas such as building a full-fledged LEGO transportation fleet or creating an entire industrial site. Each build adds layers to your skills and imagination, continually improving your craftsmanship one brick at a time.
Now, as you set off to build your very own LEGO flatbed trailer, remember to embrace creativity and have fun along the way. Let the bricks guide you to an endless adventure!


