
Building a dump trailer can be an enriching experience, offering a unique combination of utility and innovation that enhances various transport tasks. In this article, we provide detailed, step-by-step guidance that covers everything from planning and materials to construction tips and safety considerations. Our goal is to equip you with the knowledge to create a durable and functional trailer suited for your specific needs.
Understanding the Basics of Dump Trailers
What is a Dump Trailer?
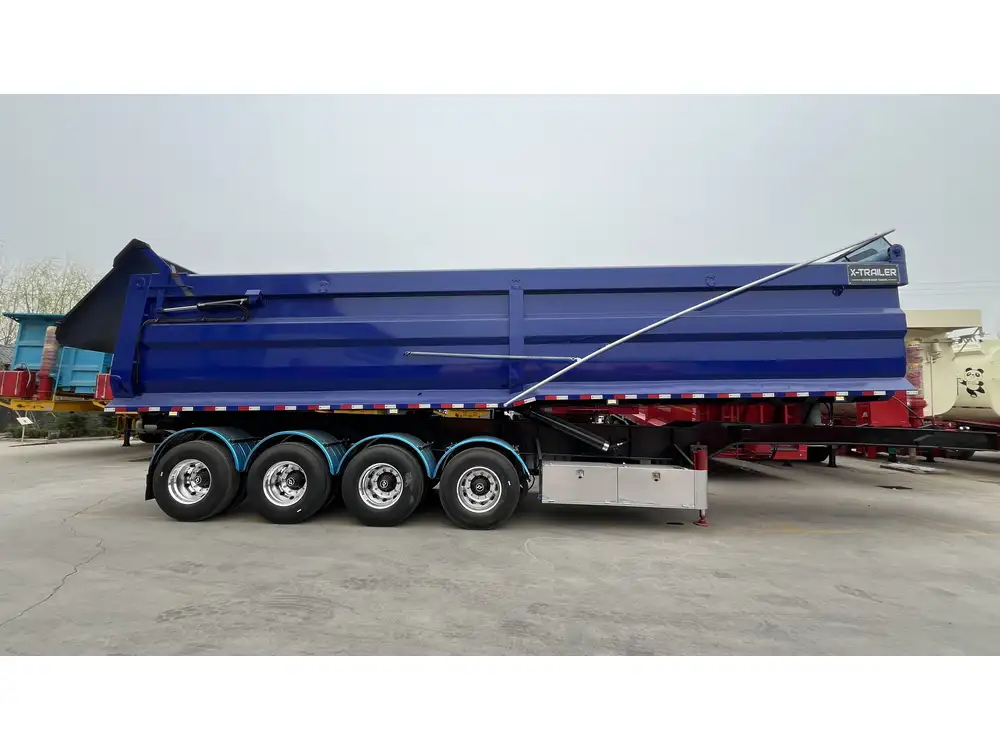
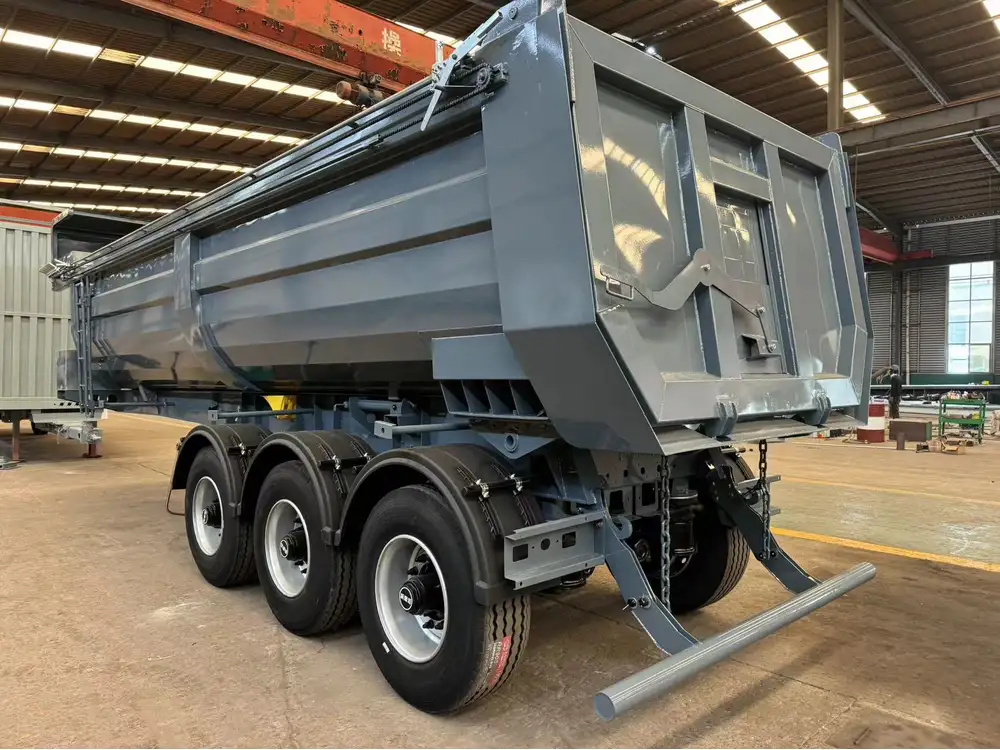
A dump trailer is designed to transport and unload loose materials like gravel, sand, or debris efficiently. They are equipped with a hydraulic lift system that allows the bed to tilt, facilitating the quick dumping of loads without the need for manual labor.

Advantages of Having a Dump Trailer
- Efficiency: Streamlines the transportation and unloading of materials.
- Versatility: Suitable for various applications including landscaping, construction, and agriculture.
- Cost-effective: Building your own can save money compared to buying a commercial model.
Planning Your Dump Trailer
Designing Your Dump Trailer
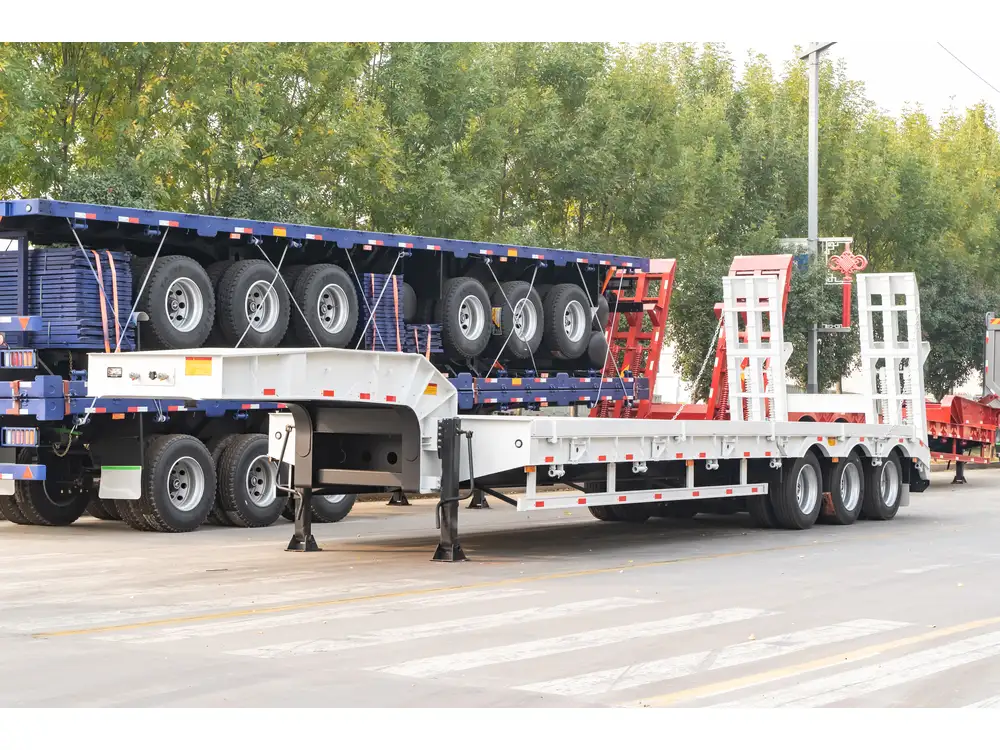
- Decide on Dimensions: Standard sizes are typically 5 to 12 feet in length, with widths of 6 to 8 feet. Determine the size based on your needs.
- Material Selection: Use durable materials such as steel for the frame and aluminum for the body, depending on weight considerations and budget.
- Choose a Design Style:
- Front loading: Easier to load but may have more restrictions on weight.
- Rear loading: Allows for heavier loads and full accessibility.

Drafting Plans
Creating detailed plans is crucial. Your plans should include:
- A side view
- A top view
- Detailed measurements
- Material list
Consider using software tools or templates to create these designs.
Defining the Weight Capacity
Understand the legal weight limits in your area, as it varies by region. Aim for a design that can handle at least 50% more weight than your anticipated loads to ensure safety.
Materials Needed
| Material | Purpose | Example Specification |
|---|---|---|
| Steel Channel | Frame support | 3″ x 2″ x 1/4″ |
| Steel Plate | Trailer bed | 1/4″ thick plate |
| Hydraulic Cylinder | Lifting mechanism | 5,000 lbs lift capacity |
| Axles | Trailer movement | 5,200 lbs axle, tandem |
| Wheels | Mobility | 15″ to 16″ truck tires |
| Electric System | Controls dump mechanism | 12V wiring kit |

Tools Required
- Welding machine
- Angle grinder
- Hydraulic jack
- Drill
- Safety gear (gloves, goggles)
Step-by-Step Construction
Step 1: Creating the Frame
- Cut Steel Channels: Measure and cut your steel channels according to the dimensions in your plans. Ensure all cuts are clean for better welding results.
- Boast Corner Feeds: Create a rectangular frame shape by using the channel sections. Ensure all corners are squared off.
- Weld the Frame: Take your time to ensure each joint is securely welded and that the frame is level.
Step 2: Installing the Axles
- Measure Center Points: Mark the axle center points on the underside of the frame.
- Attach the Axles: Using brackets, securely attach the axles to the frame. Ensure that the weight distribution aligns with your frame’s design to prevent swaying while towing.
Step 3: Adding the Bed
- Cut the Steel Plate: Cut the steel plate to match the frame. Leave approximately a 2-inch overhang on each side for stability.
- Weld the Plate: Weld the steel plate securely onto the frame.
- Support Beams: Consider adding support beams beneath the bed for additional strength.
Step 4: Hydraulic System Installation
- Locate the Cylinder: Position the hydraulic cylinder at the front of the trailer.
- Attach the Cylinder: Securely mount the cylinder to both the frame and the bed. Double-check that it can provide adequate lift motion upwards.
- Wiring: Connect the hydraulic pump to the electric system, ensuring proper connections and waterproofing.

Step 5: Finishing Touches
- Install the Tailgate: Attach the tailgate using durable hinges. Ensure it opens smoothly.
- Electrical System Setup: Wire the switch for the hydraulic system in a position that allows easy access.
- Paint and Protect: Apply corrosion-resistant paint to all metal surfaces to extend longevity.
Safety Considerations
Operational Safety
- Load Limits: Never exceed the weight capacity determined during your planning.
- Regular Maintenance: Perform routine checks on the hydraulic system and frame integrity.
- Use Safety Gear: Always wear protective equipment when operating the trailer.
Tow Vehicle Compatibility
Verify that your vehicle can handle the additional weight of the dump trailer plus the load. Use a weight distribution hitch if necessary for balance and stability.
Enhancements and Customizations
Adding Accessories
- Sides and Rails: Extensions to the sides can help manage larger loads, preventing spillage.
- Toolboxes: Consider adding a toolbox for storage of tools and accessories.
- LED Lighting: For better visibility during night use, install LED lights.
Custom Paint Job
To personalize your dump trailer, apply a custom paint job that reflects your business or personal style.
Conclusion
Creating a dump trailer from scratch requires careful planning, precise execution, and a thorough understanding of mechanics and safety protocols. With our detailed guide, you’re equipped to embark on this rewarding project that not only serves your specific needs but can also potentially add value to your property or business. From its sturdy frame to its efficient hydraulic system, each element deserves attention to ensure performance and durability in every operation. Happy building!

