Introduction to Wireless Remote Systems for Dump Trailers
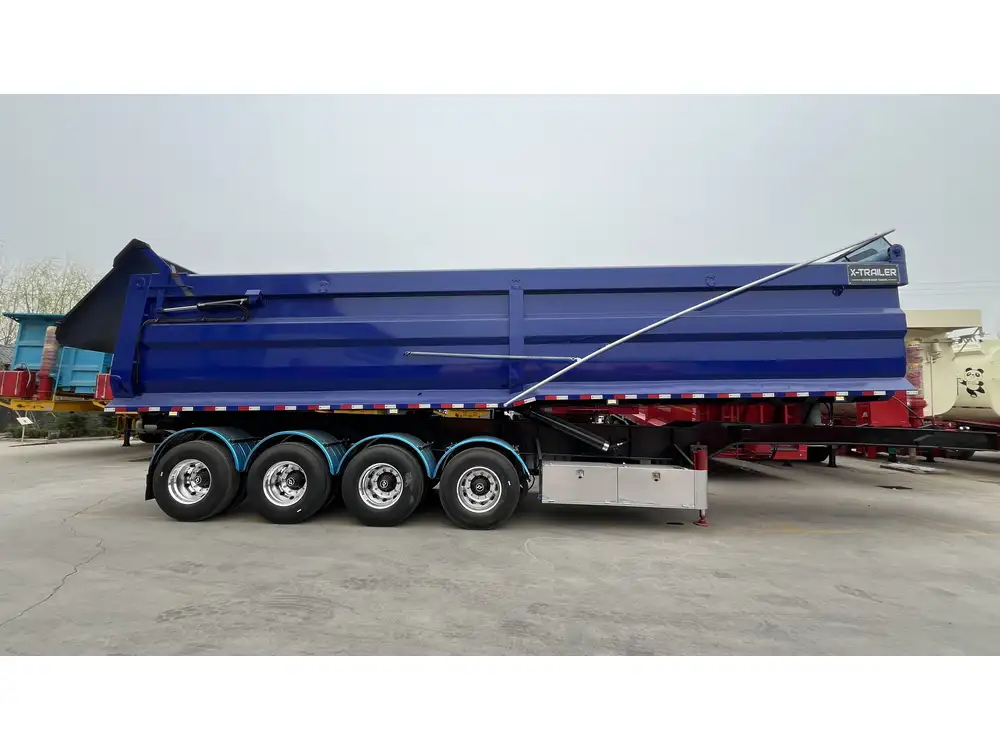
In the modern world of trucking and construction, the efficiency of operations can be significantly enhanced with the use of advanced technology. One such advancement is the wireless remote system for dump trailers. This technology allows operators to control the operations of a trailer from a distance, improving convenience and safety during loading and unloading processes. This guide delves deep into the process of installing a wireless remote on a dump trailer, ensuring that both novice and experienced users can understand and execute the installation seamlessly.
Understanding the Components of a Wireless Remote System
Before diving into the installation process, it’s crucial to understand the components that comprise a typical wireless remote system for dump trailers. Familiarity with each part will make the installation process more intuitive.

Essential Components
| Component | Description |
|---|---|
| Wireless Remote | Handheld device used to control the trailer’s functions. |
| Receiver | Installed on the trailer, it receives signals from the remote. |
| Wiring Harness | Assorted wires needed to connect the receiver to the hydraulic system. |
| Power Supply | Battery or direct power source that powers the receiver. |
| Hydraulic Pump | Essential for lifting and lowering the trailer bed. |
Optional Components
- Toggle Switches: For added manual control.
- LED Indicators: To show the operational status.
- Protective Housing: To shield electronic components from the elements.
Pre-Installation Preparations
Before proceeding with the installation, certain preparations need to be made to ensure a smooth and efficient process.

Tools and Equipment Needed
- Screwdrivers: Phillips and flat-head for assembling components.
- Wrenches: For securing bolts and nuts.
- Wire Strippers: For preparing electrical connections.
- Heat Shrink Tubing: For insulating the connections.
- Multimeter: To test electrical continuity.
- Drill: If mounting the receiver requires new holes.
Safety Precautions
- Disconnect Power: Ensure the trailer is not connected to any power source before you begin installation.
- Protective Gear: Wear gloves and safety glasses.
- Proper Ventilation: If working indoors, ensure good airflow.
Step-by-Step Installation Process

1. Identifying the Receiver Location
The first step involves selecting an appropriate location for the receiver. Ideally, it should be positioned:
- Close to the hydraulic pump for easy wiring connectivity.
- At a height that minimizes exposure to water and debris.
2. Mounting the Receiver
Once the location is identified:
- Use a drill to create mounting holes if necessary.
- Secure the receiver using bolts or screws, ensuring it is tightly fastened.
3. Wiring the Receiver to the Hydraulic Pump

Wiring Steps
- Locate the power terminals on the hydraulic pump.
- Use wire strippers to prepare the ends of the wires from the receiver for connection.
- Connect the positive wire from the receiver to the positive terminal of the pump.
- Connect the negative wire from the receiver to the negative terminal of the pump.
4. Connecting the Control Wires
Interact with the hydraulic system through control wires:
- Identify the control wires for raising and lowering the trailer.
- Connect these wires according to the receiver’s wiring diagram. Ensure proper insulation using heat shrink tubing.
5. Powering the System
For powering the receiver:
- If using a battery, connect it to the receiver using appropriate gauge wires.
- Alternatively, connect directly to the trailer’s electrical system if it is safe to do so.

6. Testing the Installation
After wiring:
- Reconnect the power supply and test the remote functionality.
- Verify that the remote control raises and lowers the trailer bed without issues.
- Use a multimeter to check the electrical connections for continuity.
Troubleshooting Common Issues
Even with precise installation, problems can arise. Below are common issues and their solutions.
Issue: Remote Doesn’t Function
- Check Power Supply: Confirm that the receiver is receiving power.
- Inspect Connections: Ensure all wiring connections are secure and correct.
- Battery Trouble: If using a battery, check if it needs replacement.

Issue: Interference During Operation
- Distance Limitations: Ensure the remote is within the operational range.
- Signal Blockage: Check for physical obstructions between the remote and receiver.
Issue: Inconsistent Response from Receiver
- Wiring Check: Inspect all wires for damage or poor connections.
- Receiver Malfunction: Assess if the receiver is functioning properly and consider replacement.
Maintaining Your Wireless Remote System
Routine maintenance is key to ensuring the longevity and functionality of your wireless remote system.

Maintenance Tips
- Regular Inspections: Check connections and wires for wear and corrosion regularly.
- Clean Components: Remove dirt and debris from the receiver and remote to prevent malfunctions.
- Battery Checks: Monitor the battery level (if applicable) and replace it as needed.
Enhancing the Efficiency of Your Dump Trailer Operations
Incorporating a wireless remote not only adds convenience but can also enhance operational efficiency. Here are some strategies for maximizing the benefits:
Training Operatives
- Ensure all operators are trained on how to efficiently use the wireless remote.
- Conduct drills to familiarize them with operational controls and safety protocols.

Regular System Updates
- Keep the system’s firmware up-to-date (if applicable) by following manufacturer guidelines.
- Regularly review and replace outdated components to ensure optimal performance.
Feedback Loop
- Establish a feedback mechanism where operators can report issues or suggest improvements based on their hands-on experience.
Conclusion
Installing a wireless remote system on a dump trailer can significantly improve the operational efficiency and convenience of trailer management. By following the detailed steps outlined in this guide, you can confidently set up a system that not only offers ease of use but also fosters better safety management during loading and unloading tasks. Consistent maintenance and operator training further contribute to maximizing the return on investment, ensuring that your dump trailer remains a pivotal asset in your operations.
Choosing the right components, staying informed about maintenance practices, and being aware of potential troubleshooting scenarios equip you with the knowledge to handle any challenges that may arise, securing an optimal performance from your wireless remote installation.


