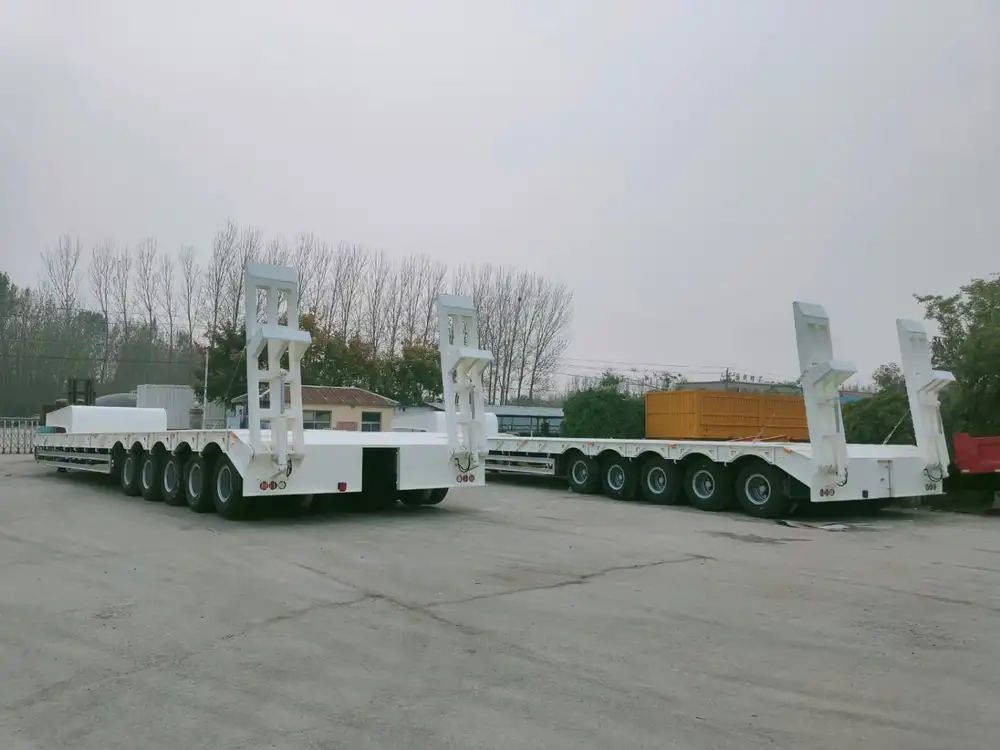
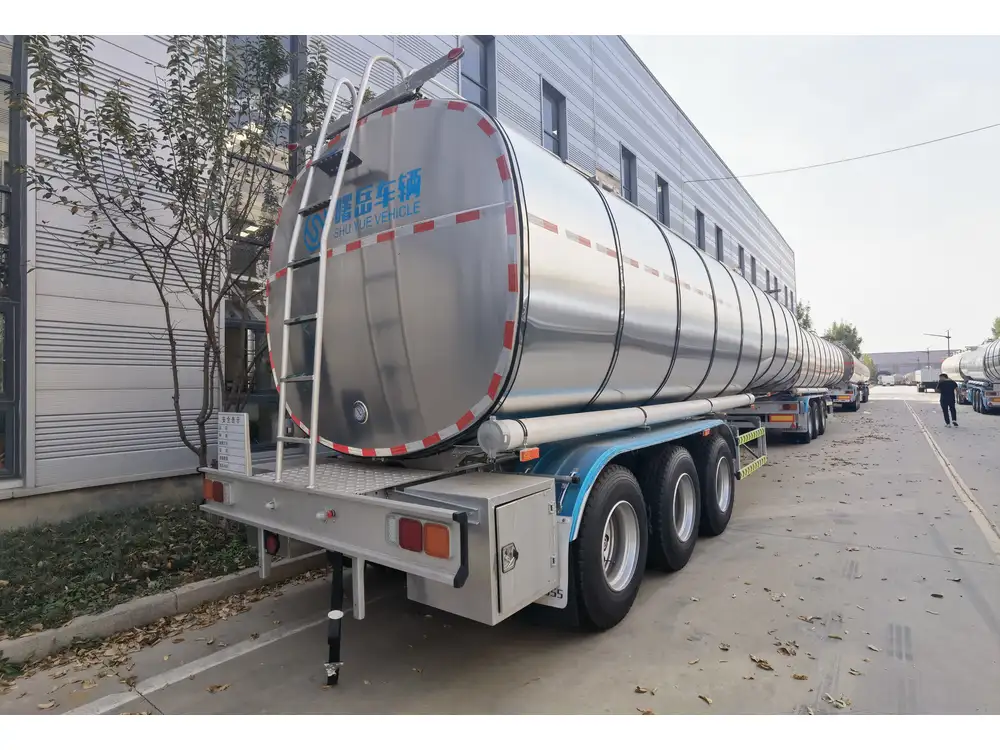
Changing the shocks on a semi-trailer isn’t just an exercise in maintenance; it’s an essential aspect of preserving the integrity, safety, and performance of your trailer. For a 2015 utility semi-trailer, understanding the process, tools, and techniques can save you time and ensure a smooth ride. This guide demystifies the procedure and provides valuable insights to assist you.
Table of Contents
- Understanding Shock Absorbers
- Signs of Worn Shocks
- Tools Required for Shock Replacement
- Step-by-Step Procedure for Changing Shocks
- 4.1. Preparation
- 4.2. Lifting the Trailer
- 4.3. Removing Old Shocks
- 4.4. Installing New Shocks
- Tips for Maintenance
- Conclusion
1. Understanding Shock Absorbers
Shock absorbers are vital components in the suspension system of your semi-trailer. They serve to dampen the impact of road irregularities, enhancing ride stability and providing better control during transit. For a 2015 utility semi-trailer, the shock absorbers significantly influence load stability and vehicle handling.

Types of Shock Absorbers
Understanding the different types of shock absorbers can help you choose the right replacement:
- Hydraulic Shock Absorbers: These employ oil to absorb shocks and are common in utility trailers.
- Gas-Charged Shock Absorbers: These contain gas for consistent performance over a broader range of temperatures.
- Adjustable Shocks: Allow for user adjustment based on load and driving conditions, providing versatility.
2. Signs of Worn Shocks
Recognizing the signs that indicate your shock absorbers may need replacing is crucial for maintaining safety and efficiency:
- Uneven Tire Wear: If your tires show uneven wear patterns, worn shocks could be the culprit.
- Bouncing or Excessive Sway: Noticeable swaying while driving, especially around corners, suggests inadequate shock performance.
- Fluid Leaks: Pooling fluid around the shock absorber is a clear sign that it’s failing.
- Nose Diving: Excessive front-end dipping during braking indicates insufficient resistance from the shocks.
3. Tools Required for Shock Replacement
Before diving into the replacement process, ensure you have the following tools at your disposal:
| Tool | Function |
|---|---|
| Socket Set | To remove bolts and mounting hardware |
| Torque Wrench | Ensures bolts are tightened to manufacturer specifications |
| Jack and Jack Stands | Lifts the trailer safely for access |
| Pry Bar | Helps remove any stubborn old shocks |
| Clean Rags | For wiping down any fluid spills |
| Replacement Shocks | Ensure they match your trailer specifications |

4. Step-by-Step Procedure for Changing Shocks
4.1. Preparation
Start by gathering your tools and ensuring you’re in a safe and well-lit workspace. It’s beneficial to consult your trailer’s manual for specific instructions and specifications regarding your model.
- Safety First: Always wear protective gloves and goggles.
- Read the Manufacturer Guidelines: Familiarize yourself with specific recommendations regarding shock absorber types and torque specifications.
4.2. Lifting the Trailer
Lifting the semi-trailer safely is paramount. Follow these steps:
- Position the Trailer: Make sure it’s on a level surface.
- Use a Jack: Locate the designated lift points, typically near the axle. Raise the semi-trailer until the wheels are off the ground.
- Secure with Jack Stands: Place jack stands under the frame to ensure stability while you work.

4.3. Removing Old Shocks
Once safely elevated, focus on removing the old shock absorbers:
- Identify Mounting Points: Generally, shocks will have a bolt on the bottom and one on the top.
- Loosen Bolts: Using a socket wrench, carefully loosen and remove the bolts attaching the shock to the trailer.
- Take Out the Shock: If the shock is stuck, gently use a pry bar to dislodge it while ensuring not to damage surrounding components.
- Inspect Other Components: Take a moment to check for any rust or wear on surrounding parts during this process.
4.4. Installing New Shocks
With the old shocks out, it’s time to install the new ones:
- Align New Shock: Position the new shock absorber into place, aligning it with the existing mounting holes.
- Secure Bolts: Insert the mounting bolts from the top and bottom, hand-tightening first to ensure proper alignment.
- Torque to Specifications: Using a torque wrench, tighten the bolts according to the manufacturer’s specifications to prevent future failures.
- double-check Alignment: Ensure the shocks are installed straight and securely fastened.
5. Tips for Maintenance
After replacing the shocks, keeping them well-maintained is key for longevity and performance:
- Regular Inspections: Periodically check for leaks or signs of wear, especially before long hauls.
- Cleaning: Wipe down shocks and surrounding areas to prevent dirt and grime buildup.
- Proper Loading Techniques: Ensure loads are evenly distributed to reduce stress on the suspension system.
- Replacement Schedule: Follow the manufacturer’s recommendations for replacement intervals based on usage.

6. Conclusion
Changing the shocks on a 2015 utility semi-trailer is an essential maintenance task that can significantly influence the performance and safety of your trailer. By following this comprehensive guide, you ensure that you’re equipped with the knowledge and steps necessary to effectively tackle this task. Regular maintenance and timely replacements will safeguard your investment and ensure a smoother, safer ride for years to come.
Being diligent about your trailer’s suspension components not only enhances your operational efficiency but also pays dividends in safety and longevity. Your semi-trailer is your business partner on the road, and treating it well will yield benefits far beyond the workshop.


