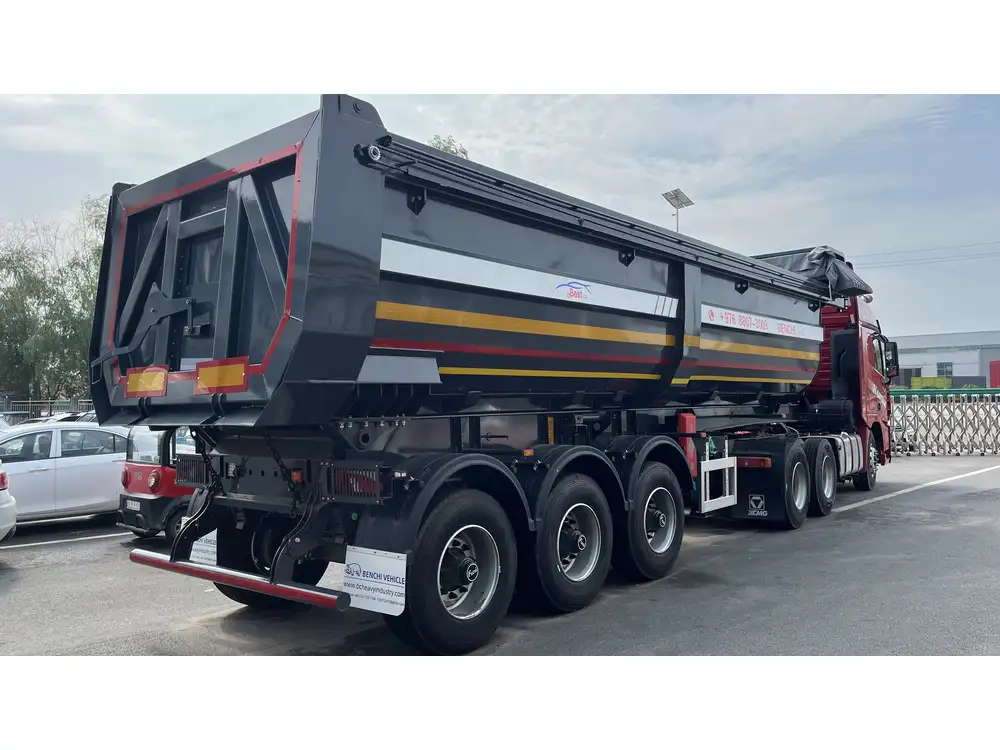
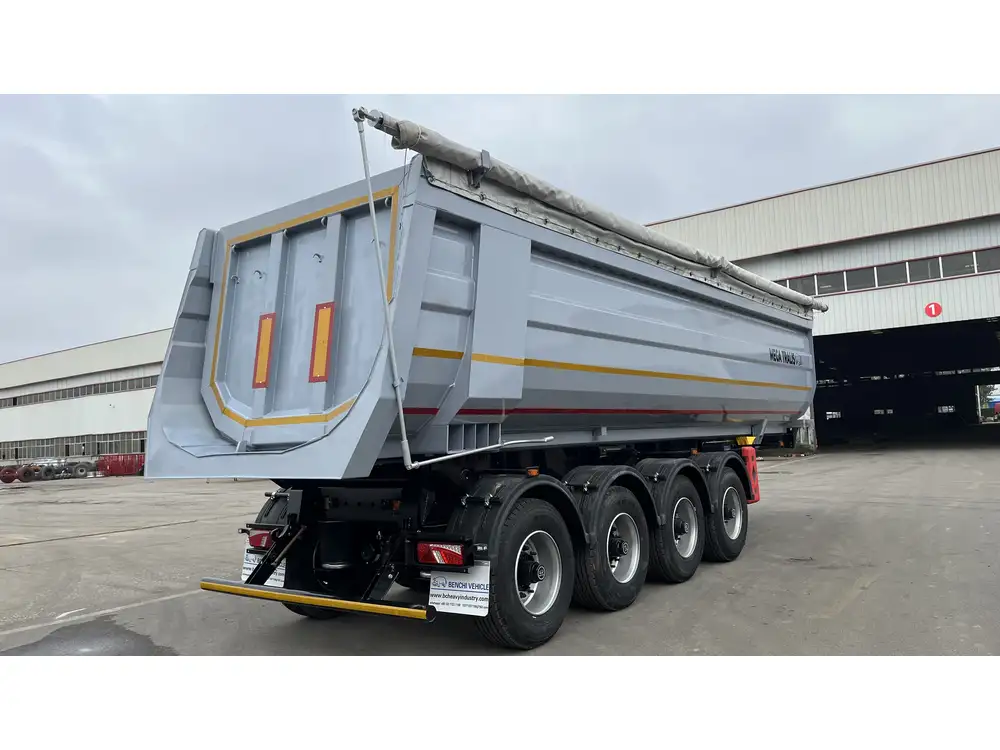
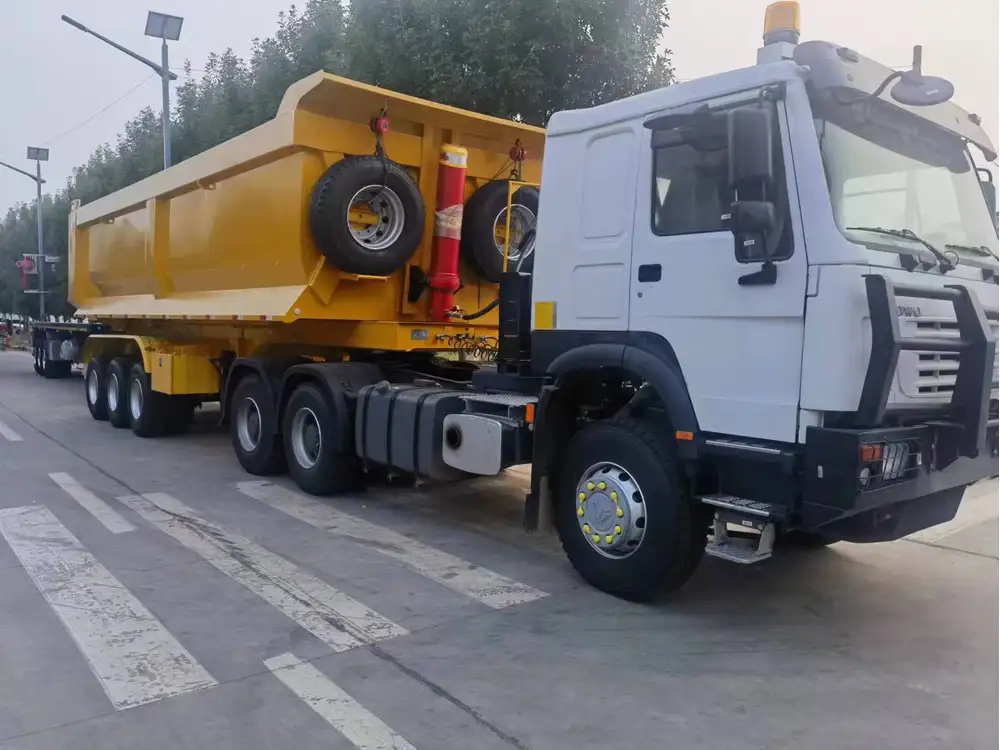
Changing a wheel seal on a semi-trailer is a critical maintenance skill that every fleet manager and truck owner should master. Proper maintenance ensures safety, reduces costs, and enhances the longevity of the vehicle. In this detailed guide, we will give you a step-by-step approach to changing a wheel seal, identifying common problems, and providing tips on ensuring optimal performance.
Understanding Wheel Seals: Their Importance and Function
Before we delve into the procedure, it’s essential to grasp what wheel seals are, their functions, and why they’re pivotal in the semi-trailer ecosystem.
| Function of Wheel Seals | Consequences of Seal Failure |
|---|---|
| Prevent the loss of lubricant | Increased friction, leading to wear |
| Stop contaminants from entering | Premature bearing failure |
| Belly content of grease | Increased maintenance costs |
Wheel seals are designed to keep lubricants within the hub while preventing contaminants from penetrating the assembly, hence safeguarding the performance of wheel bearings. A failing wheel seal may lead to grease loss, contamination, and eventual bearing damage.
Signs Indicating the Need for a Wheel Seal Change
Understanding the signs of a failing wheel seal is key to maintaining your semi-trailer. Here are some common indicators:
- Oil or Grease Leakage: Visible leaks on the tire or hub area can indicate a seal failure.
- Increased Heat: An unusual increase in hub temperature may suggest insufficient lubrication.
- Noise: Grinding or humming noises while driving could be a sign of bearing issues stemming from seal failures.
- Vibration: Excessive vibrations can also be a distress signal from your trailer’s wheel assembly.
Recognizing these signs early can save you from further, more expensive mechanical problems.

Tools and Materials Required for Changing a Wheel Seal
Before you initiate the seal changing process, having the right tools and materials is crucial for an efficient and safe operation. Here’s a summarized table of necessary items:
| Tools | Materials |
|---|---|
| Jack and jack stands | New wheel seal |
| Socket wrench set | Bearing grease |
| Hammer | Clean rags or paper towels |
| Pliers | Torque wrench |
| Seal puller (if available) | Safety gloves |
| Dust cap (if needed) | Brake cleaner (optional) |
Step-by-Step Guide to Change a Wheel Seal
Step 1: Prepare the Semi-Trailer
- Parking: Ensure that your semi-trailer is parked on a level surface.
- Safety: Engage the parking brake and place wheel chocks on the opposite side of the wheel being serviced.
- Lift the Trailer: Utilize a hydraulic jack to lift the semi-trailer. Secure it with jack stands.

Step 2: Remove the Wheel
- Loosen Lug Nuts: Before lifting, slightly loosen the lug nuts using the socket wrench.
- Detach Wheel: After lifting, fully unwind and remove the lug nuts. Carefully pull the wheel away to expose the hub.
Step 3: Access the Wheel Hub
- Remove the Dust Cap: If your semi-trailer has a dust cap, gently pry it off using a flathead screwdriver.
- Remove the Cotter Pin: Locate the cotter pin securing the axle nut. Use pliers to remove it.
- Detach Axle Nut: Use a socket wrench to remove the axle nut. Be cautious, as this can be tight.
Step 4: Extract the Old Seal
- Remove the Hub: Carefully pull the hub off. Ensure the bearings come out with it.
- Inspect the Bearings: Check the bearings for signs of wear. If they need changing, now is the time.
- Seal Removal: Use a seal puller or a flat tool to pry out the old wheel seal from the hub’s outer edge.

Step 5: Clean and Inspect
- Clean the Hub Area: Thoroughly clean the hub area with brake cleaner and clean rags; remove any debris or old grease.
- Inspect for Damage: Check the hub, axle, and bearings for cracks or wear.
Step 6: Install the New Seal
- Lubricate the New Seal: Apply a thin layer of bearing grease to the new seal to facilitate easy installation.
- Insert the Seal: Carefully place the new seal into the hub, ensuring it’s seated evenly. A gentle but firm tap with a hammer may be needed. Avoid excessive force to prevent deforming the seal.
Step 7: Reassemble the Wheel Hub
- Reattach the Bearings: If bearings were removed, apply grease and properly place them back.
- Secure the Axle Nut: Reinstall the axle nut and tighten it to the manufacturer’s specifications using a torque wrench.
- Insert Cotter Pin: Use pliers to insert and bend the cotter pin to secure the nut.

Step 8: Reattach the Wheel and Final Checks
- Reattach the Wheel: Place the wheel back on the hub and secure it with the lug nuts. Tighten them in a star pattern to ensure even pressure.
- Dust Cap Replacement: If removed, reinstall the dust cap.
- Lower the Trailer: Safely lower the trailer and remove the jack stands.
Step 9: Final Inspection
Before taking the semi-trailer back on the road:
- Check Alignment: Ensure that the wheel is seated correctly.
- Tightness: Confirm all bolts and nuts are secure.
- Fluid Level: If applicable, check the lubrication levels once the trailer is on the ground.
Frequently Asked Questions (FAQs)
How Often Should Wheel Seals Be Replaced?
- Proper maintenance intervals depend on usage. Regular checks every 10,000 miles are recommended.
What Are the Risks of Ignoring a Bad Wheel Seal?
- Ignoring a faulty seal can lead to severe damage to wheel bearings, resulting in higher repair costs and potential accidents.
Can I Replace Wheel Seals Myself?
- Yes, with a basic understanding of tools and mechanics, replacing wheel seals can be a manageable task.
What Should I Do if I Encounter Problems During Replacement?
- If unexpected issues arise, consult a professional mechanic for assistance to avoid mistakes.

Conclusion: The Importance of Regular Maintenance
Changing the wheel seal on a semi-trailer may seem daunting, but with the right tools, preparation, and methodology, it is a manageable task. Regular maintenance, including the vigilance to replace wheel seals at appropriate intervals, ensures your semi-trailer operates efficiently and safely.
Remember, addressing minor issues before they escalate can save you substantial time and money. Enhanced longevity and road safety are invaluable benefits of diligent upkeep, making you and your fleet more reliable in the transportation industry.
By following this comprehensive guide, you can ensure the optimal functioning of your semi-trailer, enhancing its performance on the road while ensuring safety for yourself and others.


