
In the world of heavy equipment and transportation, a dump trailer serves as an indispensable tool for manufacturers, construction crews, and landscapers alike. The versatility of dump trailers allows for the easy transportation and unloading of materials such as gravel, dirt, and debris. Understanding how to effectively plumb a dump trailer is crucial for maximizing its efficiency and lifespan. This detailed guide will walk you through the essential steps, components, and best practices to ensure your dump trailer operates at peak performance.
Understanding Dump Trailer Plumbing
What is Dump Trailer Plumbing?
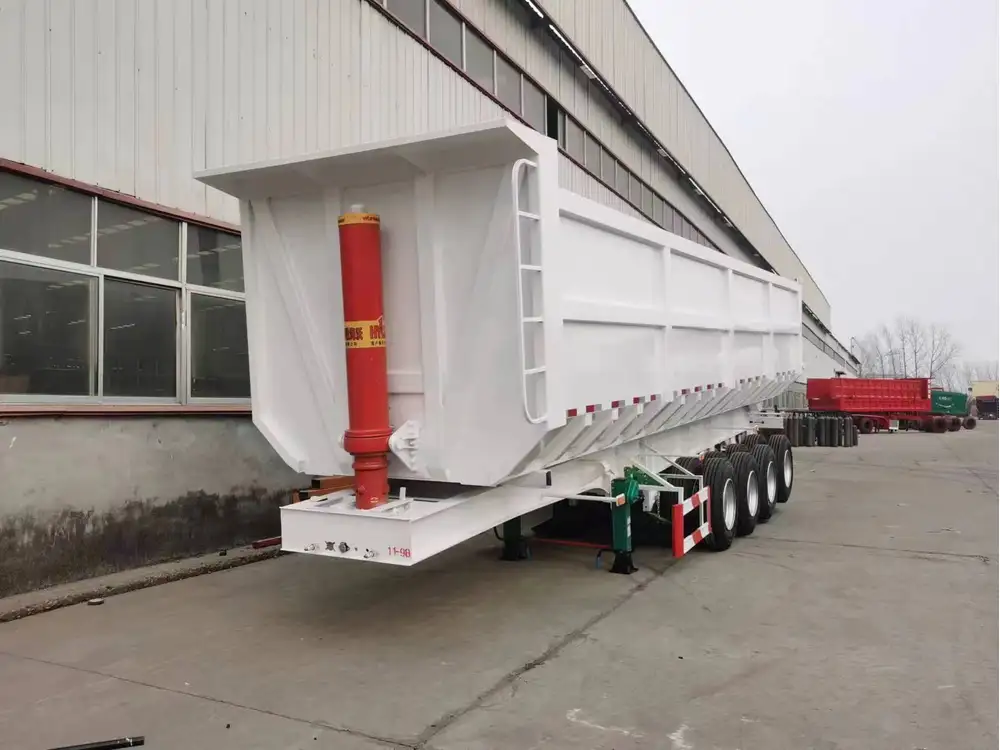
Dump trailer plumbing refers to the hydraulic system that enables the trailer bed to tilt and discharge its contents. Proper plumbing ensures that the hydraulic fluid flows smoothly through the lines and actuates the lift mechanism effectively. This system typically consists of a hydraulic pump, hoses, fittings, and cylinders.

Components of a Hydraulic System
| Component | Function |
|---|---|
| Hydraulic Pump | Generates pressure to move the fluid through the system. |
| Hydraulic Cylinders | Converts fluid pressure into mechanical motion to lift the trailer bed. |
| Hoses | Transport hydraulic fluid between components. |
| Fittings | Connect hoses and ensure a tight seal, preventing leaks. |
| Control Valves | Manage the flow and pressure of the hydraulic fluid. |
Step-by-Step Process to Plumb a Dump Trailer
1. Gather Necessary Tools and Materials
Before diving into the plumbing process, it is essential to gather all the necessary tools and materials. This will streamline the operation and minimize downtime.

Tools:
- Wrenches (adjustable, socket)
- Screwdrivers
- Pliers
- Hydraulic hose cutter
- Torque wrench
Materials:
- Hydraulic pump
- Hydraulic hoses (various lengths)
- Hydraulic fittings (elbows, tees, etc.)
- Hydraulic cylinders
- Hydraulic fluid
2. Select a Suitable Hydraulic Pump
Choosing the right hydraulic pump is crucial for the proper operation of your dump trailer. Look for a pump that matches the required flow rate and pressure specifications for your dump trailer’s hydraulic cylinders.
3. Installing the Hydraulic Pump
Location
The hydraulic pump should be mounted securely on the trailer frame to minimize vibration and potential damage. Find a location that allows easy access for maintenance.
Mounting the Pump
- Secure the pump to the frame using bolts and brackets.
- Ensure the pump is level to avoid excessive wear.
4. Connecting Hydraulic Hoses
The connection of hydraulic hoses is a critical step in the plumbing process. The following guidelines will help you execute this task efficiently:
Hose Selection
Select hoses that are rated for the pressure your hydraulic system will generate. Consider using reinforced hoses for enhanced durability.
Cutting the Hoses
Use a hydraulic hose cutter to ensure clean, straight cuts. This minimizes the risk of leaks.

Connecting Hoses
- Attach the hoses to the hydraulic pump, making sure to match the inlet and outlet ports correctly.
- Use a torque wrench to tighten the fittings to the manufacturer’s specifications to avoid leaks.
5. Installing the Hydraulic Cylinders
Hydraulic cylinders are the workhorses of the dump trailer’s plumbing system, converting hydraulic fluid pressure into motion.
Cylinder Selection
Choose cylinders that can handle the load capacity of your dump trailer. Check the maximum lifting height and dimensions to ensure compatibility.
Mounting the Cylinders
- Position the cylinders at the rear of the trailer.
- Mount securely using bolts and ensure that they are aligned with the pivot points of the trailer bed.
6. Setting Up Control Valves
Control valves enable the operator to manage the flow of hydraulic fluid effectively.
Choosing Control Valves
Select valves that suit your operating needs. Options include manual and electric control valves.

Installation
- Install control valves in an easily accessible location.
- Connect the valves to the hydraulic pump and cylinders using appropriate hoses.
7. Filling the Hydraulic Fluid
Before operating the dump trailer, fill the hydraulic system with the recommended hydraulic fluid.
Fluid Selection
Use the hydraulic fluid that meets or exceeds the manufacturer’s recommendations.
Filling the System
- Open the hydraulic fluid reservoir and pour in the fluid until it reaches the designated level.
- Check for any leaks in the hoses and connections during this process.
8. Testing the System
Before full operation, testing the system ensures that everything functions as intended.
Powering Up the System
- Start the hydraulic pump and activate the control valves.
- Observe the movement of the trailer bed and listen for any irregular sounds, indicating potential issues.
Troubleshooting
- If the trailer does not lift properly, check for leaks or air trapped in the system.
- Inspect hoses and fittings for wear and ensure that fluid levels are adequate.
Maintenance Tips for Optimal Performance
To ensure the longevity of your dump trailer’s plumbing system, regular maintenance is vital. Adhere to the following practices:
Regular Inspections
- Check Hoses and Fittings: Look for any signs of wear, cracking, or leaks.
- Inspect Cylinders: Ensure the cylinders are free from rust and corrosion.
Fluid Replacement
Regularly change the hydraulic fluid based on the manufacturer’s recommendations. Contaminated fluid can damage the system.
Cleaning
Keep the pump and cylinders clean to prevent dirt and debris from entering the hydraulic system, as this can cause clogs.
Seasonal Maintenance
Before peak operating seasons, conduct a thorough inspection and service to avoid any unexpected breakdowns.
Common Problems and Solutions
Problem: Hydraulic Fluid Leaks
Solution: Inspect all hoses and fittings closely for any cracks or loose connections. Replace worn components immediately.
Problem: Slow Operation
Solution: This may indicate low hydraulic fluid levels or trapped air in the system. Bleed the system and refill with the appropriate hydraulic fluid.

Problem: Uneven Lifting
Solution: This issue can arise from damaged hydraulic cylinders. Perform a visual inspection and replace any damaged components as necessary.
Enhancing Your Dump Trailer’s Efficiency
Upgrades to Consider
To further improve the functionality of your dump trailer, consider the following upgrades:
| Upgrade | Benefit |
|---|---|
| Electric Pump | Allows for easier operation without manual effort. |
| Larger Hydraulic Cylinders | Increases lifting capacity and efficiency. |
| Remote Control System | Improves convenience and safety during operation. |

Safety Precautions
Always prioritize safety when operating or maintaining your dump trailer. Utilize safety gear, such as gloves and goggles, and follow operational guidelines diligently.
Conclusion
Mastering the plumbing of a dump trailer is essential for ensuring effective and safe transportation of materials. By following this structured guide, you can maintain and troubleshoot your dump trailer with confidence. Regular inspections and adherence to maintenance practices will enhance your equipment’s lifespan, efficiency, and safety. A well-plumbed dump trailer not only optimizes operation but also supports your business’s productivity and profitability. Invest in quality components, stay vigilant about maintenance, and enjoy the ease and reliability that a properly plumbed dump trailer brings to your operations.

