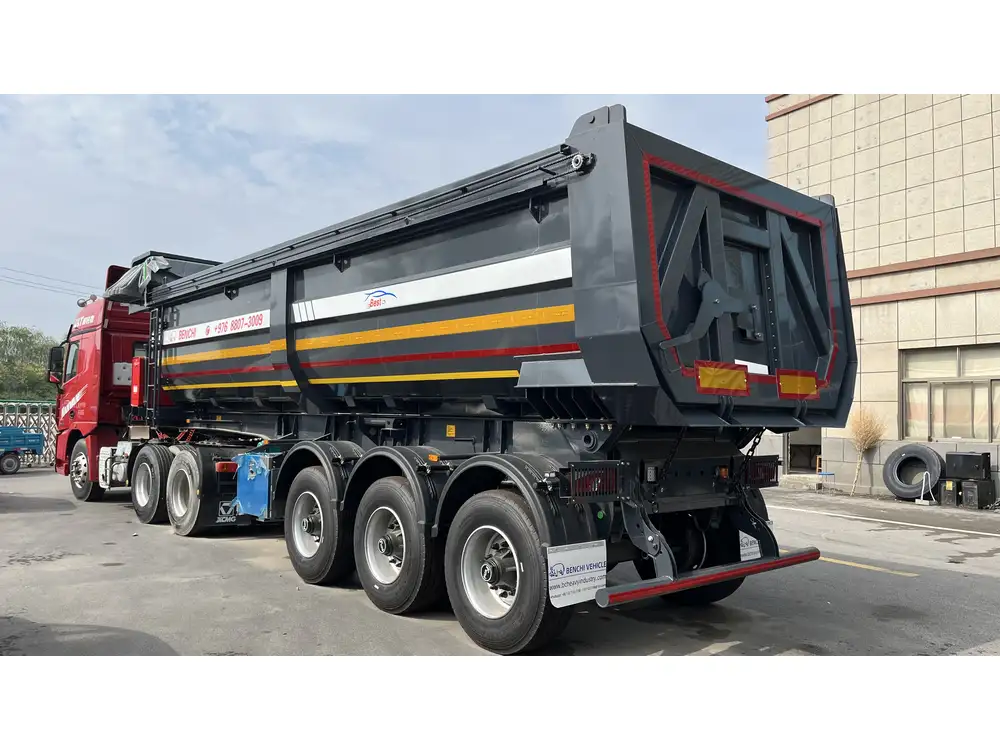
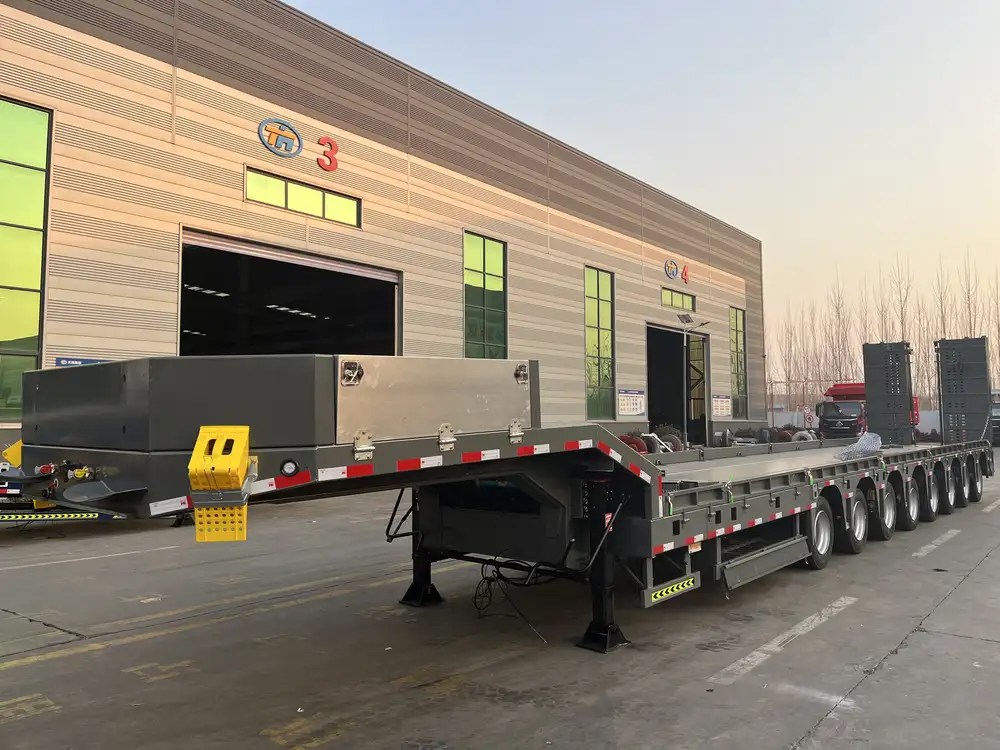
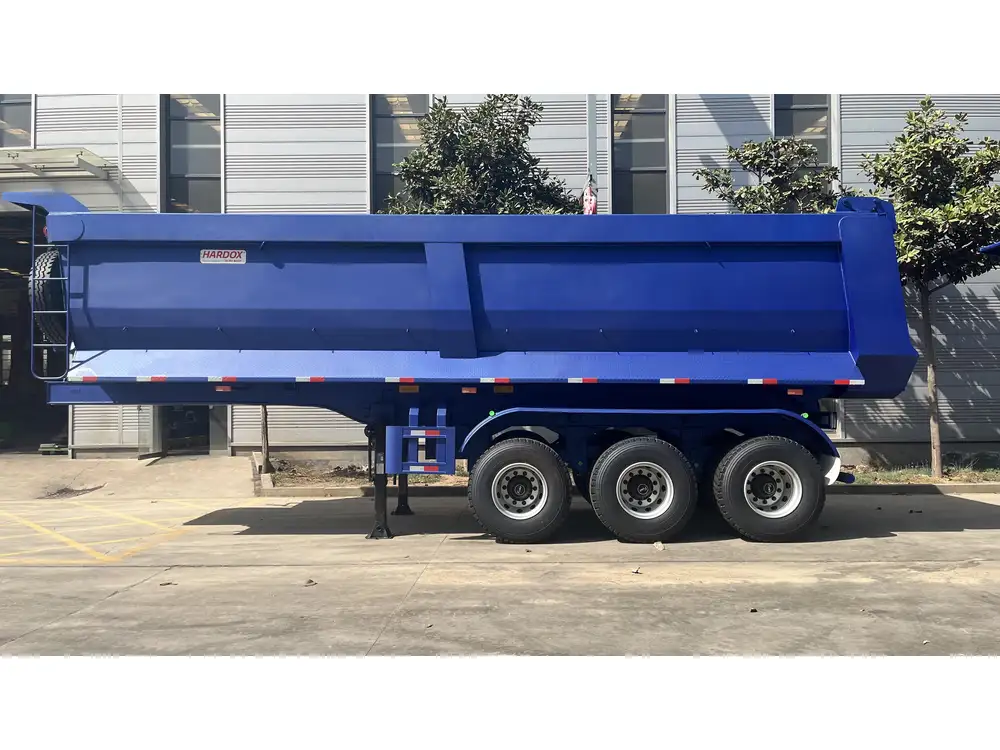
Maintaining your semi-trailer is not just a matter of enhancing longevity; it’s also about ensuring safety on the roads. Among various maintenance tasks, adjusting the brakes is a critical procedure that requires precision and attention to detail. Here, we provide you with a detailed, step-by-step guide to adjust the brakes on a semi-trailer effectively.
Understanding Brake Systems in Semi-Trailers
Before diving into the adjustment procedures, it is essential to familiarize yourself with the different brake types commonly used in semi-trailers:
Air Brakes: These are the most prevalent braking systems in heavy-duty trucks. They utilize compressed air to apply pressure on braking components.
Hydraulic Brakes: These systems use hydraulic fluid to transfer force to the brakes and are often found in lighter vehicles.
Disc and Drum Brakes: Semi-trailers may employ either disc brakes, offering better heat dissipation and performance, or drum brakes, known for their robustness and cost-effectiveness.
Understanding the specific brake system in your semi-trailer will help guide the adjustment process.
Tools Required for Brake Adjustment
Before proceeding, gather the necessary tools and supplies:
| Tool | Purpose |
|---|---|
| Brake adjustment wrench | To adjust the brake slack |
| Torque wrench | To ensure proper tightness |
| Wheel chocks | To prevent movement while adjusting |
| Allen wrenches | For adjusting brake shoes |
| Measuring tool | To verify proper clearance between components |
| Safety goggles | For eye protection during the process |
| Gloves | To protect your hands |

Step-by-Step Procedure to Adjust Brakes
Step 1: Safety Precautions
Safety should always come first when performing any maintenance tasks.
- Park on Level Ground: Ensure your semi-trailer is parked on a level surface. This minimizes the risk of rolling.
- Use Wheel Chocks: Place wheel chocks behind the wheels to prevent movement.
- Activate Hazard Lights: This adds an extra layer of safety for others around you.
Step 2: Inspect Brake Components
Before making any adjustments, inspect the brake components for wear and tear. Look for:
- Brake Shoes: Ensure they are not excessively worn or damaged.
- Drums or Rotors: Check for scoring, warping, or cracks.
- Air Lines and Hoses: Inspect for leaks or abrasions.

Step 3: Measuring Brake Clearance
For Drum Brakes
- Remove the Wheel: Use suitable equipment to remove the wheel effectively.
- Check the Brake Shoe Opening: Use a feeler gauge to measure the clearance between the brake shoes and the drum.
- Adjusting: If the gap exceeds the manufacturer’s specifications, adjustments are necessary.
For Disc Brakes
- Measure the distance between the pads and the rotor. Adjust if necessary to ensure there is no drag when the brakes are not applied.

Step 4: Adjusting the Brake Shoes
- Locate the Adjuster: Drum brakes usually come with a star wheel adjuster. This is often located on the backing plate.
- Turn the Adjuster: Turn the adjuster wheel with a brake adjustment wrench. For most brakes, turning upwards will bring the shoes closer to the drum, while turning downwards will provide more slack.
- Check Clearance Again: After adjustments, measure the clearance once more and repeat if required.
Step 5: Testing the Brake Release Mechanism
Once adjustments are made:
- Engage and Release the Brake: Press the brake pedal multiple times to allow the brakes to seat appropriately. This prepares the system for real-world conditions.
- Recheck the Function: Ensure the brakes release fully after application.
Step 6: Reconstruct the Setup
- Reattach the Wheel: Ensure that the lug nuts are torqued to the manufacturer’s specifications.
- Re-check All Connections: Examine hoses and electrical connections for tightness and correct routing.

Step 7: Road Testing
Before hitting the road, perform a thorough check.
- Perform a Brake Test: Conduct a braking action at low speeds in a safe area to ensure everything operates smoothly.
- Listen for Unusual Sounds: Watch for grinding or screeching noises that could indicate improper adjustment.
Common Issues and Troubleshooting Tips
Uneven Brake Wear
- Cause: Misalignment of brake components or improper adjustment.
- Solution: Inspect the brake assembly and correct alignment. Repeat the adjustment process if necessary.

Brake Fade
- Cause: Overheating due to prolonged use or improper component function.
- Solution: Check for worn brake pads and ensure they are suitable for the load and conditions.
Air Leaks in Air Brakes
- Cause: Frayed hoses or loose connections leading to a drop in pressure.
- Solution: Conduct a thorough inspection of the air lines and replace any damaged components.
Maintenance Best Practices to Enhance Brake Lifespan
- Regular Inspections: Conduct periodic brake checks at least every 10,000 miles or before long hauls.
- Proper Loading: Ensure the semi-trailer is loaded according to guidelines to prevent excessive wear.
- Training Personnel: Ensure that all operators understand the braking system for better handling and adjustments.

Conclusion
Adjusting the brakes on a semi-trailer is a task that, while straightforward, requires diligence and rigorous attention to detail. Regular maintenance helps ensure safety and efficiency on the road. By following this guide, you will not only master the adjustment process but also appreciate the importance of well-functioning brakes in the overall performance of your semi-trailer.
For further queries or specific challenges, don’t hesitate to consult with professional technicians or the manufacturer’s manuals. Keeping your brakes in top condition will ultimately enhance the reliability and safety of your vehicle, making your journeys safer and more efficient.


