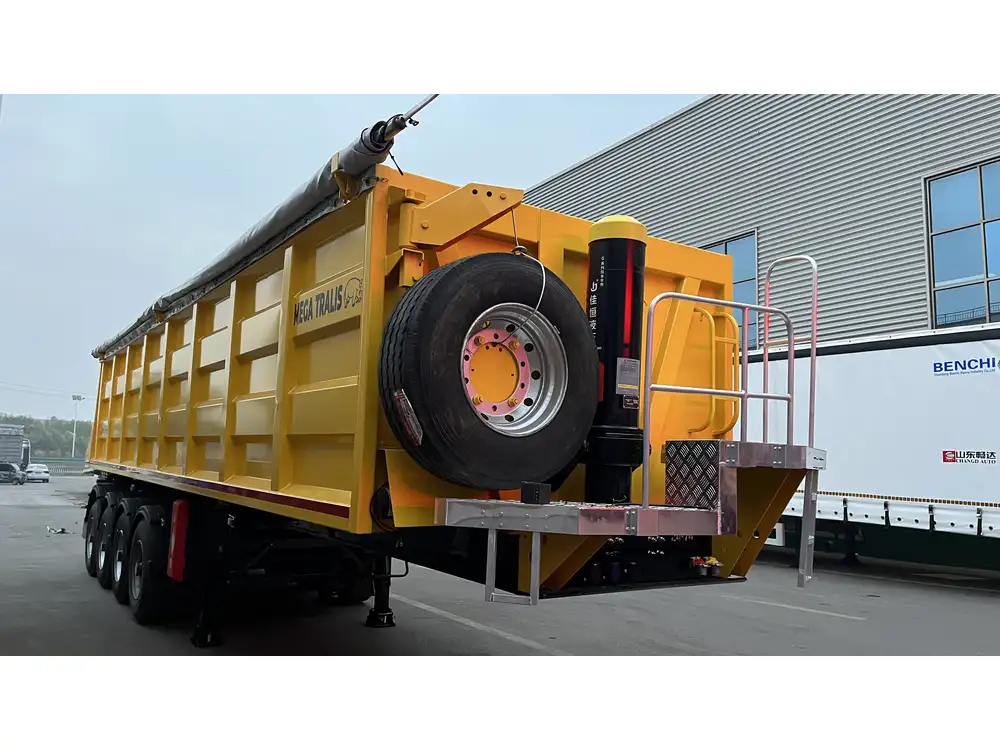
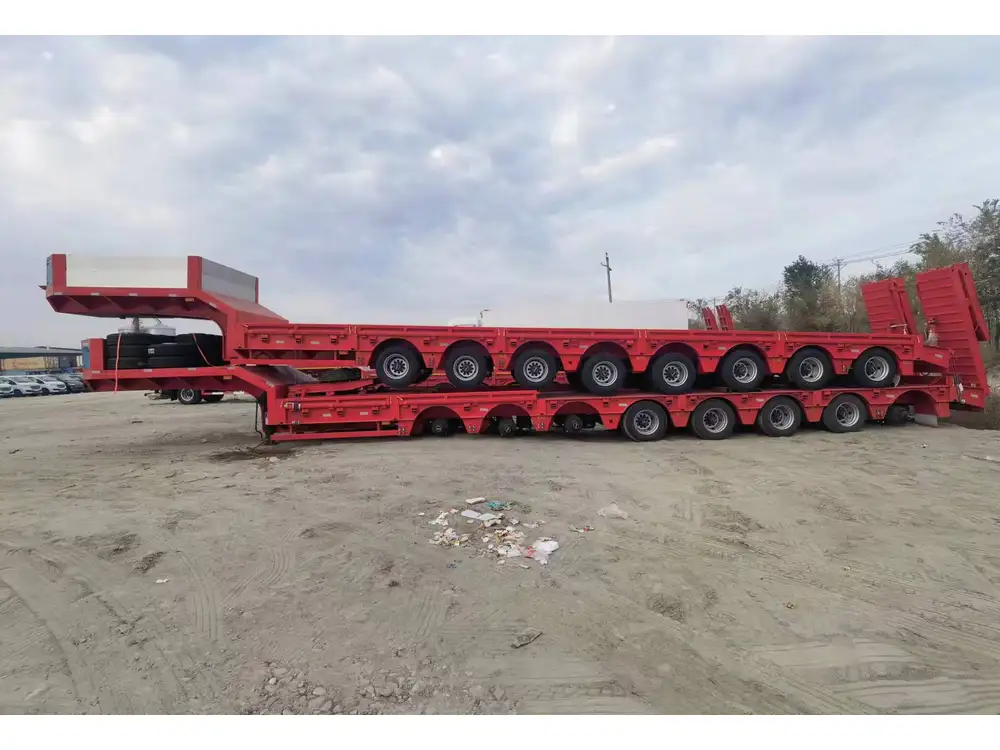
Navigating the intricate wiring scheme of a 48-foot flatbed trailer can seem daunting, but a structured exploration reveals the essential elements that make up its electrical system. Understanding how a 48-foot flatbed trailer is wired is critical for those involved in manufacturing, maintaining, or operating these vehicles.
The Basics of Trailer Wiring
At the heart of a flatbed trailer’s functionality lies its wiring system, which facilitates critical features such as lighting, brake functionality, and auxiliary systems. A well-designed wiring system not only assures compliance with safety regulations but also enhances the longevity of the trailer.
| Component | Function |
|---|---|
| Connector | Links the trailer to the towing vehicle |
| Lights | Provides visibility and signals to other drivers |
| Brakes | Ensures the trailer stops in conjunction with the truck |
| Auxiliary Power Systems | Powers extra features like winches or electronic brakes |
Trailer Connector Types: Key Differences Unpacked
The first step in wiring a 48-foot flatbed trailer is selecting the appropriate connector, which serves as the interface between the trailer and the towing vehicle. The most common types include:

1. 4-Pin Connector
Used primarily for basic lighting requirements; provides power for tail lights, turn signals, and brake lights.
2. 7-Pin Connector
Offers the best range of features, including all standard lighting plus power for electric brakes, auxiliary power, and backup lights. It’s the preferred choice for most heavy-duty trailers.
3. 12-Pin Connector
Less common, but suitable for trailers with additional complex requirements, such as integrated braking systems. It provides more options for accommodating various trailers.

Wiring Breakdown: Components and Their Functions
A 48-foot flatbed trailer’s wiring consists of several vital components, each contributing to its overall safety and performance. We’ll dive into the details of these components to bring clarity to the wiring process.
1. The Wire Harness
The wire harness is the backbone of the electrical system, bundling multiple wires together and usually encased in protective sheathing. Typically, the materials used are durable, ensuring longevity against abrasion and environmental elements.
2. Color-Coded Wiring Scheme
Color coding is a universal method of identifying purpose for each wire. Here are the standard wire color codes typically used for 48-foot flatbed trailers:
| Wire Color | Function |
|---|---|
| Brown | Tail lights |
| Yellow | Left turn signal |
| Green | Right turn signal |
| White | Ground |
| Blue | Electric brakes |
| Red | Auxiliary power |
| Black | 12V battery power |

3. Fuse and Breaker Systems
To protect against electrical overloads, it is critical to incorporate fuses or circuit breakers into the trailer’s wiring system. This safeguards electrical components and ensures reliability throughout operations.
Wiring Diagrams: Your Blueprint for Success
When wiring a trailer, a visual representation, such as a wiring diagram, proves invaluable. It offers a clear guide that maps out both the layout and connections necessary for correct assembly.
Example Wiring Diagram Components
- Connector Pinout: Indicates the function of each pin within the trailer connector.
- Wire Routing: Shows recommended paths to minimize wear and avoid contact with sharp edges.
- Grounding Points: Indicates where ground wires need to terminate on the frame.

Wiring Diagram Simulation
Below is a simple representation of a typical wiring schematic:
[Connector] <-> [Wire Harness] <-> [Lights & Brakes]
                     |
           [Auxiliary Systems (if applicable)]
Step-by-Step Wiring Process for a 48-Foot Flatbed Trailer
To efficiently wire a 48-foot flatbed trailer, follow these structured steps, ensuring thoroughness and compliance with safety standards.
Step 1: Gather Materials
Before embarking on the wiring task, compile the necessary materials:
- Appropriate gauge wire based on load requirements
- Connectors and terminal ends
- Heat shrink tubing or electrical tape
- Wire cutters and strippers
- Soldering gun or crimping tool
- Multimeter for testing continuity

Step 2: Prepare the Trailer
Before introducing electrical components, the trailer must be prepared. This includes ensuring the frame is clean of debris, which could cause corrosion or short circuits in the long run.
Step 3: Install the Connector
Begin by securing the selected connector to the tongue of the trailer, making sure it is mounted securely to avoid damage from road vibrations.
Step 4: Run the Wiring
- Feed the wires from the connector through the frame of the trailer.
- Follow the designated pathway shown in the wiring diagram to connect each component effectively.
- Use zip ties or clips to secure wiring along the frame, avoiding sharp edges.

Step 5: Connect the Lights
Attach each color-coded wire from the harness to the corresponding light fixture:
- Brown wire to the tail lights
- Yellow wire to the left turn signal
- Green wire to the right turn signal
Step 6: Grounding
Ground the system by connecting the white wire from the harness to a suitable ground point on the frame. This connection ensures that all electrical components operate safely and efficiently.
Step 7: Test
Use a multimeter to check the continuity of each wire and ensure proper connections. Verify that all lights illuminate as intended when powered.

Troubleshooting Common Wiring Issues
Even with careful installation, issues can arise. Here are common problems with a flatbed trailer’s wiring system and how to resolve them:
Lights Not Functioning:
- Check Connections: Ensure all connections are tight and corrosion-free.
- Test Ground: A poor ground connection is often the root cause of lighting issues.
Blown Fuses:
- Inspect for frayed wires or potential shorts in the system that may be causing overloads.
Intermittent Power:
- This could imply a loose connection—trace through each segment to ensure snug fits.
Maintenance Tips for Long-Term Performance
To guarantee the longevity and reliability of a 48-foot flatbed trailer’s wiring:
- Regular Inspections: Schedule routine inspections to identify and remedy any wear and tear.
- Clean Connections: Keep electrical connections clean using contact cleaner, particularly in corrosive environments.
- Weatherproofing: Use heat shrink tubing or electrical tape over connections to prevent water ingress.
Safety Considerations: The Importance of Compliance
Adhering to safety regulations is non-negotiable when wiring a flatbed trailer. Familiarize yourself with local road regulations that dictate lighting, braking requirements, and electrical standards for trailers. Compliance not only ensures safety but also keeps the operation running smoothly.

Conclusion: The Road Ahead
Wiring a 48-foot flatbed trailer, while intricate, becomes manageable with a structured approach. Understanding the components, adhering to proper wiring techniques, and maintaining vigilant upkeep can vastly enhance the functionality and safety of these vital transport vehicles. Regular education on updates to wiring standards and technology also positions manufacturers and operators for ongoing success in a dynamic logistics landscape.
By adhering to these comprehensive guidelines, we position ourselves not only to navigate the complexities of trailer wiring but also to ensure that our semitrailers perform optimally in every condition they face on the road.


