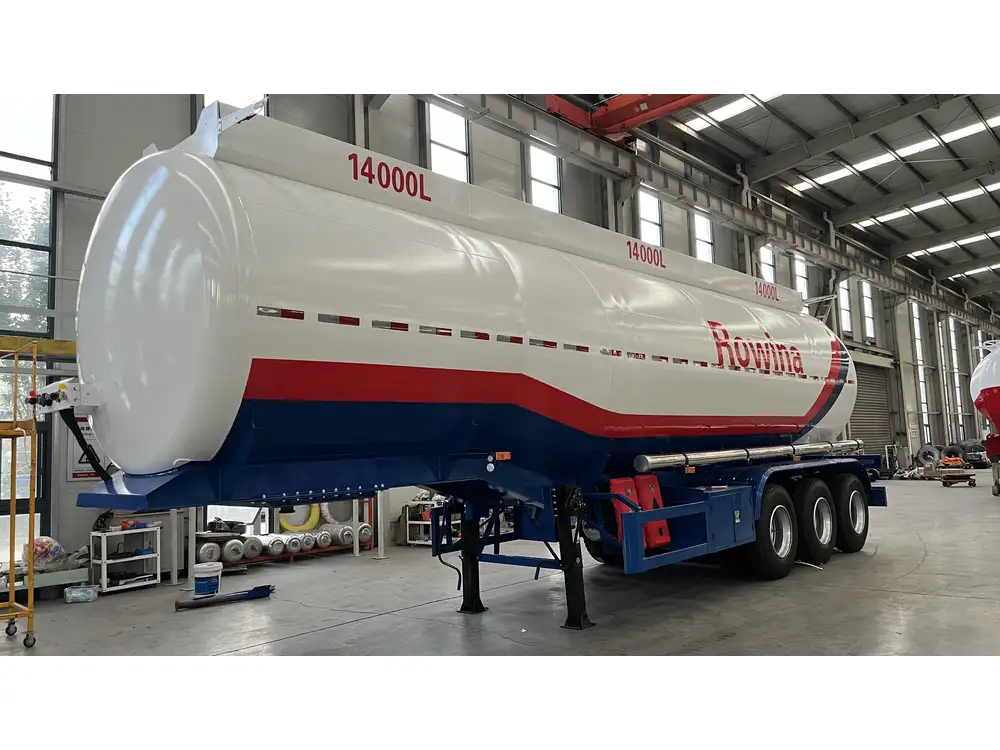
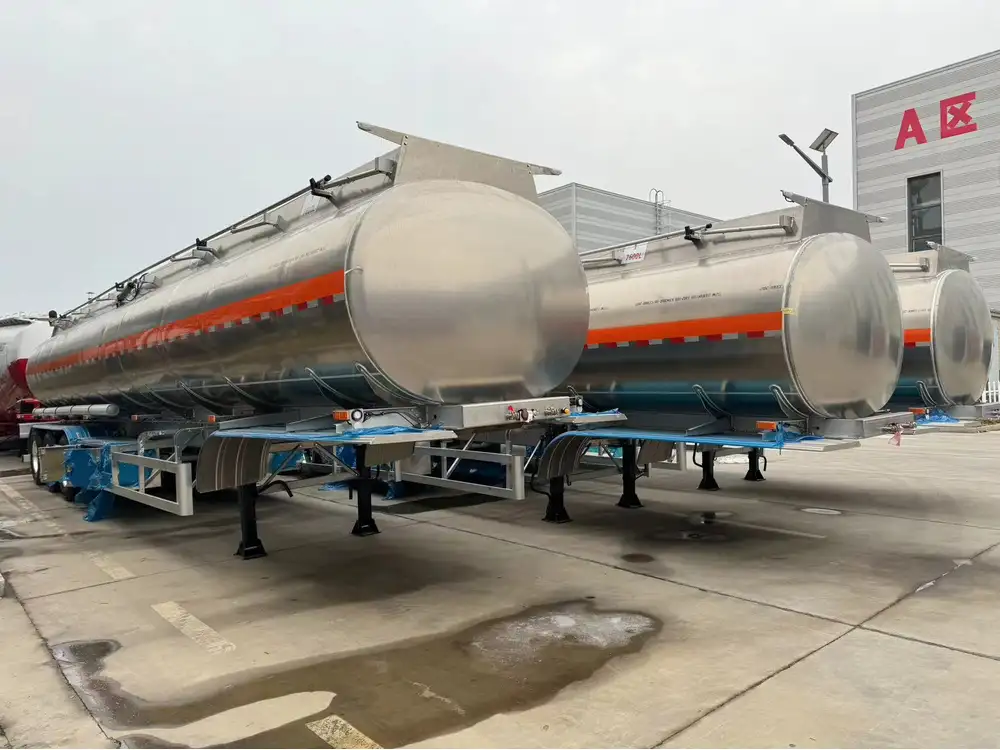
Water tank trailers are invaluable assets in numerous industries, from agriculture to construction. However, they are not immune to wear and tear. Cracks can develop due to stress, environmental factors, or accidents, potentially leading to leaks and costly inefficiencies. In this guide, we provide a comprehensive look at how to effectively seal cracks in water tank trailers, ensuring durability and optimal performance.
Understanding the Types of Cracks
Before diving into sealing techniques, it’s crucial to understand the varieties of cracks that may occur in water tank trailers:
| Type of Crack | Description | Common Causes |
|---|---|---|
| Surface Cracks | Minor, visible cracks on the surface. | UV exposure, minor impacts |
| Hairline Cracks | Very thin cracks that may not be easily visible. | Expansion/contraction due to temperature changes |
| Structural Cracks | Deeper cracks affecting the integrity of the tank. | Heavy loads, accidents |
| Leaks | Cracks that allow water to escape. | Corrosion, physical damage |
Assessing the Damage

Tools and Materials Required
Before commencing repairs, gather the necessary tools and materials:
Tools:
- Wire brush
- Sandpaper (80-grit and 120-grit)
- Utility knife
- Squeegee
- Measuring tape
Materials:
- Epoxy resin or tank repair kit
- Silicone sealant
- Fiberglass cloth (for structural cracks)
- Primer and paint (for finishing)
Inspection Steps
- Visual Inspection: Identify all cracks and damage on the water tank trailer.
- Check for Leaks: Fill the tank with water, observing any leaks.
- Measure Cracks: Use measuring tape to document the length and width of each crack.
Sealing Techniques Based on Crack Type

1. Surface Cracks
Procedure:
- Scrub the area around the crack with a wire brush to remove dirt and loose material.
- Sand the crack using 80-grit sandpaper, creating a rough texture for better adhesion.
- Clean the dust from sanding using a damp cloth.
- Apply silicone sealant directly into the crack. Use a squeegee to ensure a smooth finish.
- Allow curing as per the manufacturer’s instructions (usually 24 hours).
2. Hairline Cracks
Procedure:
- Similar to surface cracks, start with cleaning the area using a wire brush and then sand it lightly with 120-grit sandpaper.
- Fill the crack with epoxy resin, allowing it to seep into the crack for full penetration.
- Use a squeegee for a smooth finish.
- Once cured, sand lightly again to ensure a flush surface.
3. Structural Cracks
Procedure:
- Clean the area thoroughly using a wire brush and ensure all debris is removed.
- Sand the affected area vigorously with 80-grit sandpaper, expanding the area around the crack (at least 1 inch beyond the crack).
- Cut fiberglass cloth to size, ensuring it overlaps the crack by at least an inch on all sides.
- Mix and apply the epoxy resin according to the product instructions.
- Lay the fiberglass cloth into the wet epoxy, ensuring it is fully saturated.
- Apply a second layer of resin over the cloth for added strength.
- Smooth with a squeegee and allow curing according to the instructions.

4. Leak Sealing
When leaks are detected:
Procedure:
- Prepare the area by cleaning and sanding as described in previous methods.
- Initially try silicone sealant for small leaks. Apply generously around the leak and smooth out.
- For larger leaks, follow the structural crack process, using epoxy resin and fiberglass reinforcement.
Finishing Touches
Painting and Protection
After successfully sealing cracks, consider applying primer and paint:
- Prime the Repair Area: Once cured, apply a layer of primer to the repair.
- Paint: Match the trailer’s color or use a protective coating designed for metal surfaces.
- Allow Drying: Ensure the paint is fully dry before putting the trailer back into service.

Preventative Measures
Preventative maintenance extends the longevity of water tank trailers. Consider the following methods:
Regular Inspections
Conduct routine inspections to catch issues before they escalate. Look for:
- Signs of wear around joints and seams.
- Changes in surface texture, indicating potential cracks.
Environmental Considerations
Store water tank trailers in shaded areas when possible to minimize UV damage. Additionally, managing the temperature extremes can mitigate contraction and expansion effects.

Load Management
Ensure that the water tank trailers are not overloaded. Adhere to manufacturer weight limits to avoid undue stress on the tank.
Frequently Asked Questions
How long will the repair last?
The longevity of the repair depends on the methods used and how well the tank is maintained. Typically, a well-sealed crack can endure several years.

Can I use regular sealants for water tank repairs?
It’s advisable to use products that are specifically designed for high-stress environments, such as epoxy resins and specialized sealants for water movements.
When should I seek professional help?
If the damage is extensive or involves structural integrity, consulting a professional repair service is highly recommended.
Conclusion
Sealing cracks in water tank trailers is not just about ensuring functionality; it’s also about safeguarding your investments and enhancing efficiency. By utilizing the right techniques and maintaining vigilance through regular inspections, we can extend the life of these critical assets. Adopt these methods, and you’ll find that your water tank trailer operates optimally while preserving the essential resources they transport. Remember, informed repairs result in durable solutions, paving the way for smoother operations and reduced downtimes.


