
Maintaining the cleanliness and integrity of conventional trailer tanks is pivotal for ensuring the longevity of your equipment and compliance with safety regulations. Residue buildup, corrosion, and contamination can manifest not only a danger to the operational capability of your trailers but could also compromise the transport quality of the goods. This guide will meticulously detail every aspect of cleaning conventional trailer tanks, helping to streamline the process and ensure optimal results.
Understanding Conventional Trailer Tanks
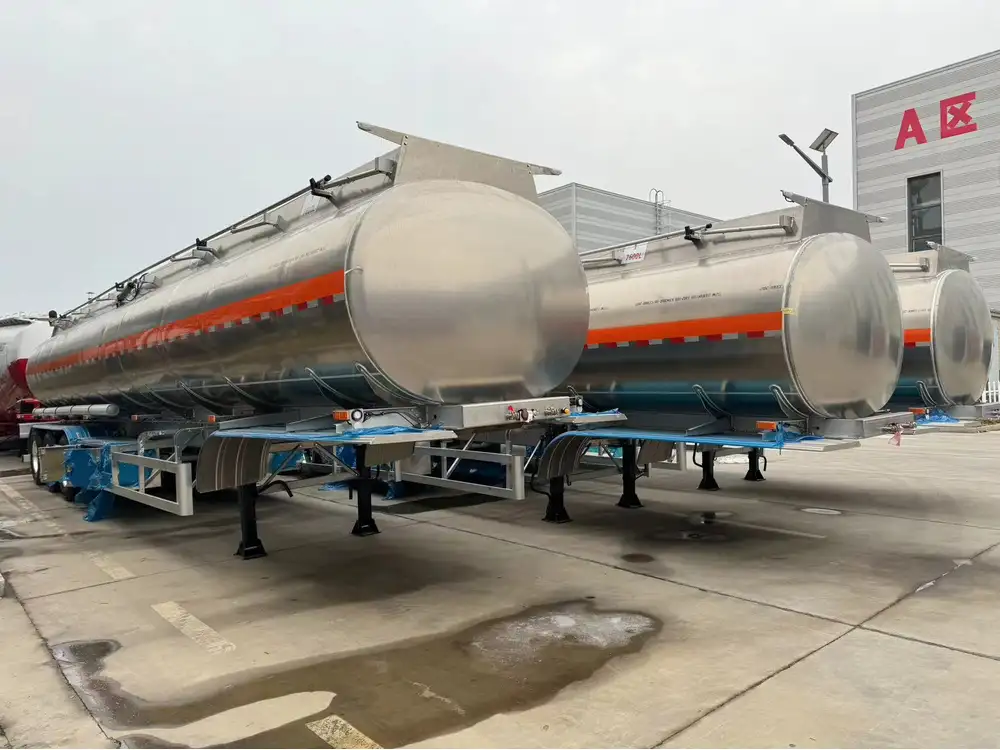
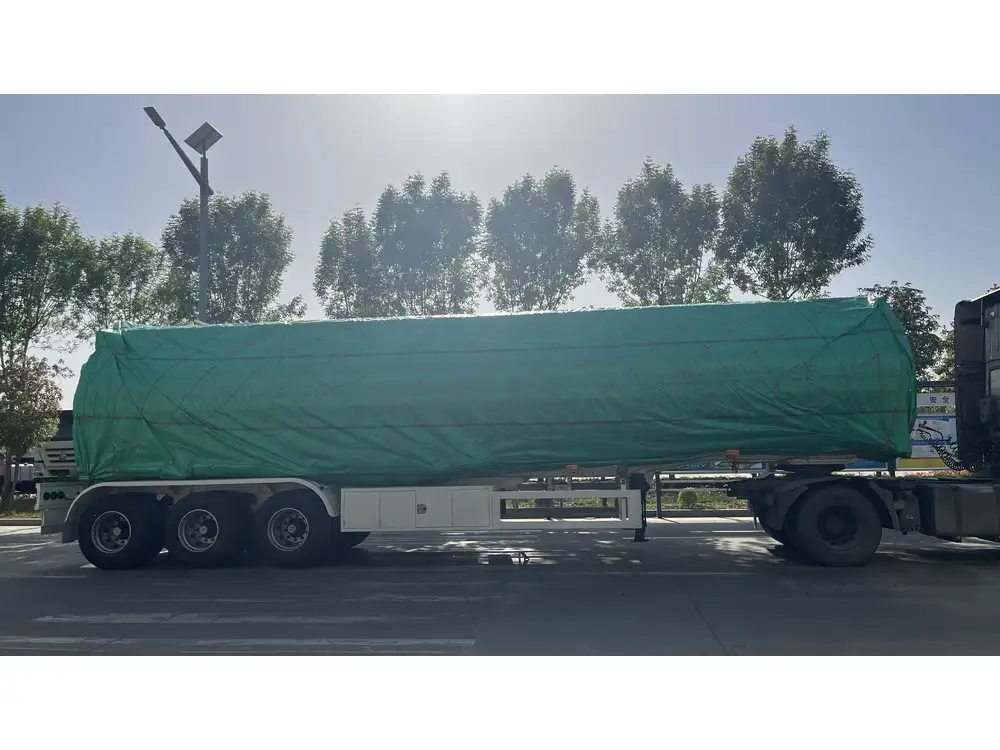
Before diving into the cleaning process, it’s essential to grasp what conventional trailer tanks are. Typically used in the transportation of liquids, including fuels, chemicals, and food-grade products, these tanks can be susceptible to contamination and residue buildup. The tanks come in various materials, primarily aluminum, stainless steel, and mild steel, each necessitating specific cleaning methods and solutions.
Types of Conventional Trailer Tanks
| Type of Tank | Material | Common Use |
|---|---|---|
| Fuel Tanks | Aluminum | Transport of diesel, gasoline |
| Chemical Tanks | Stainless Steel | Transport of hazardous materials |
| Food-Grade Tanks | Mild Steel | Transport of consumables |
Understanding the specific tank type and use case informs the cleaning process, as each has unique requirements in terms of cleaning agents and techniques.

Importance of Regular Tank Cleaning
- Prevent Contamination: Clean tanks prevent cross-contamination of materials, ensuring that the transported goods maintain their quality.
- Comply with Regulations: Many industries require adherence to strict health and safety regulations regarding the cleanliness of transport containers.
- Enhance Performance: A clean tank improves the efficiency of the transport process, leading to cost savings and improved service delivery.
Preparing for the Cleaning Process
Safety Precautions
Before beginning any cleaning operation, safety must always come first. Here are essential precautions to consider:
- Personal Protective Equipment (PPE): Ensure the use of gloves, masks, goggles, and protective clothing to guard against chemical exposure.
- Ventilation: Work in a well-ventilated area to prevent inhalation of harmful fumes.
- Emergency Kit: Have a first aid kit readily available, including eye wash stations.

Essential Cleaning Materials and Tools
| Tool/Material | Purpose |
|---|---|
| Pressure Washer | High-pressure cleaning |
| Brushes (various sizes) | Scrubbing and detailing |
| Sponges and Rags | Wiping and absorbing liquids |
| Cleaning Chemicals | Dissolving contaminants |
| Water Supply | Rinsing and dilution |
| Hose | For spraying and rinsing |
Having these tools and materials on hand will facilitate a smoother cleaning process.
Step-by-Step Guide to Cleaning Conventional Trailer Tanks
Step 1: Empty the Tank
Before beginning the cleaning process, it is imperative to completely empty the tank. This involves:
- Draining: Locate and use the drain valve at the bottom of the tank to remove any remaining liquids.
- Inspection: Conduct a thorough inspection of the tank’s interior for any signs of damage or excess residue that may need special attention during the cleaning process.
Step 2: Initial Rinse
Using a pressure washer or a hose, rinse the interior of the tank with water. The primary goal is to remove any loose debris or residue.
- Technique: Start from the top of the tank and work downwards to ensure contaminants flow out with the rinsing water.
- Water Temperature: Use lukewarm water if possible, as it enhances the effectiveness of the cleaning agents used later.
Step 3: Apply Cleaning Agents
Select a cleaning solution based on the tank’s material and use case:
| Material | Recommended Cleaning Agent |
|---|---|
| Aluminum | Mild soap with water |
| Stainless Steel | Custom stainless-steel cleaner |
| Mild Steel | Rust remover or detergent |
Application Process:
- Dilution: Follow the manufacturer’s recommendation for dilution ratios.
- Spraying: Use a sprayer for even coverage of the cleaning solution over the tank’s interior.
- Contact Time: Allow the cleaning solution to sit according to the label instructions, usually between 10 to 30 minutes.
Step 4: Scrubbing
Utilize brushes and scrubbing tools to remove stubborn residues:
- Brush Selection: Use soft-bristle brushes for sensitive materials. For tougher residues, consider using hard-bristle brushes.
- Technique: Focus on areas with heavy buildup and residues, such as the corners and bottom of the tank. Ensure that you do this gently to avoid damaging the interior surface.
Step 5: Final Rinse
After scrubbing, perform a thorough rinse:
- Methodology: Rinse the tank again with a pressure washer or hose, ensuring that all cleaning agents and residues are completely removed.
- Inspection: Visually inspect the interior of the tank for any remaining residues, repeating the cleaning and rinsing process as necessary.
Step 6: Drying
Allow the tank to air dry completely before sealing:
- Technique: Position the tank upright and ensure proper ventilation. You may use an air blower to expedite the drying process.
- Moisture Control: Ensure that all moisture is removed to prevent rust and corrosion in steel tanks.

Step 7: Sanitization (if necessary)
For tanks that transport food or consumables, sanitization is crucial after cleaning:
- Choice of Sanitizers: Choose an appropriate food-grade sanitizer, following the manufacturer’s instructions for application.
- Application: Spray the sanitizer onto the surface and allow it to sit for the recommended contact time before rinsing.
Additional Considerations
Frequency of Cleaning
The frequency of cleaning conventional trailer tanks typically depends on their usage:
- Food-Grade Transport: Clean after every use.
- Fuel Tanks: Ideally cleaned every three to six months or as needed.
- Chemical Tanks: Depends on the type of chemicals transported; high-risk materials may require more frequent cleaning.
Common Issues and Solutions
| Issue | Solution |
|---|---|
| Residue Buildup | Increase cleaning frequency, apply stronger cleaning solutions. |
| Corrosion | Inspect for leaks, use rust treatments, consider using a different cleaning approach. |
| Odors | Use odor neutralizers during cleaning and ensure complete drying. |
Record Keeping
Maintain a cleaning log for each tank, noting dates, cleaning agents used, and any observations (e.g., signs of wear, damage). This practice not only complies with regulatory standards but also helps track the health of your equipment.
Conclusion
Cleaning conventional trailer tanks is not just about maintaining aesthetics; it’s about ensuring safety, preserving product integrity, and adhering to regulatory requirements. By following a well-structured cleaning protocol, utilizing appropriate tools and agents, and recognizing potential issues, manufacturers can enhance both the efficiency and lifespan of their tanks. Prioritizing thorough cleaning will mitigate risks associated with contamination, paving the way for a seamless, productive hauling operation.

