Transforming a standard trailer into a dump trailer can revolutionize the way you handle bulk materials, whether for personal projects, landscaping, or commercial use. This guide provides an in-depth look at the process, necessary components, and considerations involved in converting your trailer into a functional dump trailer.
Understanding Dump Trailers: A Brief Overview
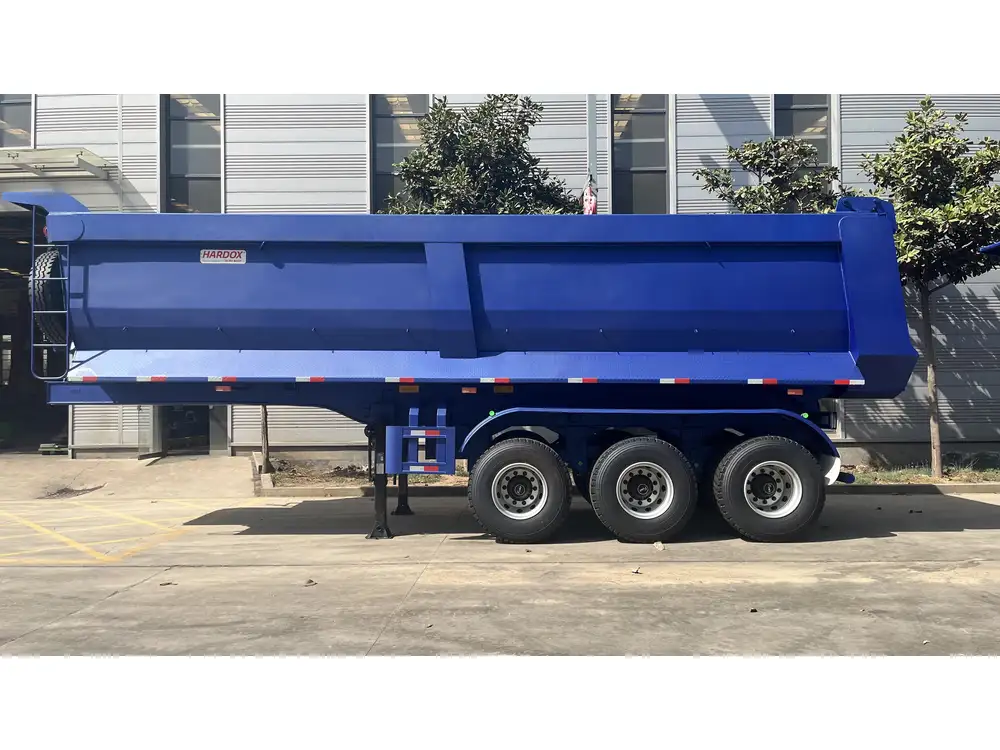
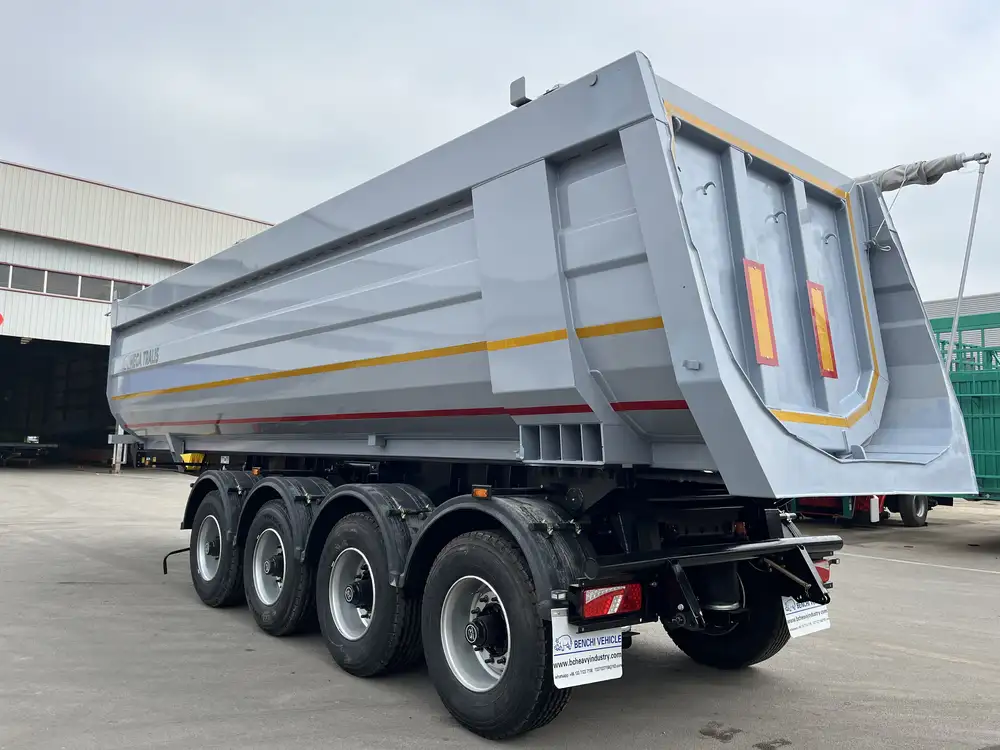
Before delving into the specifics of conversion, it’s crucial to understand what a dump trailer is and its features compared to a regular flatbed trailer. A dump trailer includes a hydraulic system that allows the bed to lift at an angle, facilitating the dumping of materials. This functionality is vital for tasks including:
- Construction Site Cleanup: Quickly unloading debris.
- Landscaping: Effectively managing soil, rocks, and compost.
- Haulage of Loose Materials: Transporting gravel, sand, or mulch.
Key Features of Dump Trailers
| Feature | Standard Trailer | Dump Trailer |
|---|---|---|
| Lifting Mechanism | None | Hydraulic lifting system |
| Bed Tilt Angle | Level | 45 to 90 degrees |
| Payload Capacity | Varies | Typically higher |
| Side Walls | Usually absent | Often tall and reinforced |
| Material Versatility | Limited | Construction, landscaping, waste |
Essential Components for Conversion
To successfully convert a standard trailer into a dump trailer, certain components must be acquired and installed. These include:
- Hydraulic Cylinder: This is the heart of the dumping mechanism. Choose a cylinder that matches your trailer’s specifications and expected load.
- Hydraulic Pump: A pump is required to supply pressurized hydraulic fluid to the cylinder. It can be electric or manual, depending on your preference.
- Hydraulic Fluid Reservoir: This component stores the hydraulic fluid required for operation. Size your reservoir based on the capacity needed for your hydraulic system.
- Control Valve: This valve regulates the flow of hydraulic fluid and controls the lifting and lowering of the trailer bed.
- Wiring Kit: If opting for an electric pump, a wiring kit will be necessary for connections to the vehicle’s power supply.
- Frame Reinforcement: Depending on the existing design of your trailer, additional reinforcement may be required to support the added weight and stress of hydraulic components.
Step-by-Step Conversion Process
Here’s a structured approach to converting your trailer:
Step 1: Assess the Trailer Specifications
Examine your trailer’s frame, payload capacity, and dimensions. This assessment ensures that it can handle the additional loads you’ll be dealing with as a dump trailer. Key metrics to note:
- Weight Capacity: Ensure the trailer frame can bear the extra weight of hydraulic components and the loads being dumped.
- Dimensions: Verify the physical space available for installation of the hydraulic system and ensure it aligns with the intended dumping purposes.
Step 2: Gather Necessary Components
Once you’ve evaluated your trailer, gather all necessary materials. Consider sourcing from reputable suppliers who specialize in trailer parts to ensure quality and compatibility.
Step 3: Install the Hydraulic Cylinder
- Mount the Cylinder: Attach the hydraulic cylinder to the trailer’s frame. Most trailers will require mounting brackets.
- Secure Attachments: Use bolts to secure the cylinder, ensuring it is aligned correctly with the dump bed hinge for effective operation.
Step 4: Set Up the Hydraulic Pump
- Position the Pump: Ideally, place the pump close to the trailer’s towing vehicle for easy power access.
- Connect Hydraulic Lines: Run hydraulic lines from the pump to the cylinder, ensuring tight seals to prevent leaks. Use hoses rated for the required pressure to maintain safety and efficacy.
Step 5: Install the Control Valve
- Select a Convenient Location: Choose a spot for the control valve that is accessible, ensuring ease of operation when dumping.
- Connect to the Hydraulic System: Attach the control valve to the hydraulic lines, following the manufacturer’s guidelines for setup.
Step 6: Electrical Wiring (if applicable)
- Wire the Pump: If using an electric pump, connect the wiring to your vehicle’s battery, ensuring proper gauge wires are used to handle current load.
- Test the System: Before adding a load, test the system by activating the pump and observing the hydraulic cylinder’s functioning. Check for leaks and rectify any issues before use.
Step 7: Safety Checks and Final Adjustments
Conduct thorough checks of the entire hydraulic system. Inspect all connections, mounts, and the lifting mechanism to ascertain stability and functionality. It’s critical to ensure that:
- All hydraulic components are securely fastened and free of leaks.
- The control valve functions correctly, with smooth operation in lifting and lowering the trailer bed.
- The wiring is safe and insulated against potential short-circuits.
Maintenance Tips for Your Dump Trailer
Once your trailer is converted, maintenance becomes paramount. Regular attention can extend the lifespan of your dump trailer and ensure reliability:
- Inspect Hydraulic Fluid Levels: Make regular checks of the hydraulic fluid reservoir. Replace or top off fluid as necessary, using the manufacturer-recommended type.
- Check for Leaks: Periodically inspect hoses and fittings for signs of hydraulic fluid leaks that could compromise system performance.
- Test the System: Execute regular functionality tests to ensure the hydraulic system is operating smoothly.
- Frame and Suspension: Regularly inspect the trailer frame and suspension system for wear and tear. Address any issues promptly to avoid larger problems.
- Electrical System Maintenance: Check wiring connections, terminals, and the condition of battery connections to ensure consistent power supply.
Frequently Asked Questions (FAQs)
How much weight can a standard trailer handle after conversion?
The total weight capability post-conversion depends on the original weight rating of the trailer and the modifications made. Always refer to the manufacturer’s specifications to determine safe operating limits.
Is it cost-effective to convert a trailer to a dump trailer?
Yes, converting a standard trailer can be more cost-effective than purchasing a new dump trailer, particularly for those who already own a suitable trailer and have the necessary tools for installation.
Can I install a dump mechanism on any type of trailer?
Not all trailers are suitable for conversion to dump functionality. Ensure yours has a robust frame, and consult with professionals if uncertain about the conversion feasibility.
What safety features should I consider?
Incorporate additional safety features like backup alarms, proper lighting, reflectors, and weight sensors to ensure compliance with regulations and enhanced visibility while operating on roadways.
Conclusion
Converting your trailer into a dump trailer is a practical solution for enhancing your material handling capabilities. By understanding the necessary components, following a structured installation process, and committing to regular maintenance, you can achieve a functional and efficient dumping solution tailored to your needs. Empower your operations today by leveraging this guide to transform your trailer and enhance your productivity across various tasks.


