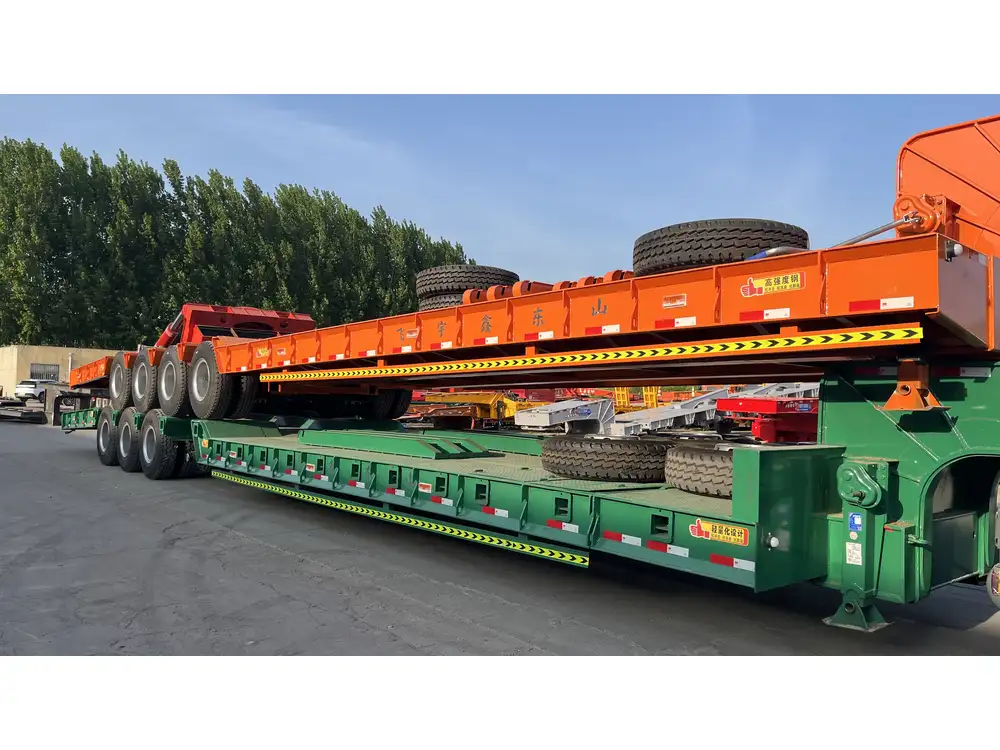
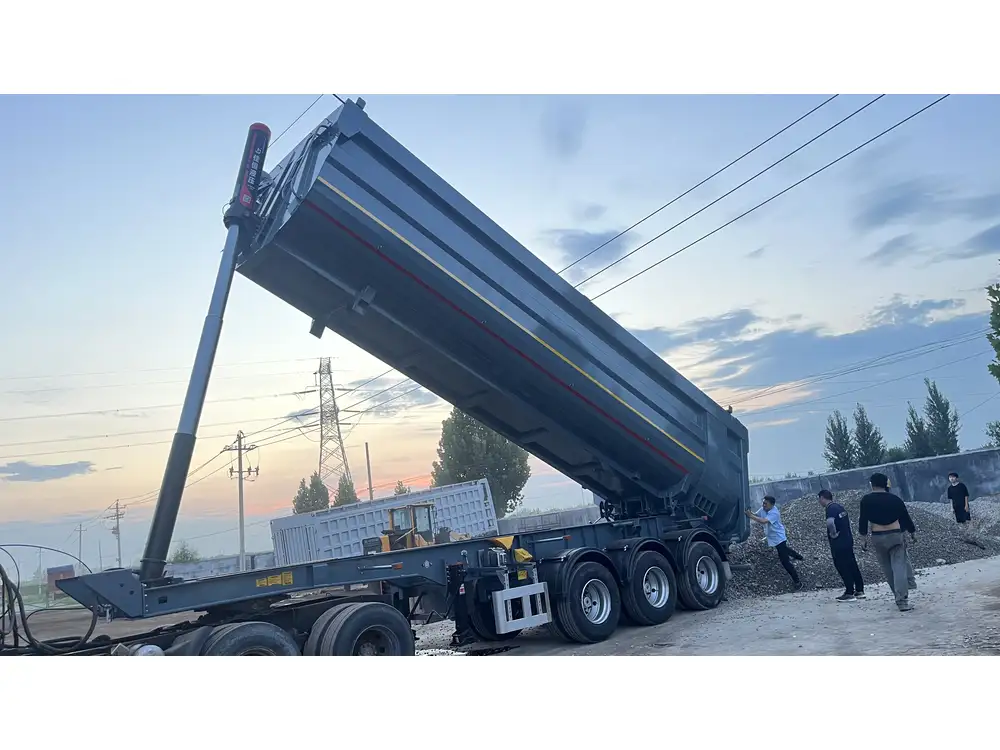
When it comes to optimizing the performance and safety of semi-trailers, maintaining and adjusting disk brakes is paramount. This guide serves as a detailed resource for semi-trailer manufacturers and maintenance professionals, illuminating the intricacies of disk brake adjustment.
Importance of Proper Brake Adjustment
Enhanced Safety
Accurate brake adjustments significantly improve the overall safety of semi-trailers. Misadjusted brakes can lead to longer stopping distances, increased wear on brake components, and potential accidents.

Improved Performance
Correctly adjusted disk brakes ensure optimal performance during operation. This translates to smoother stops, reduced brake fade, and more effective braking in various driving conditions.
Cost Efficiency
Regular brake adjustments can prolong the life of brake components, saving money on maintenance and component replacement in the long run.
Understanding Disk Brake Mechanics

Components of Disk Brakes
A typical disk brake system consists of the following components:
- Brake Pads: These are the friction materials that press against the rotor to slow the vehicle.
- Brake Rotors: The round metal discs that the brake pads clamp down on during braking.
- Calipers: Devices that house the brake pads and actuate them against the rotors.
- Brake Lines and Hoses: These components transport brake fluid to the calipers.
Disk Brake Operation
When the driver applies the brake pedal, brake fluid is transmitted through lines to the calipers, forcing the brake pads against the rotors. This action generates friction and slows the vehicle down, relying on the entire braking system’s efficiency for effective performance.
Step-by-Step Guide to Adjusting Disk Brakes

1. Gather Necessary Tools and Equipment
Before performing any brake adjustment, it is essential to have the right tools on hand:
- Torque Wrench
- Brake Adjustment Tool
- Brake Cleaner
- Protective Gear: Gloves, goggles, etc.
- Service Manual: For vehicle-specific guidelines
2. Prepare the Semi-Trailer for Service
- Park on Level Ground: Ensure the semi-trailer is parked on a flat surface to prevent movement.
- Engage the Parking Brake: This adds an extra layer of safety while working on the brakes.
- Protective Measures: Wear gloves and goggles to protect against debris and brake dust.
3. Remove the Wheel
- Loosen Lug Nuts: Use a wrench to slightly loosen lug nuts before lifting the trailer.
- Lift the Trailer: Use a jack to elevate the trailer and secure it with jack stands.
- Fully Remove Lug Nuts: After securing, fully remove the lug nuts and take off the wheel.

4. Inspect the Brake Components
A thorough inspection can reveal issues that may necessitate repairs beyond simple adjustments:
- Visual Check: Look for wear on brake pads and rotors.
- Measure Rotor Thickness: Consult manufacturer specifications for minimum thickness.
- Check for Leaks: Inspect brake lines and calipers for any signs of leakage.
5. Adjusting the Brake Pads
How to Adjust Calipers:
- Identify Adjustment Mechanism: Locate the adjustment screws for the calipers.
- Turn Adjusters: Using a brake adjustment tool, turn the adjuster to bring the pads closer to the rotors. Generally, clockwise motion tightens to increase pad contact.
- Test Fit: Rotate the rotor manually to ensure there is minimal drag from the pads when adjusted.
Proper Gap Between Pads and Rotors:
- Aim for a gap of about 1/32 inches to ensure efficient braking while avoiding excessive friction.
6. Reassemble and Test
- Reattach the Wheel: Secure the wheel, ensure all lug nuts are tightened to the manufacturer’s specified torque.
- Lower the Trailer: Carefully remove the jack stands and lower the trailer back to the ground.
- Test Brake Functionality: Conduct brake tests in a controlled environment to ensure everything is operating smoothly.

Common Issues and Solutions
| Issue | Symptoms | Solutions |
|---|---|---|
| Uneven Brake Pad Wear | One pad worn more than others | Check caliper function; adjust |
| Brake Drag | Increased heat, poor performance | Check adjustment; inspect for debris |
| Noise During Braking | Grinding or squealing sounds | Inspect pads; replace if worn |
| Brake Fade | Reduced stopping power after prolonged use | Inspect fluid level; check for overheating |
Frequently Asked Questions
Q: How often should disk brakes be adjusted on semi-trailers? A: It is recommended to inspect and adjust disk brakes every 10,000 miles or during routine maintenance checks.
Q: Can adjustments be done without professional help? A: While basic adjustments can be performed with the right tools and knowledge, it’s advisable to have brake systems serviced by trained professionals to ensure safety and compliance with regulations.
Tips for Ongoing Brake Maintenance
- Regular Inspections: Schedule periodic checks to ensure that brakes are functioning effectively and all components are in good condition.
- Use Quality Parts: Invest in high-quality brake pads and components from reputable manufacturers to ensure reliability.
- Brake Fluid Checks: Regularly check the brake fluid level and quality, topping up as necessary, and replace if it becomes contaminated.
- Keep Brake System Clean: Regularly clean brake components with suitable cleaners to remove dust and debris that can cause premature wear.

Conclusion
Adjusting disk brakes on semi-trailers may seem daunting, but with the right approach and comprehensive understanding of the process, it can be performed efficiently. This guide provides a detailed walkthrough for ensuring safe and effective braking. By fostering a commitment to regular maintenance and prompt adjustments, semi-trailer operators can enhance safety, efficiency, and the longevity of their braking systems.
This comprehensive approach ensures that both novice and experienced users find actionable insights and detailed directions. By prioritizing clarity and thoroughness, this guide helps secure higher visibility on search engines and positions as a leading resource in the realm of semi-trailer maintenance.


