Ensuring the optimal safety and performance of your semi-trailer is paramount in the transportation industry. A crucial component in this setup is the brake controller, which manages the braking force applied to the trailer, enhancing stopping power and overall vehicle control. At CarMax Vehicle, we understand the intricacies involved in installing a brake controller on a semi-trailer. This guide provides a detailed, step-by-step approach to seamlessly integrate a brake controller, ensuring compliance with safety standards and enhancing your trailer’s performance.
Understanding the Importance of a Brake Controller
Before delving into the installation process, it’s essential to comprehend the role and benefits of a brake controller:
- Enhanced Safety: By regulating the braking force, a brake controller ensures smoother and more controlled stops, reducing the risk of accidents.
- Improved Brake Efficiency: Synchronizing the trailer’s brakes with the tractor’s brakes enhances overall braking efficiency, leading to reduced wear and tear.
- Compliance with Regulations: Many jurisdictions mandate the presence of a brake controller for commercial semi-trailers, ensuring adherence to safety standards.
Types of Brake Controllers
Selecting the right brake controller is crucial for optimal performance. Below is a comparison of the primary types available:
| Type | Description | Pros | Cons |
|---|---|---|---|
| Proportional Brake Controllers | Vary braking force based on the tractor’s deceleration. | Provides smooth, variable braking; responsive. | More complex installation; higher cost. |
| Time-Delayed Brake Controllers | Sends a preset amount of brake force after a delay when brakes are applied. | Simpler installation; generally more affordable. | Less precise control; potential for lock-up. |
| Electric Brake Controllers | Utilize electric signals to manage brake force distribution between tractor and trailer. | Precise control; integration with electronic systems. | Requires compatible electrical systems. |
Tools and Materials Needed for Installation
Before initiating the installation, ensure you have the following tools and materials:
- Brake controller kit compatible with your semi-trailer
- Mounting hardware (typically included in the kit)
- Wiring harness and connectors
- Electrical tape and heat shrink tubing
- Multimeter for electrical testing
- Screwdrivers, pliers, and wire strippers
- Drill and bits (if required for mounting)
Step-by-Step Installation Process
1. Preparation and Safety Measures
- Disconnect the Battery: Begin by disconnecting the tractor’s battery to prevent electrical shorts or accidental activation of the braking system.
- Review Instructions: Carefully read the brake controller manufacturer’s instructions to understand specific requirements and guidelines.

2. Mounting the Brake Controller
- Select Mounting Location: Choose a location on the tractor’s dashboard or driver’s side that is easily accessible and visible.
- Secure the Mounting Bracket: Using the provided hardware, attach the mounting bracket firmly to the selected location, ensuring it is stable and level.
3. Wiring the Brake Controller
a. Identifying Wires
- Power Supply: Locate the tractor’s battery or a suitable power source. Typically, this will involve tapping into the positive (+) and negative (-) terminals.
- Brake Signal Wire: Connect to the tractor’s brake light signal to ensure the controller activates when brakes are applied.
- Ground Wire: Ensure a secure ground connection to prevent electrical interference.
- Accessory Connections: If integrating with other systems (e.g., anti-lock braking systems), refer to manufacturer specifications.
b. Connecting the Wires
- Run the Wiring Harness: Route the wiring harness from the brake controller to the electrical system, avoiding moving parts and sources of heat.
- Strip and Connect Wires: Using wire strippers, carefully strip the insulation and connect the corresponding wires using connectors or by soldering, followed by insulating with electrical tape or heat shrink tubing.
- Secure Wiring: Use zip ties or clips to secure the wiring away from potential interference or damage.
4. Installing the Trailer’s Brake System
- Check Brake Compatibility: Ensure that the trailer’s braking system is compatible with the selected brake controller.
- Connect the Brake Electronics: Interface the trailer’s brake system with the controller, following the manufacturer’s wiring diagram.
- Test Electrical Connections: Use a multimeter to verify continuity and proper voltage across connections, ensuring there are no electrical faults.
5. Calibration and Testing
- Power On the System: Reconnect the tractor’s battery and power on the brake controller.
- Initial Calibration: Follow the controller’s instructions to calibrate the braking force based on the trailer’s weight and brake type.
- Perform Brake Tests: Conduct controlled braking tests to ensure the system responds appropriately, adjusting settings as necessary for optimal performance.
Common Challenges and Solutions
1. Inconsistent Braking Performance
- Possible Causes: Faulty wiring, incorrect calibration, or incompatible brake controller type.
- Solutions: Inspect all electrical connections, recalibrate the brake controller, and verify compatibility between the controller and trailer’s braking system.
2. Electrical Interference or Short Circuits
- Possible Causes: Poor insulation, exposed wires, or improper grounding.
- Solutions: Re-insulate all connections, secure wiring away from movable parts, and ensure all ground connections are clean and tight.

3. Brake Controller Installation Errors
- Possible Causes: Skipping steps during installation, misunderstanding instructions, or using incorrect tools.
- Solutions: Revisit the installation steps, consult the manufacturer’s manual, and consider professional assistance if necessary.
Maintenance Tips for Brake Controllers
Regular maintenance ensures the longevity and reliability of your brake controller:
- Routine Inspections: Periodically check all electrical connections for signs of wear, corrosion, or damage.
- Clean Mounting Area: Keep the brake controller and its mounting area free from debris and contaminants.
- Software Updates: If applicable, update the brake controller’s firmware to incorporate the latest performance enhancements and fixes.
- Professional Servicing: Schedule regular check-ups with certified technicians to maintain optimal system performance.
Enhancing Brake Controller Performance
To maximize the efficiency and responsiveness of your brake controller, consider the following enhancements:
- Upgrade to Proportional Controllers: For more precise braking control, especially in heavy-load scenarios.
- Integrate with Anti-Lock Braking Systems (ABS): Enhances stability during sudden stops or slippery conditions.
- Utilize Smart Brake Controllers: Offer advanced features such as diagnostic monitoring and customizable braking profiles.
Compliance with Safety Standards
Adhering to safety regulations is crucial for both legal compliance and operational safety:
- Federal Motor Carrier Safety Administration (FMCSA) Regulations: Ensure your brake controller meets FMCSA standards for commercial vehicles.
- International Standards: If operating internationally, verify compliance with relevant global safety standards.
- Regular Audits: Conduct periodic audits to ensure ongoing compliance with evolving safety regulations.
Troubleshooting Common Issues
1. Brake Controller Not Activating
- Check Power Supply: Ensure the controller is receiving adequate power from the tractor’s electrical system.
- Verify Brake Signal Connection: Confirm that the brake signal wire is correctly connected and functional.
- Inspect for Wiring Damage: Look for any signs of damaged or disconnected wires that may impede functionality.

2. Overactive Braking
- Recalibrate the Controller: Adjust the braking force settings to prevent excessive braking.
- Check Brake Pads and System: Ensure that the trailer’s brake pads are in good condition and that the braking system is not overcompensating.
3. Delayed Braking Response
- Inspect for Electrical Delays: Ensure there are no lags in the electrical connections or signal transmission.
- Adjust Brake Controller Settings: Fine-tune the controller’s response time settings to achieve a more immediate braking response.
Upgrading Your Brake Controller System
As technology advances, upgrading your brake controller system can offer enhanced performance and safety features:
- Smart Controllers with IoT Integration: Enable real-time monitoring and remote diagnostics.
- Advanced Calibration Tools: Allow for more precise adjustments based on specific load and driving conditions.
- Energy-Efficient Designs: Reduce power consumption without compromising performance.
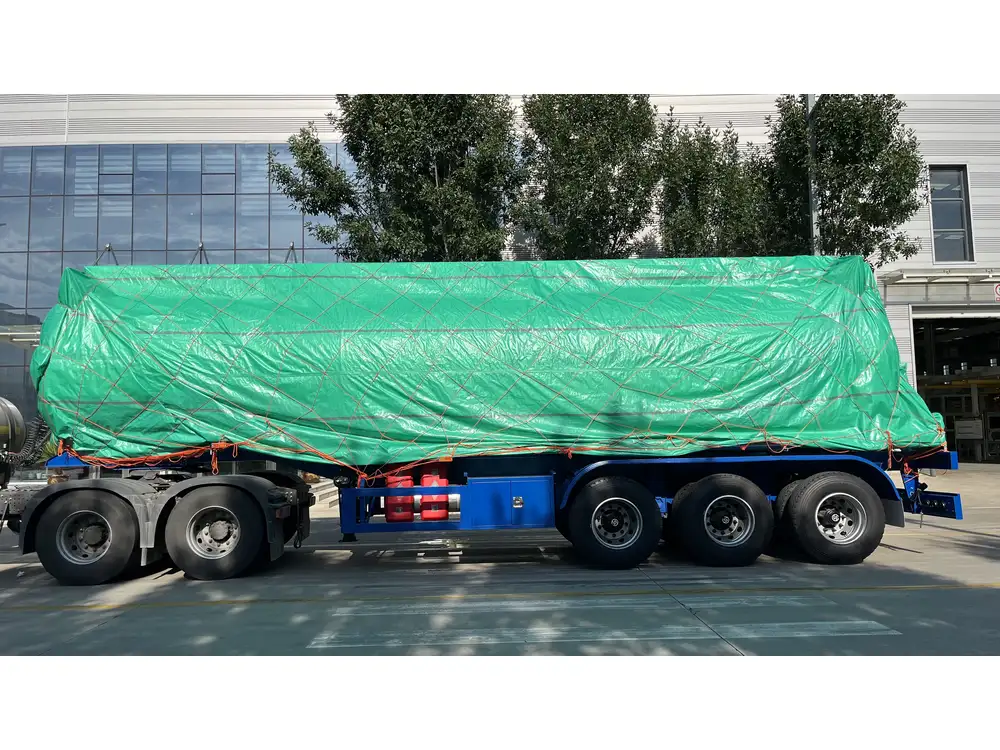
Benefits of Professional Installation by CarMax Trailer
Choosing CarMax Trailer for your brake controller installation ensures:
- Expertise and Experience: Our team possesses extensive knowledge in semi-trailer systems and brake controller integration.
- Quality Components: We utilize high-grade materials and components to guarantee system reliability and longevity.
- Comprehensive Support: From initial consultation to post-installation maintenance, we provide continuous support to optimize your trailer’s performance.
Conclusion
Installing a brake controller on your semi-trailer is a vital step in enhancing safety, improving braking efficiency, and ensuring regulatory compliance. At CarMax Vehicle, we prioritize providing detailed guidance and high-quality solutions to meet your trailer’s specific needs. By following this comprehensive installation guide, you can achieve a seamless integration of your brake controller, ensuring reliable and efficient performance on every journey.
Frequently Asked Questions

1. How often should I calibrate my brake controller?
Regular calibration is recommended every six months or after significant changes to your trailer’s load or braking system. Frequent calibration ensures optimal braking performance and safety.
2. Can I install a brake controller myself, or should I seek professional help?
While experienced individuals may perform the installation, seeking professional assistance from CarMax Trailer ensures accurate installation, adherence to safety standards, and optimal system performance.
3. What are the signs that my brake controller needs maintenance or replacement?
Indicators include inconsistent braking performance, delayed response, unusual noises during braking, and warning lights on the dashboard. Regular inspections can help identify these issues early.

4. Is it necessary to upgrade my brake controller every few years?
Upgrading may not be mandatory, but modern brake controllers offer enhanced features, improved reliability, and better integration with advanced braking systems. Consider upgrades to stay current with safety advancements.
5. How does a brake controller enhance fuel efficiency?
By optimizing braking force and reducing unnecessary brake application, a brake controller minimizes brake wear and tear, leading to smoother driving and improved fuel efficiency over time.


