Adding a water tank to a trailer can significantly enhance its functionality, making it ideal for various applications such as camping, landscaping, construction, or even emergency services. In this guide, we will explore the intricate details involved in this process, from selecting the right water tank to installation techniques and safety precautions.
Understanding Your Needs
Define Use Cases
Before embarking on the project of adding a water tank to your trailer, it’s essential to determine how you intend to use the additional water supply. Here are some common use cases:
- Camping: Providing water for cooking and cleaning.
- Landscaping: Watering plants and gardens in remote locations.
- Construction: Supplying water for crew needs or mix for concrete.
- Emergency Preparation: Storing potable water in case of emergencies.
By defining your needs, you can make informed decisions concerning the size of the tank, the type of materials required, and the method of installation.

Determine Tank Size and Capacity
The next step is to consider how much water you will need. Here are factors to consider:
| Use Case | Recommended Tank Size | Consideration |
|---|---|---|
| Camping | 15-30 gallons | Sufficient for meals and showers. |
| Landscaping | 50-100 gallons | Depends on garden size. |
| Construction | 100-250 gallons | More water for larger crews. |
| Emergency Backup | 30-50 gallons | Enough water for short-term needs. |
Choosing the right capacity is crucial; too small, and you might run out; too large, and it could add unnecessary weight.
Selecting the Right Tank
Material Choices
Water tanks come in various materials, each with its advantages and drawbacks:
| Material | Pros | Cons |
|---|---|---|
| Polyethylene | Lightweight, corrosion-resistant, UV stable | Can be prone to cracking in extreme cold. |
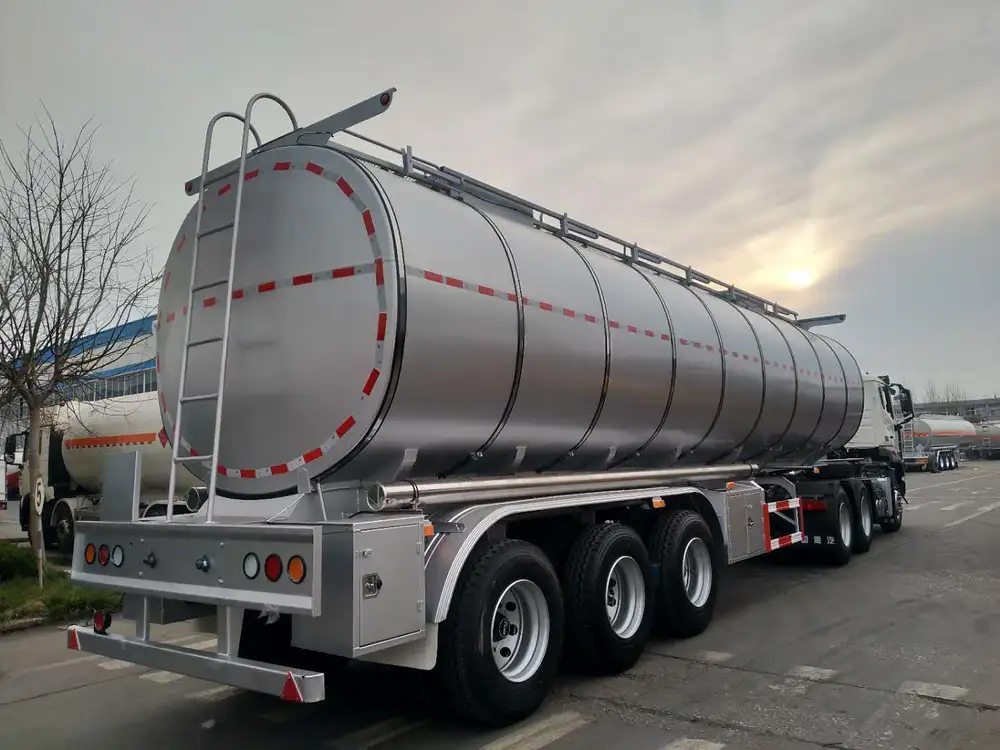
| Stainless Steel | Durable, sanitary, and long-lasting | Heavier and more expensive. |
| Aluminum | Lightweight and resistant to rust | Less durable than stainless steel. |
Choose the right material based on your specific needs and weight limitations of your trailer.

Tank Features
When selecting a tank, consider features such as:
- Shape and Size: Ensure it fits within your trailer’s confines.
- Portability: Some tanks come with wheels or handles.
- Fill and Drain Options: Look for a tank with convenient filling and draining mechanisms.
Installation Process
Gather Necessary Tools and Materials
Here’s a list of tools and materials you’ll likely need:
Tools:
- Electric drill with bits
- Wrenches and ratchets
- Pliers
- Level
- Measuring tape
Materials:
- Water tank
- Mounting brackets
- Straps or tie-downs
- Hose
- Fittings and valves

Step-by-Step Installation
Step 1: Prepare the Trailer
- Clean the Area: Ensure the area where the tank will be installed is free from debris.
- Check Weight Limit: Make sure adding the water tank does not exceed your trailer’s weight capacity by consulting the manufacturer’s specifications.
Step 2: Mark Installation Points
- Position the Tank: Use measuring tape to find the ideal placement, typically towards the front or middle of the trailer for better weight distribution.
- Mark Bracket Locations: Once firmly positioned, mark where the brackets will be attached.

Step 3: Install the Mounting Brackets
- Drill Holes: Drill holes into the marked points using an electric drill.
- Attach Brackets: Position the brackets and secure them with bolts and nuts. Make sure they’re tightly fastened and level.
Step 4: Secure the Water Tank
- Mount the Tank: Place the tank onto the brackets.
- Use Straps or Tie-Downs: Secure the tank in place with straps or tie-downs to ensure it doesn’t shift while the trailer is in use.
Step 5: Connect Hoses and fittings
- Install Hose: Connect the water supply hose to the tank and ensure it is tightly secured.
- Add Drainage Hose: If applicable, install a drainage hose at the base of the tank.

Step 6: Testing
- Fill the Tank: Fill the tank with water to test for leaks.
- Check for Stability: Drive the trailer over a short distance to ensure everything is secure and stable.
Safety Precautions
Maintain Water Quality
- Use Food-Grade Tanks: If the water is for drinking, always opt for a food-grade tank.
- Regularly Clean Tanks: Clean the tank periodically to prevent algae and bacteria from accumulating.

Secure Load
- Weight Distribution: Ensure the weight of the tank and water is evenly distributed on the trailer.
- Regular Inspections: Before long trips, inspect the security of the tank.
Common Issues and Solutions
Troubleshooting
| Problem | Possible Cause | Solution |
|---|---|---|
| Tank leaking | Loose fittings or cracks | Tighten connections or replace tank |
| Low water pressure | Clogged hose or filter | Clean or replace the clogged component |
| Tank tipping during transport | Inadequate securing | Use additional straps or tie-downs |
| Excessive weight affecting trailer dynamics | Over-capacity water tank | Reduce water quantity or upgrade trailer |

Exploring Alternatives
If attaching a water tank directly to your trailer seems daunting, consider these alternatives:
- Portable Water Tanks: These can be filled and removed as needed without being permanently attached.
- Water Caddies: Smaller, wheeled versions allow easier transport without altering the trailer.
Conclusion
Adding a water tank to your trailer can enhance its versatility and usability no matter your intended application. By carefully considering your needs, selecting the right materials, and following thorough installation processes, you can ensure a successful and long-lasting integration of a water tank into your trailer setup. Remember to maintain safety protocols and perform regular maintenance checks to keep your system in optimal condition. Taking these steps will lead you to enjoy the many benefits that a water tank on your trailer can provide.
For additional assistance or specialized questions, consulting with professionals or seeking out user forums can further expand your understanding and ensure that your modifications meet all necessary standards and requirements.


